If your WordPress site handles complex requests, like massive WooCommerce queries, heavy API calls, Goolge Ads, or URLs with long query strings, you might have run into a frustrating 502 Bad Gateway error.
We just rolled out a new update to FlyWP that lets you fix this with a single click by automatically optimising your NGINX and FastCGI buffer sizes. Here is everything you need to know.
⚠️ Important: This is only for NGINX/PHP stack sites, not for OpenLiteSpeed stack.
Frequently Asked Questions
Why am I seeing 502 Bad Gateway errors?
When a user makes a request with large query parameters, or when a plugin generates a massive response header, NGINX needs somewhere to temporarily store that data. If the data exceeds NGINX’s default buffer size, the connection breaks, resulting in a 502 error.
What exactly does this update change?
To safely handle larger data loads, FlyWP adjusts the buffer configurations at both the server level and the individual site level.
- Global NGINX Configuration (Server-Wide): FlyWP applies a one-time global update to your server’s custom NGINX configuration file at
/home/fly/.fly/nginx/conf.d/custom.conf:
    proxy_buffer_size 128k;
    proxy_buffers 4 256k;
    proxy_busy_buffers_size 256k;
- 2. Site-Specific NGINX Configuration (Per Site) For individual sites that require it, FlyWP updates the local limits configuration file at {Site_directory}/config/nginx/common/limits.conf:
    fastcgi_buffer_size 64k;
    fastcgi_buffers 16 32k;
Why wasn’t this automatically enabled for all my sites?
We initially wanted to migrate every user to these new buffer settings automatically. However, altering core NGINX and FastCGI limits always carries a small risk of accidental site instability or unexpected crashes depending on unique server environments. To keep your live sites 100% safe, we decided to make it an opt-in feature for users who actually need it.
How do I enable this on my site?
You don’t need to touch a single line of code. You can toggle this optimisation directly from your FlyWP dashboard:
- Log into FlyWP and select your site.
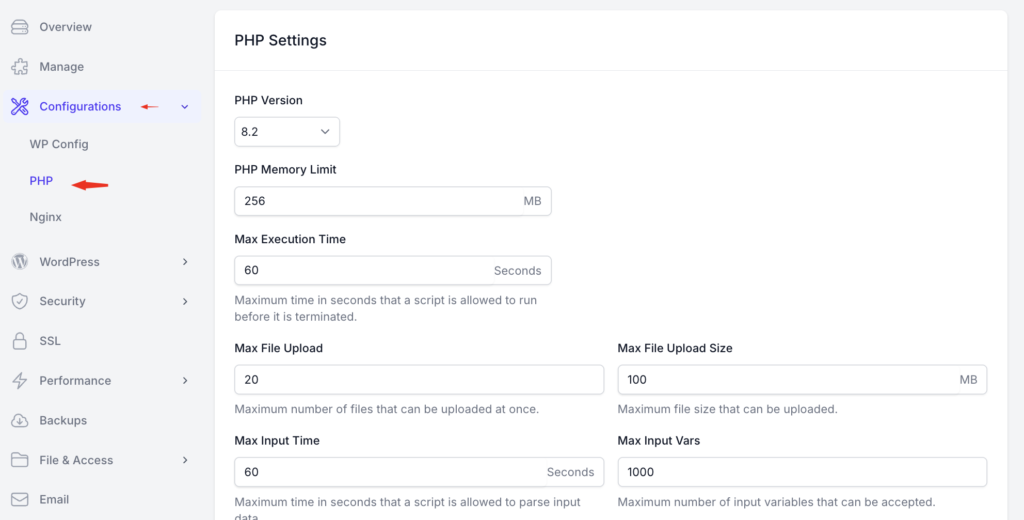
- Navigate to Site Dashboard > Configurations > PHP.
- Update any of your PHP settings to apply the optimised buffer limits.
Can I further customise these buffer sizes?
Yes. If your site has extreme requirements and the automated values still aren’t enough, you can manually modify the two configuration files mentioned above to fit your needs.
⚠️ Important: If you choose to manually edit these files, the changes will not take effect automatically. You must restart both the site NGINX service and the server NGINX service (as they run as separate services) for your custom adjustments to be applied.