Our latest version of FlyWP now includes a new feature, “SMTP Email Sending.” We understand the importance of email marketing and related activities. Initially, we have added Postmark, SendGrid, Mailgun, and custom email. In this documentation, we’ll show you how to configure the email feature using FlyWP and send emails to your preferred customers.
Let’s now check out how to do that easily.
Step one: Create a Server
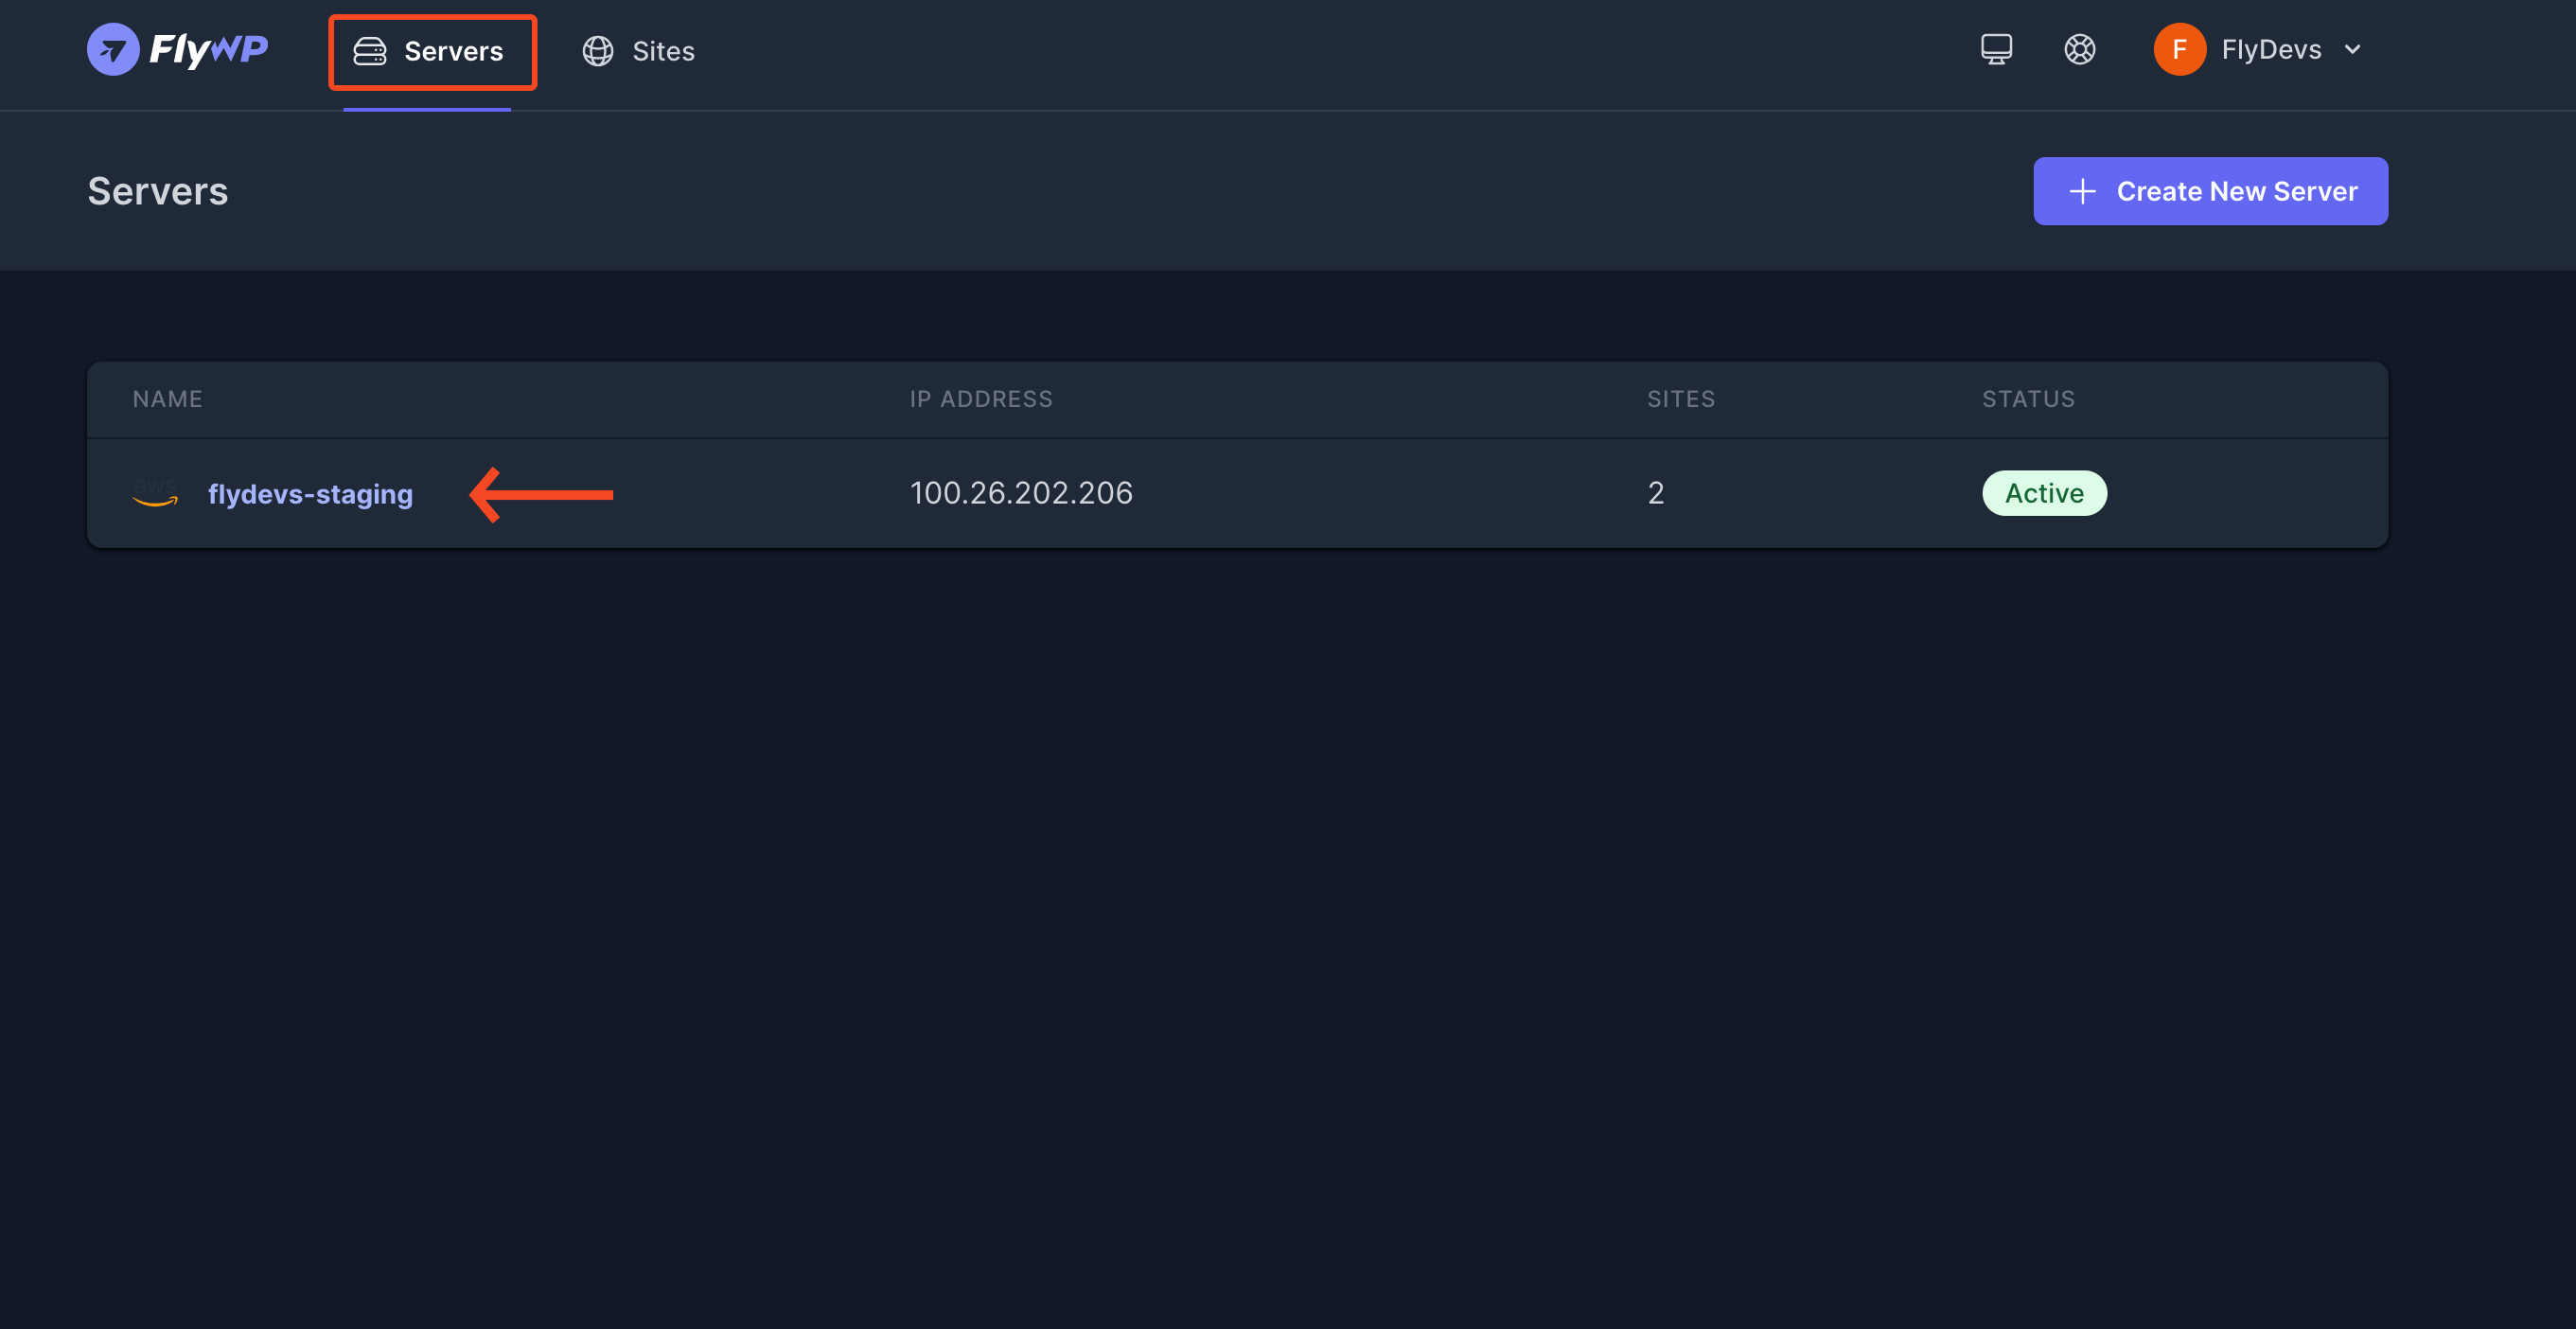
To use the feature, you need a site. For that, you need to have a server. FlyWP has the workflow to let you do that. If you have a server created with FlyWP, then you can skip this step. Or you can learn how to create a server with FlyWP.
Step two: Create a site
After successfully creating a server, you need to create a site. You will see the server in the list after adding it. Here is the guide that you can use to learn how to create a site.
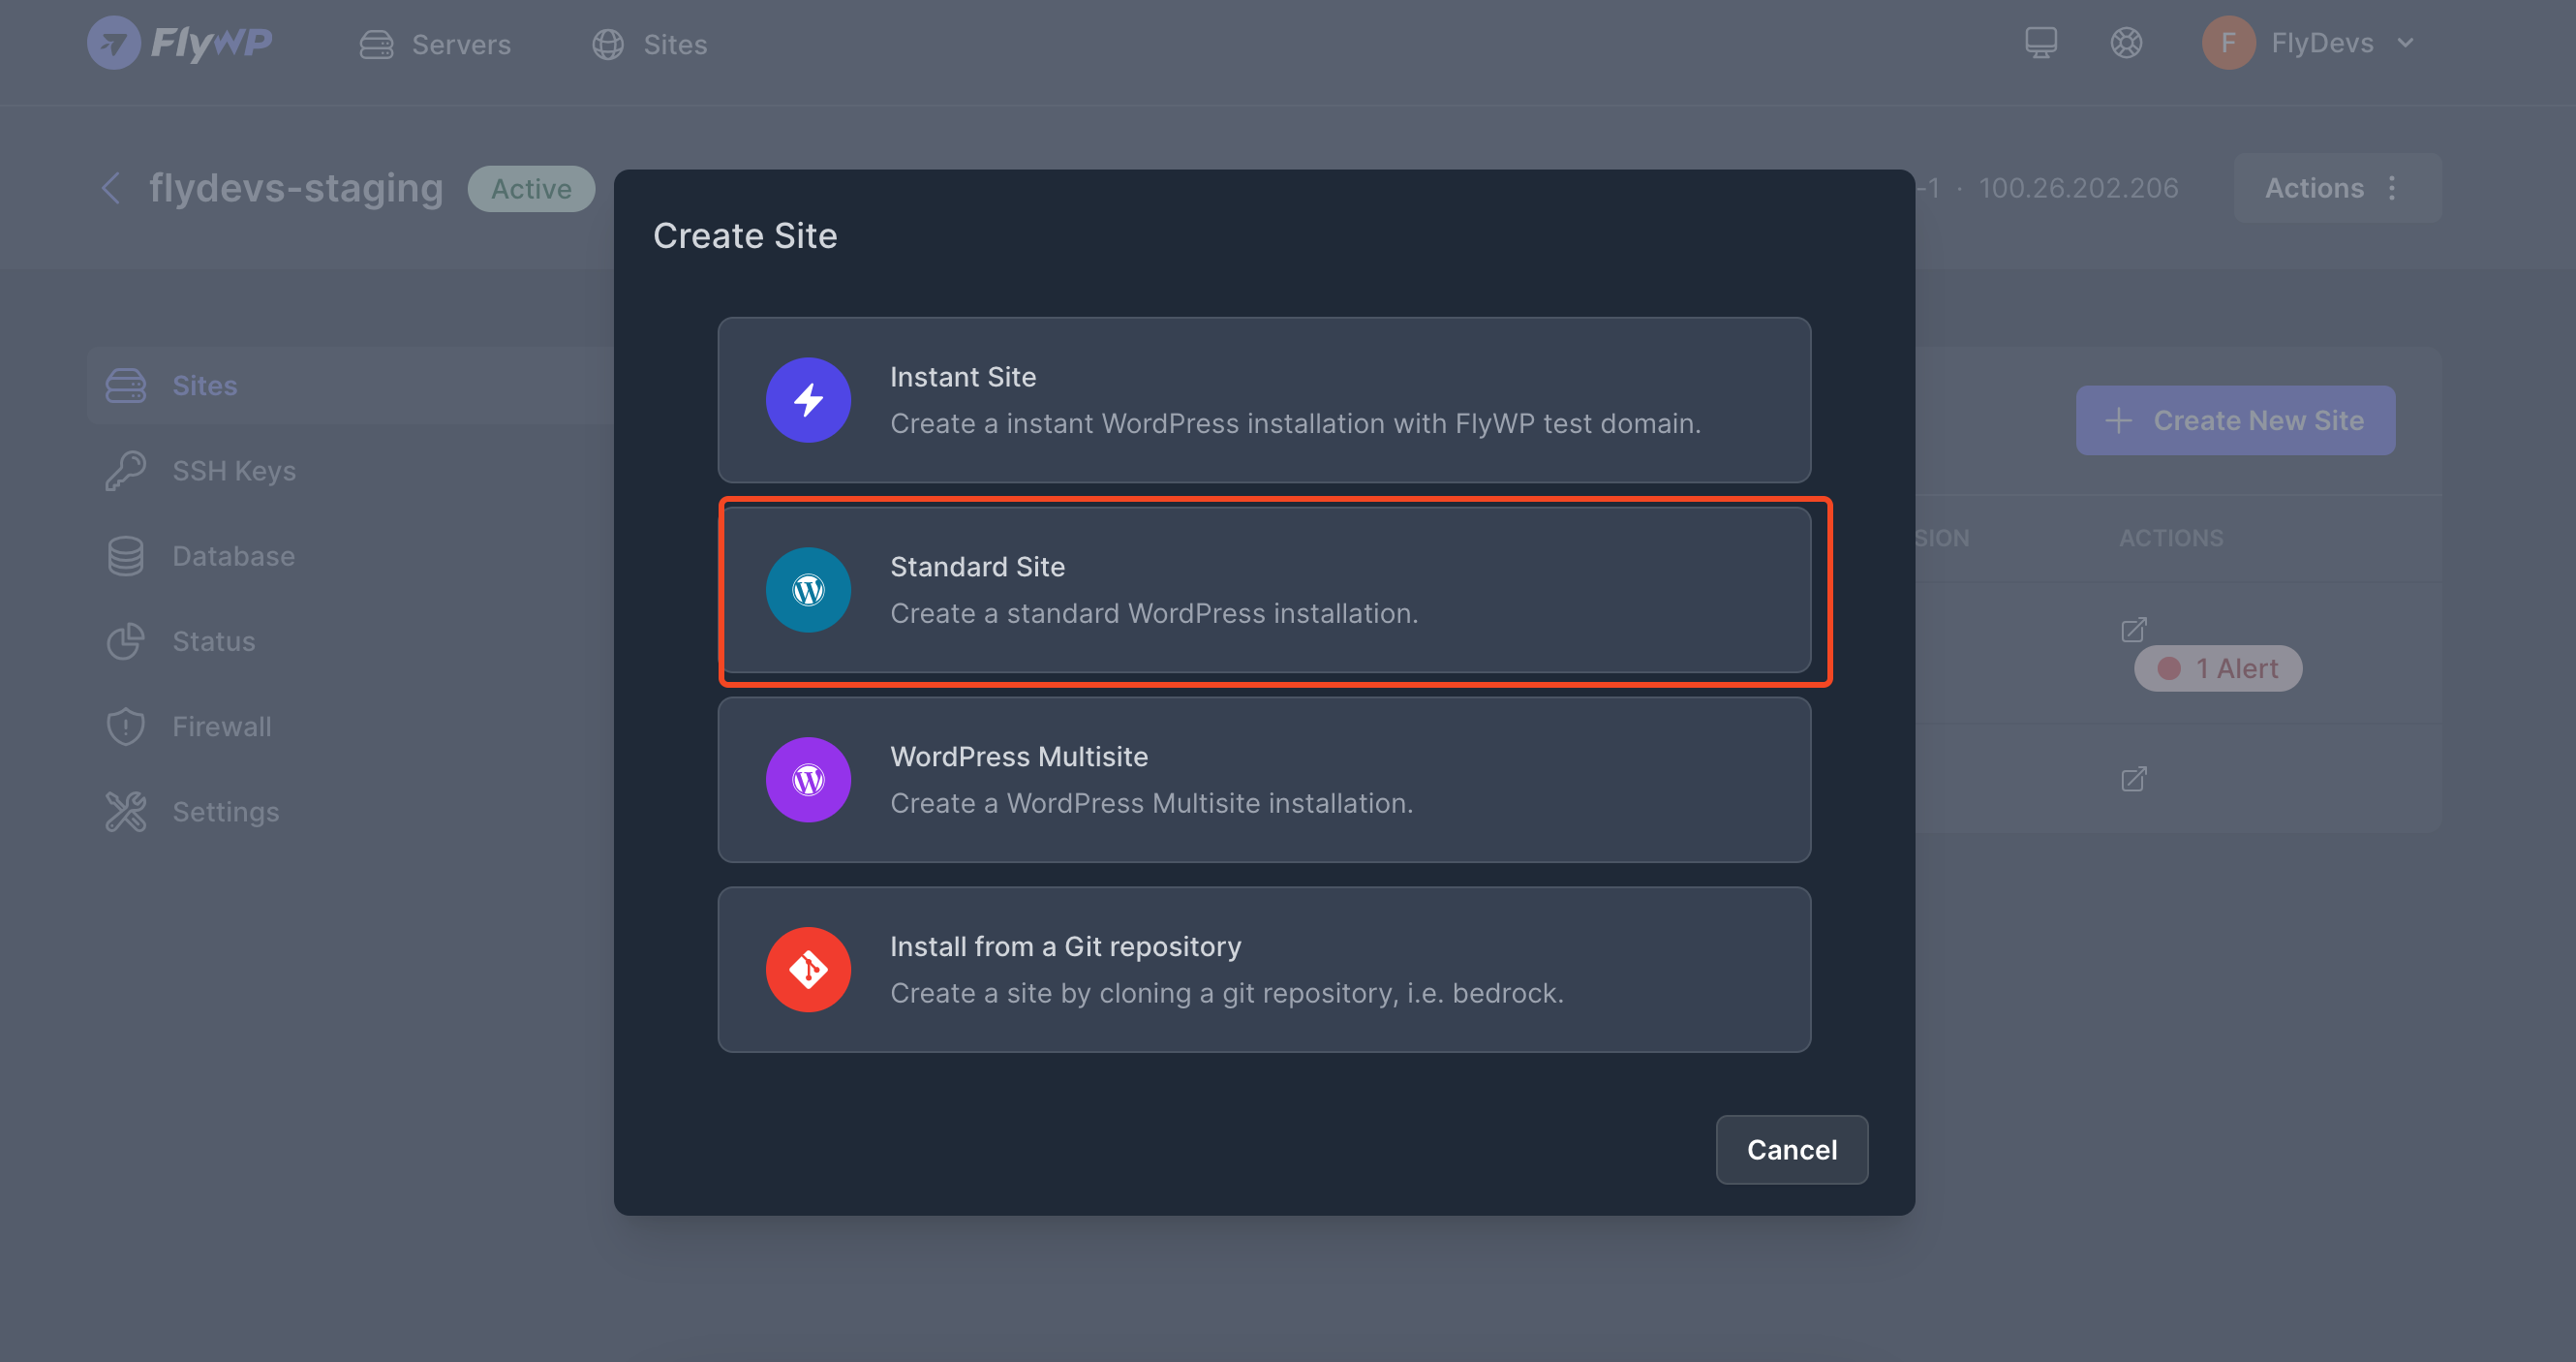
Now you will have four options to create a site. Choose the second option.
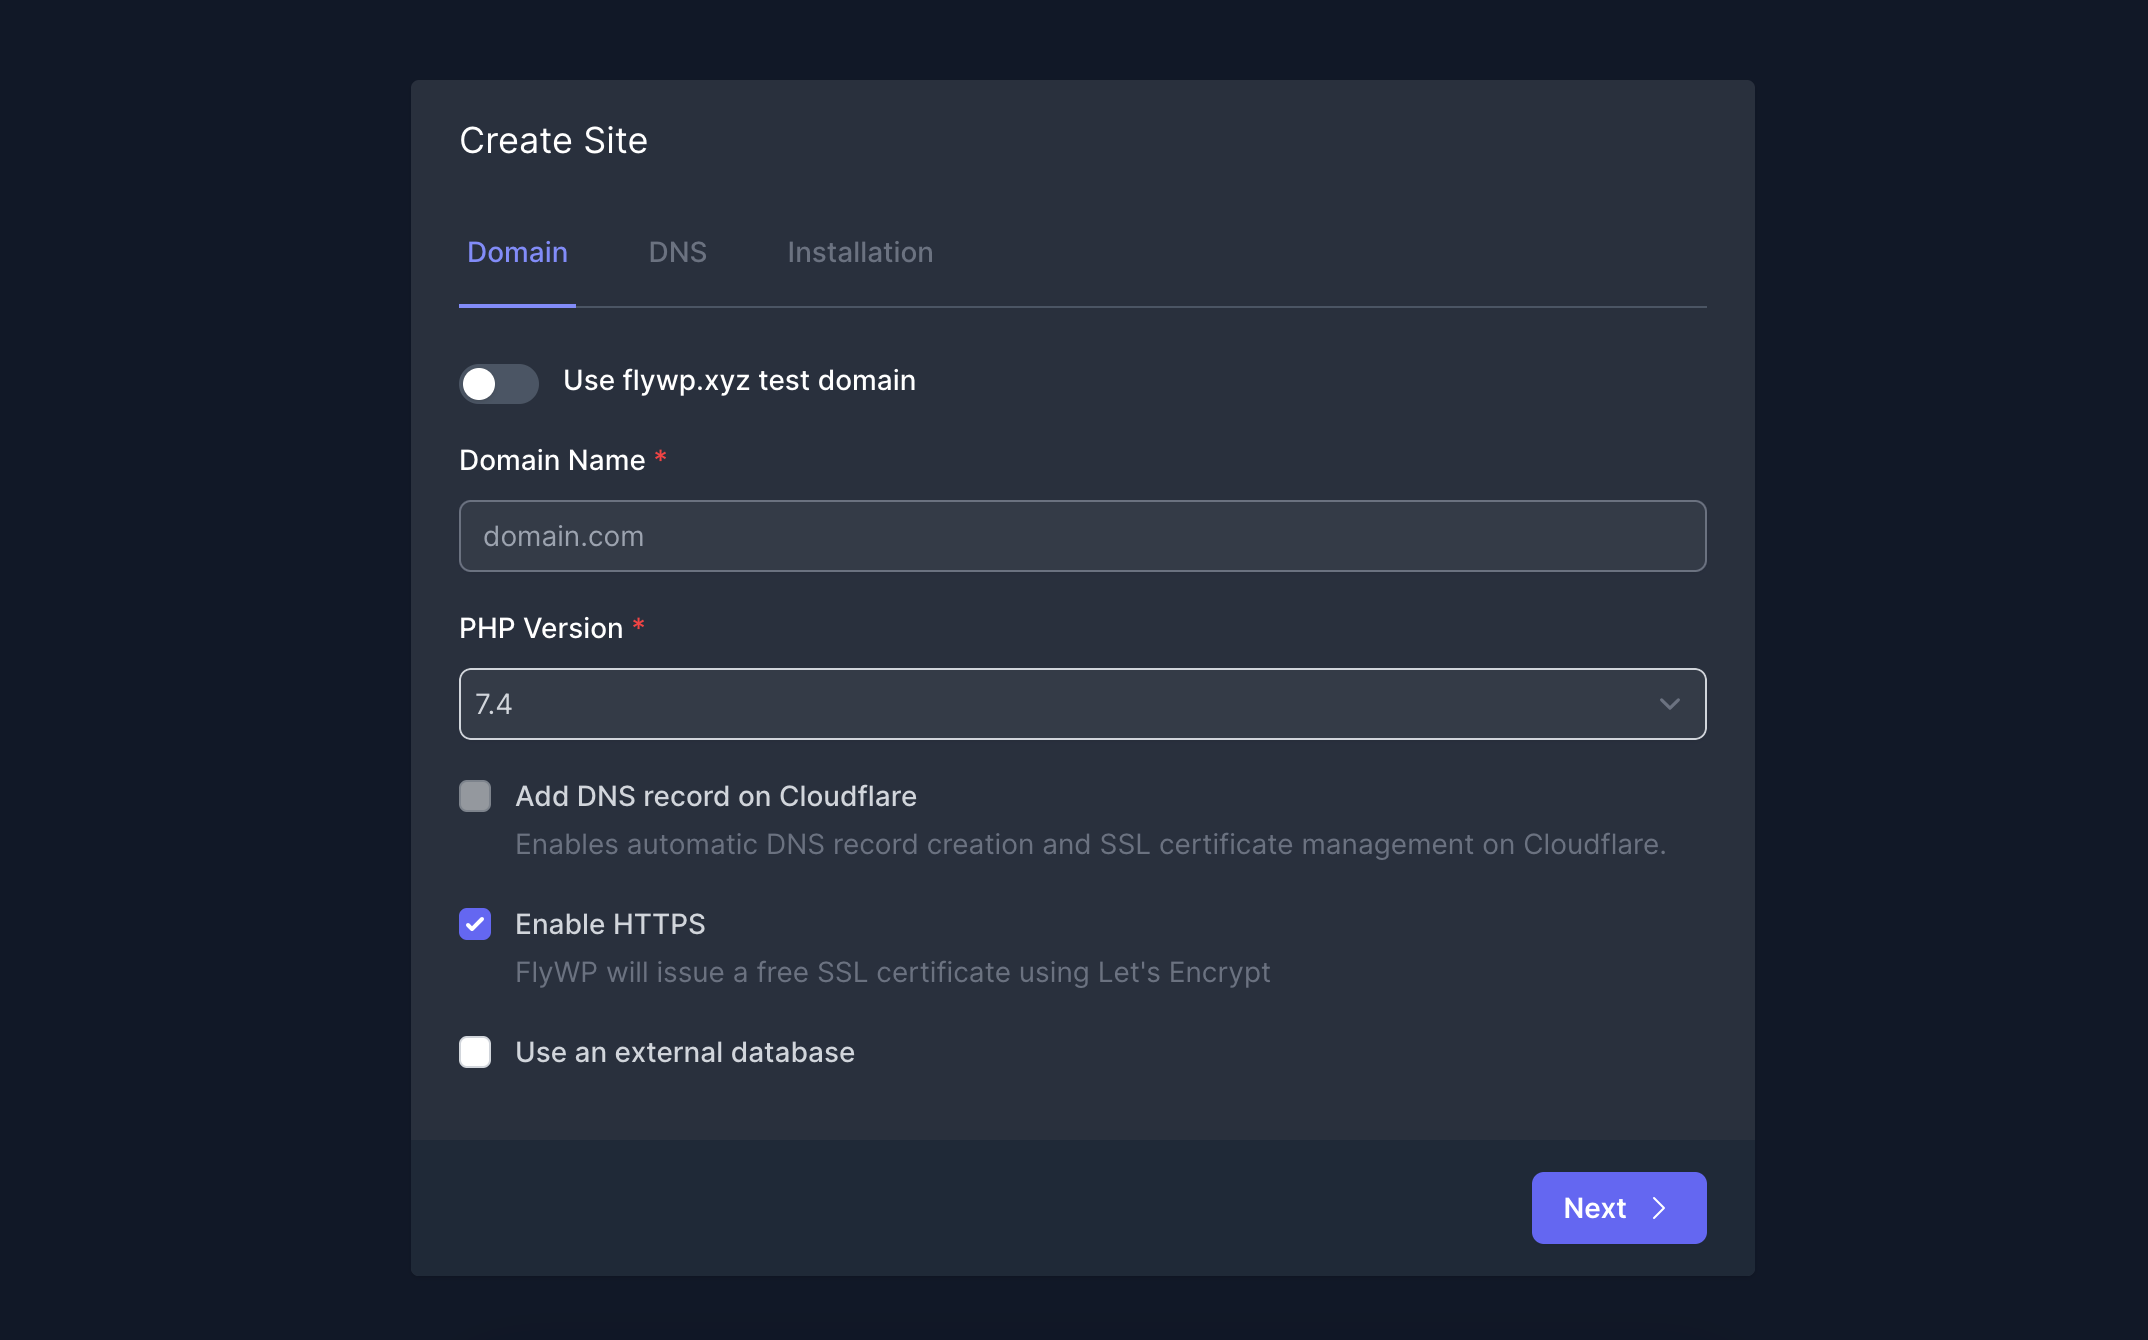
Here, you need to add the domain name. Select the PHP version and other stuff.
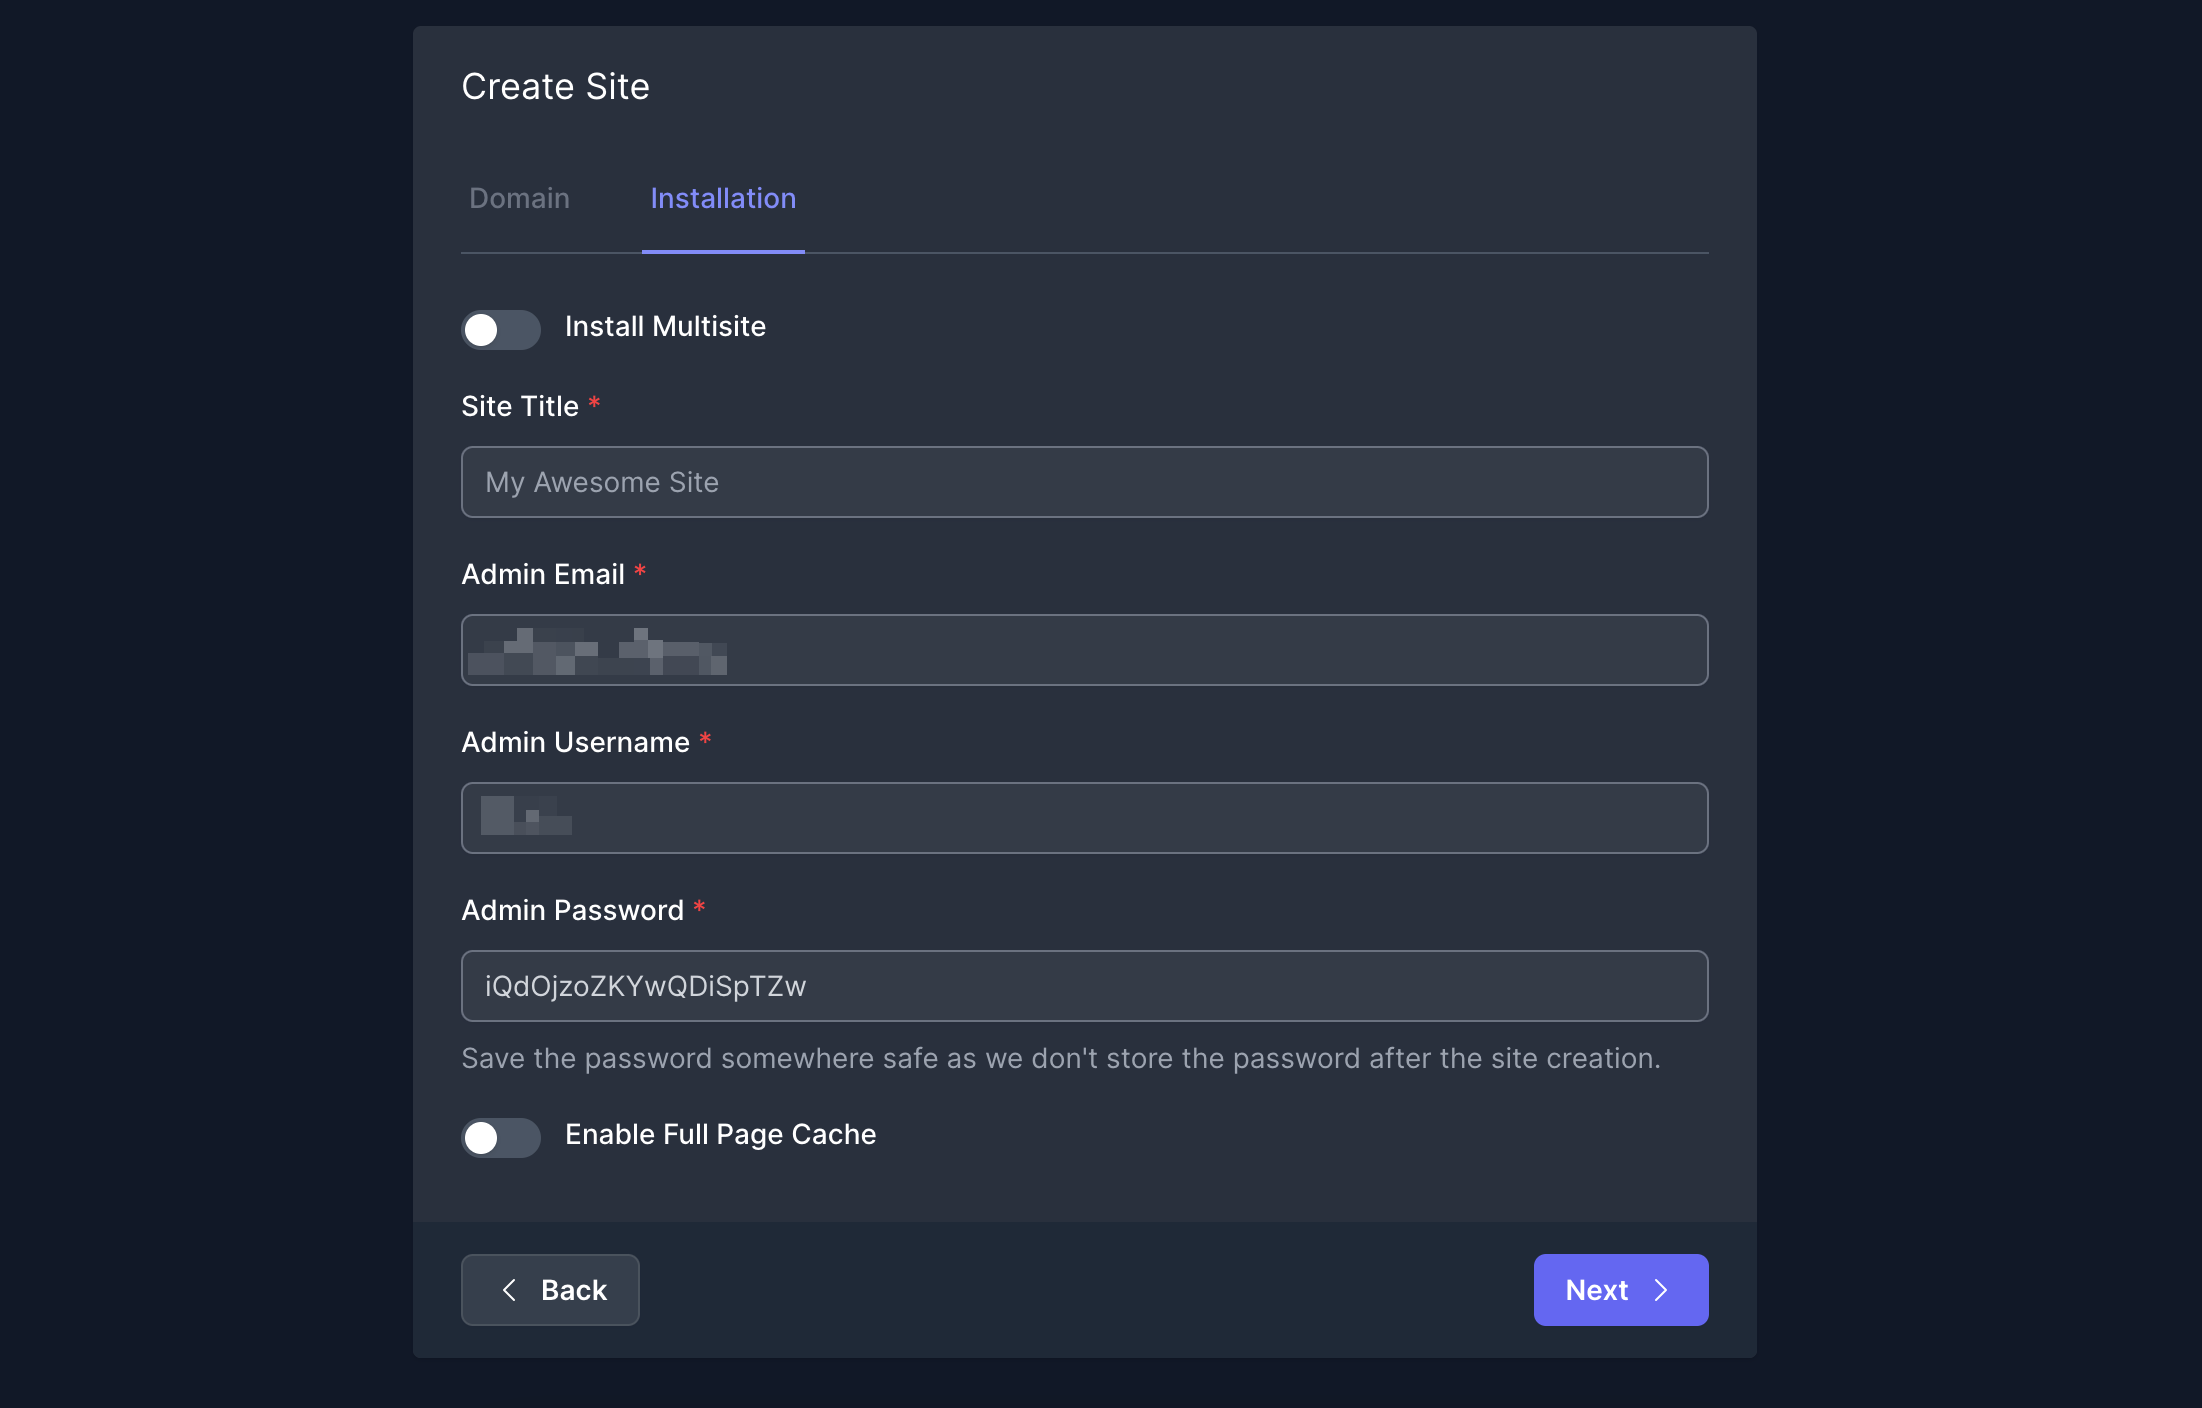
Next, provide your site title, admin email, username, password, etc.
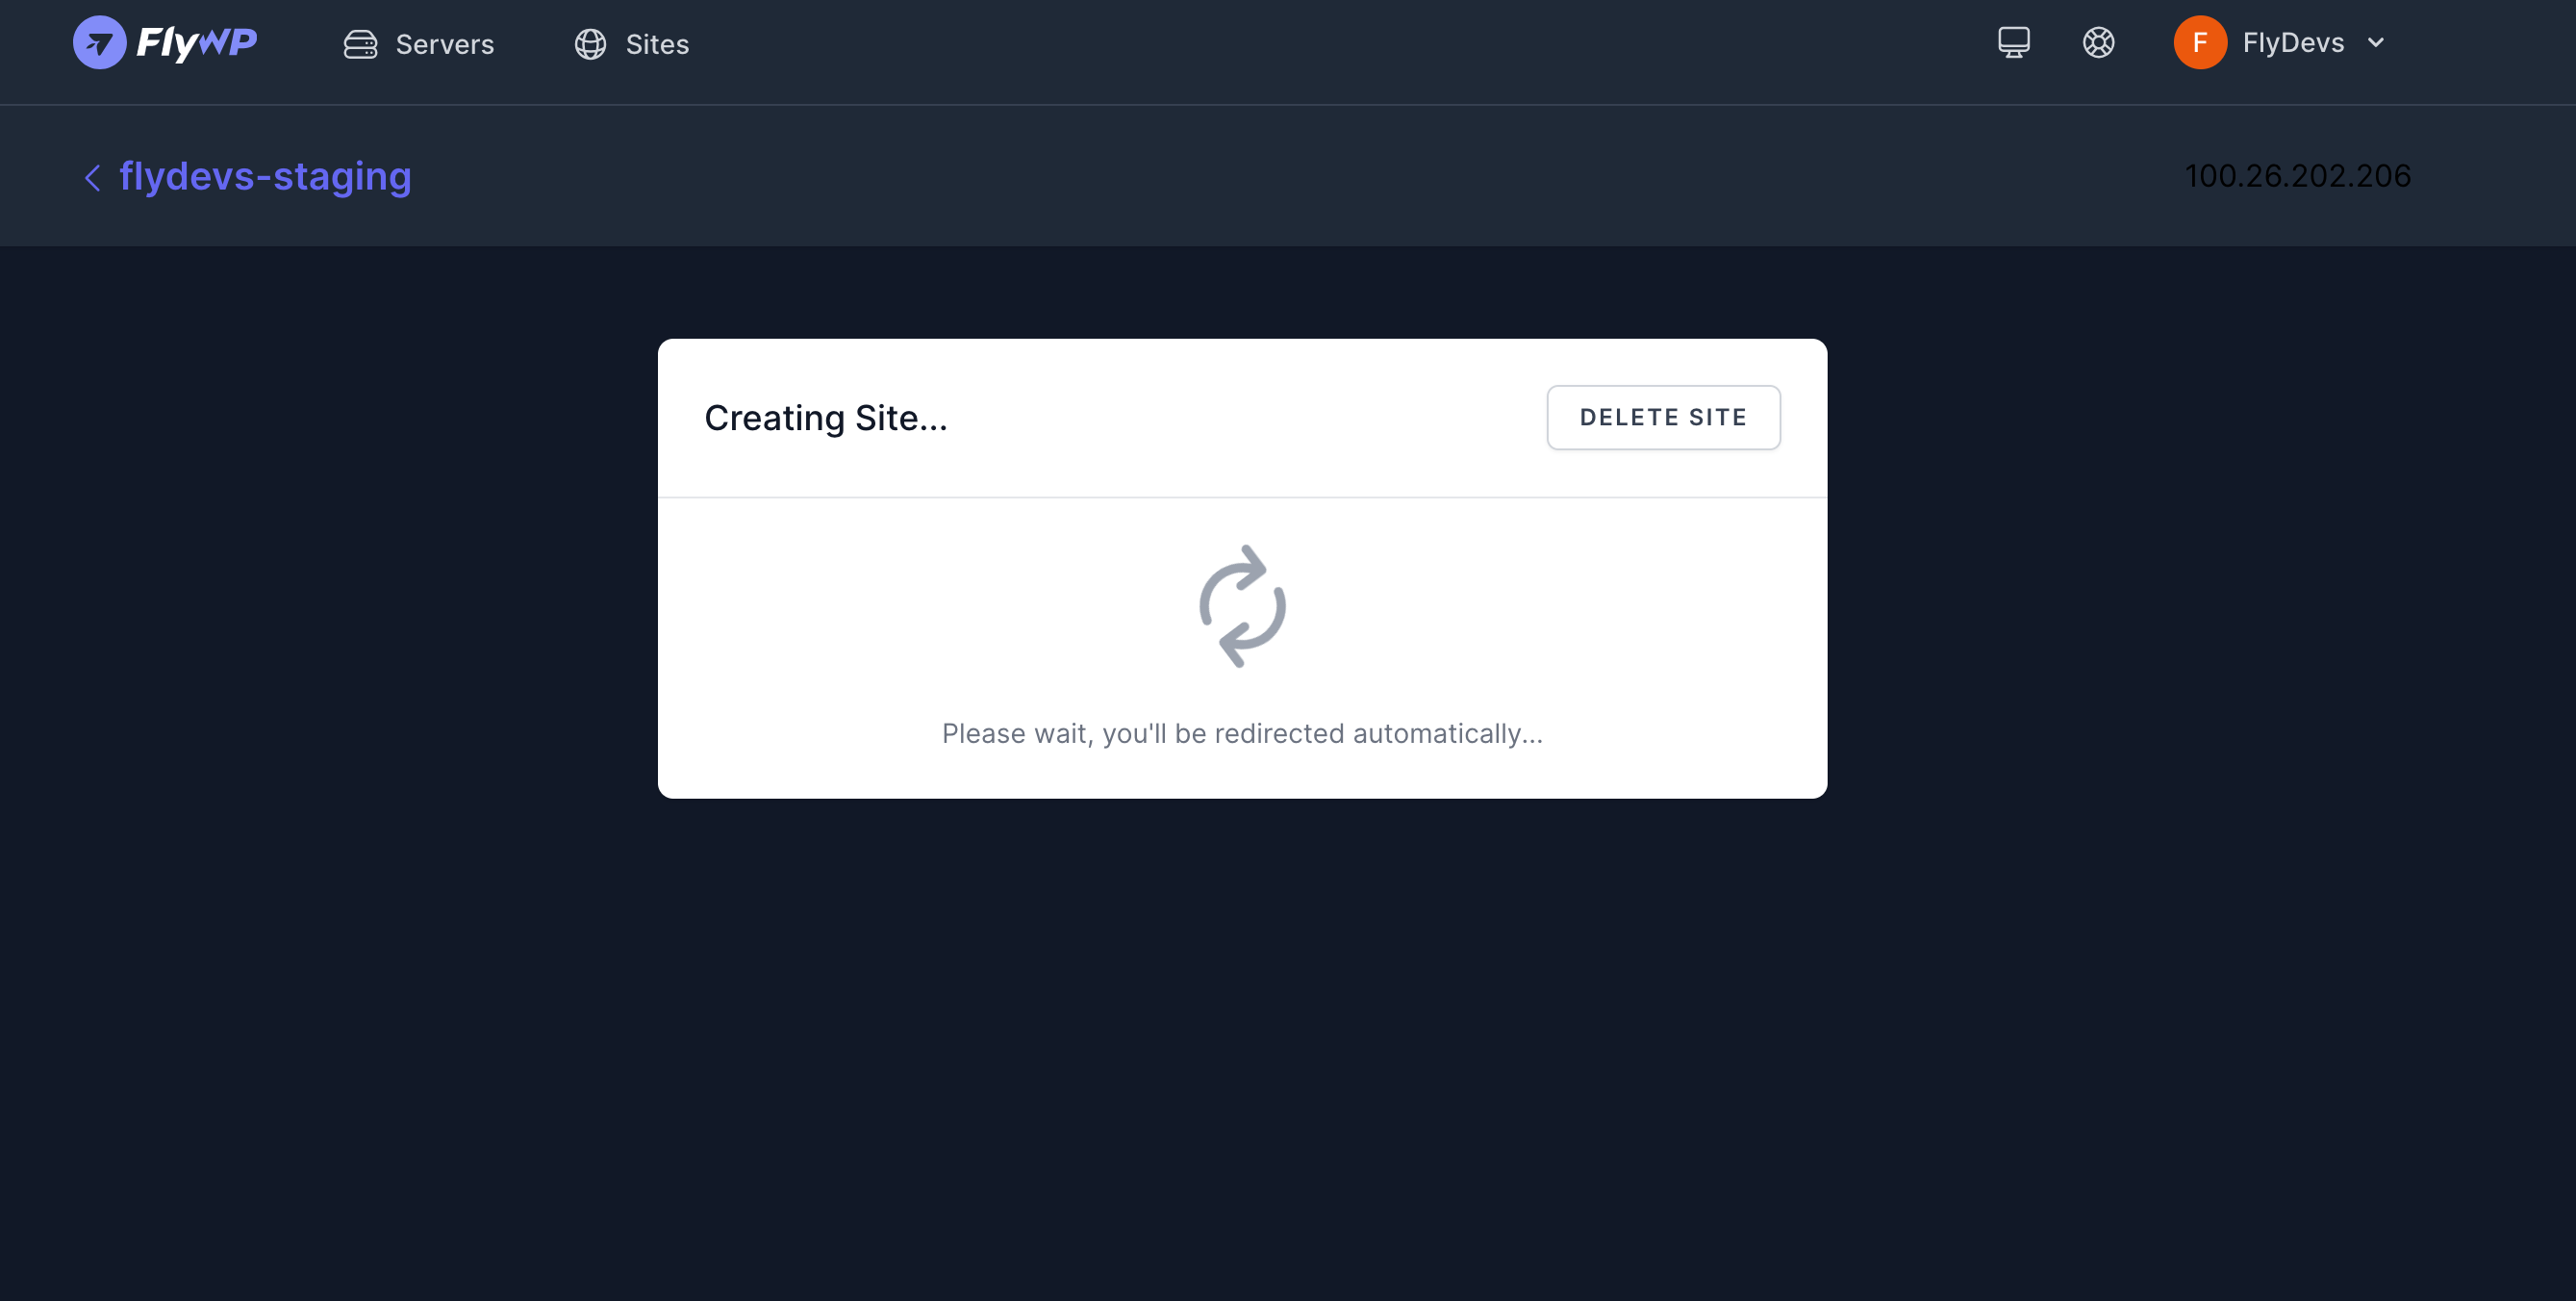
Your site must be ready in one minute.
Step three: Email configuration
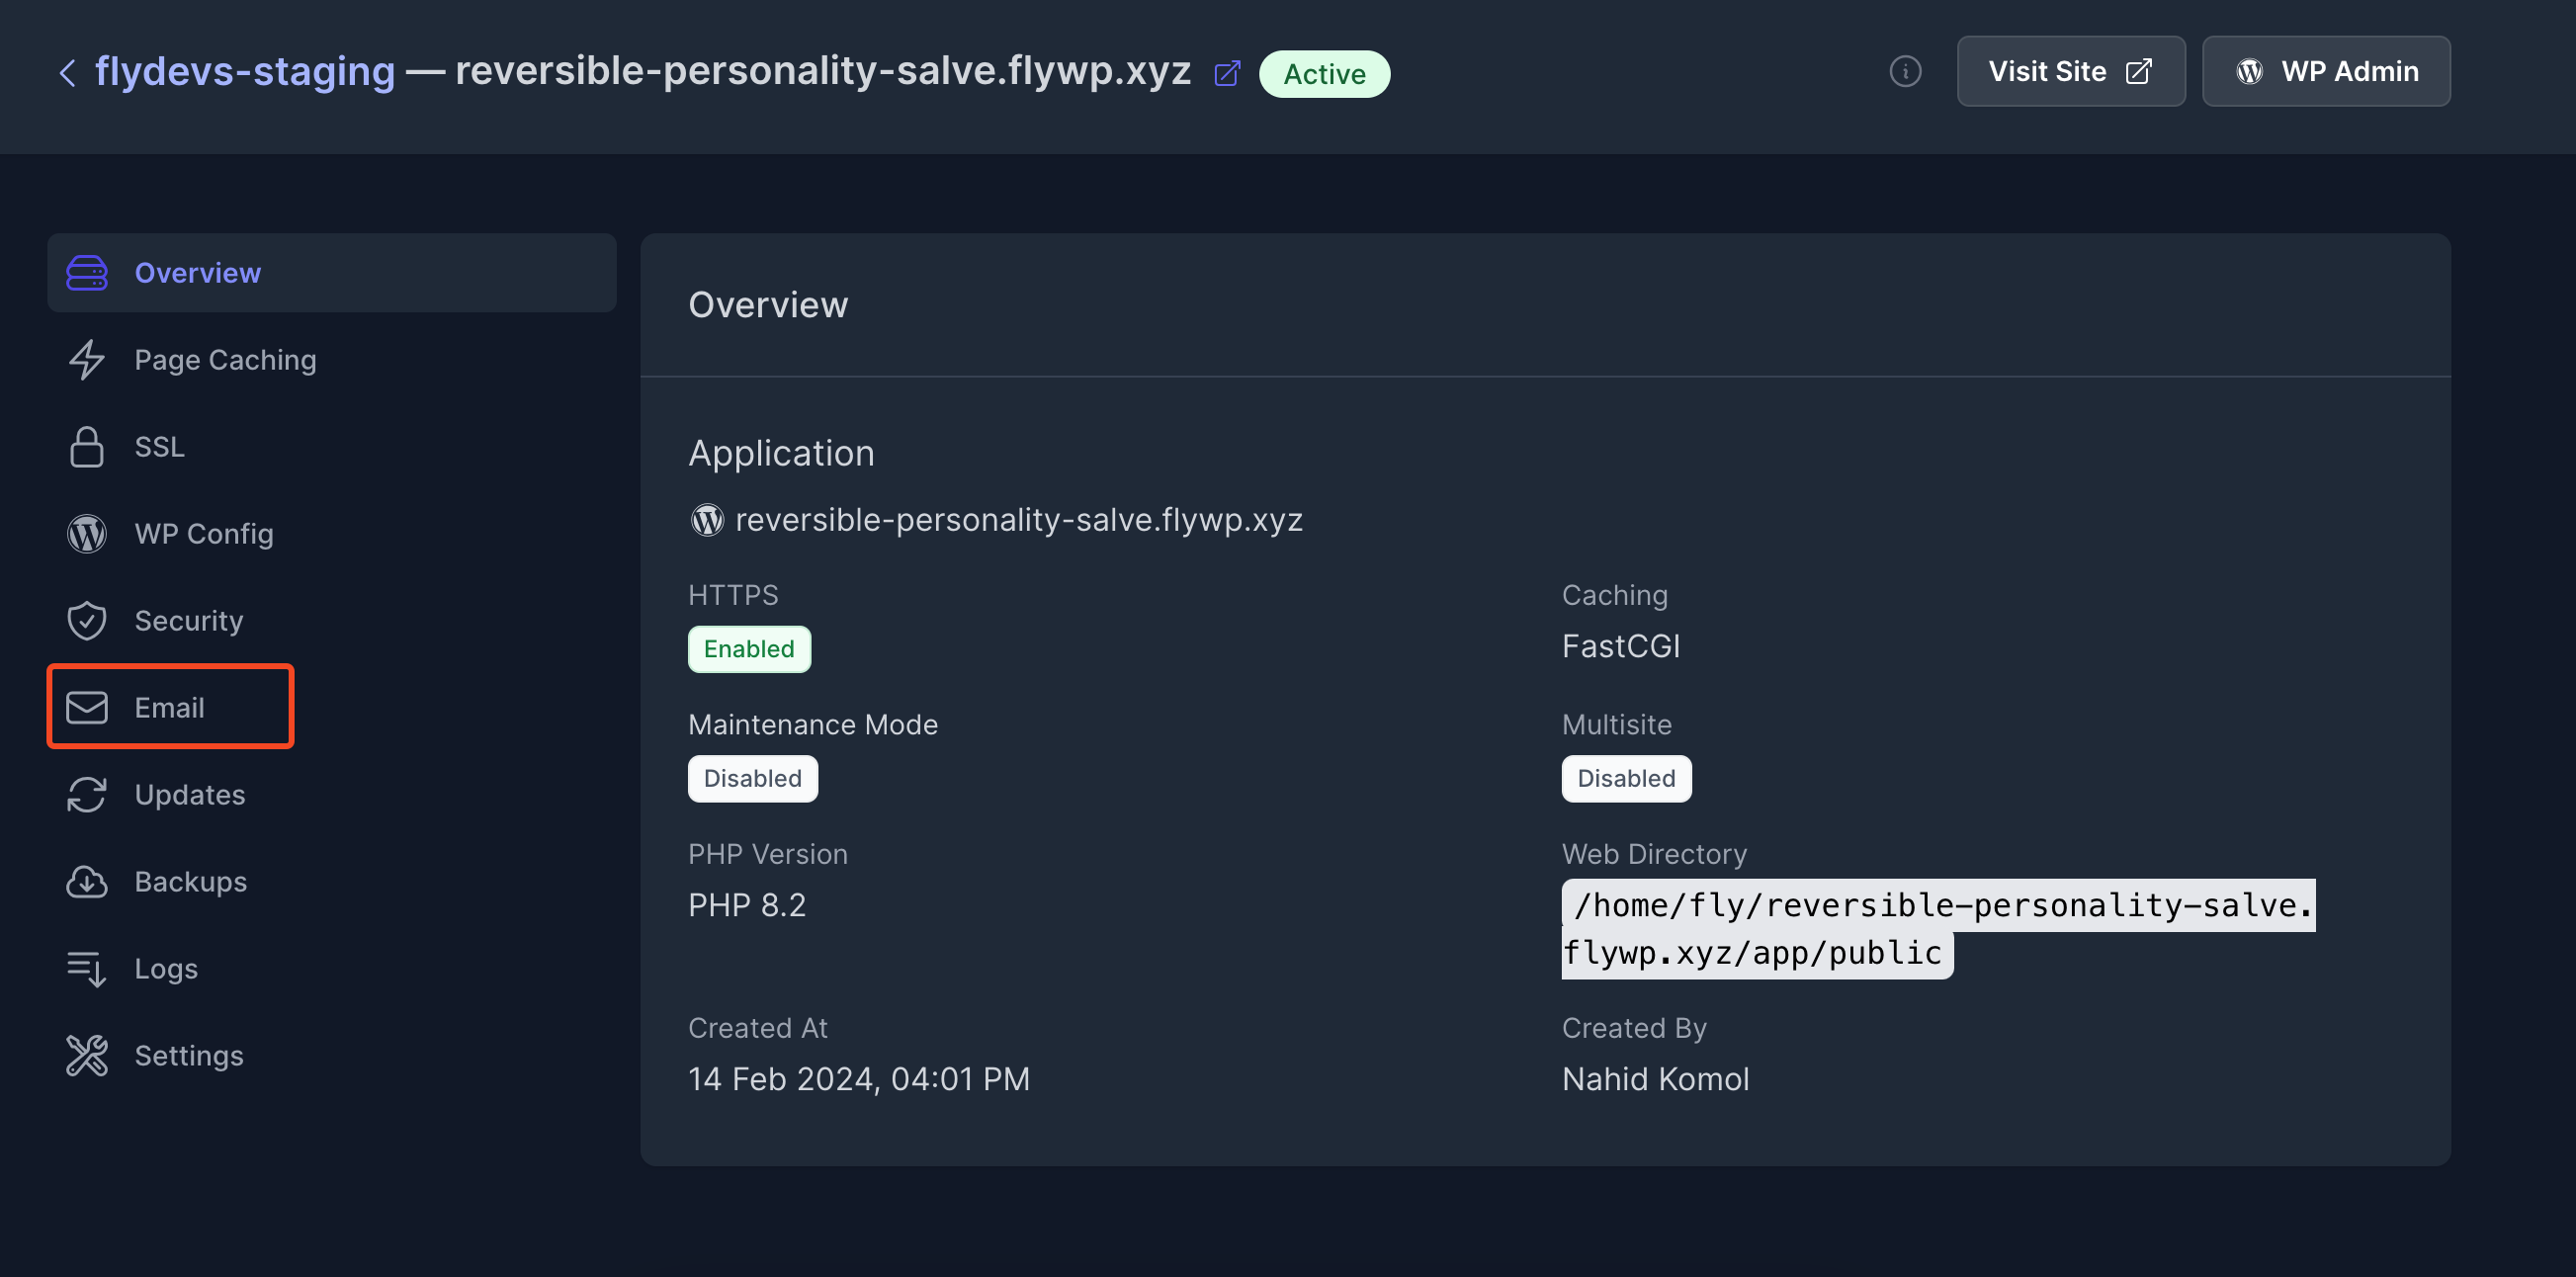
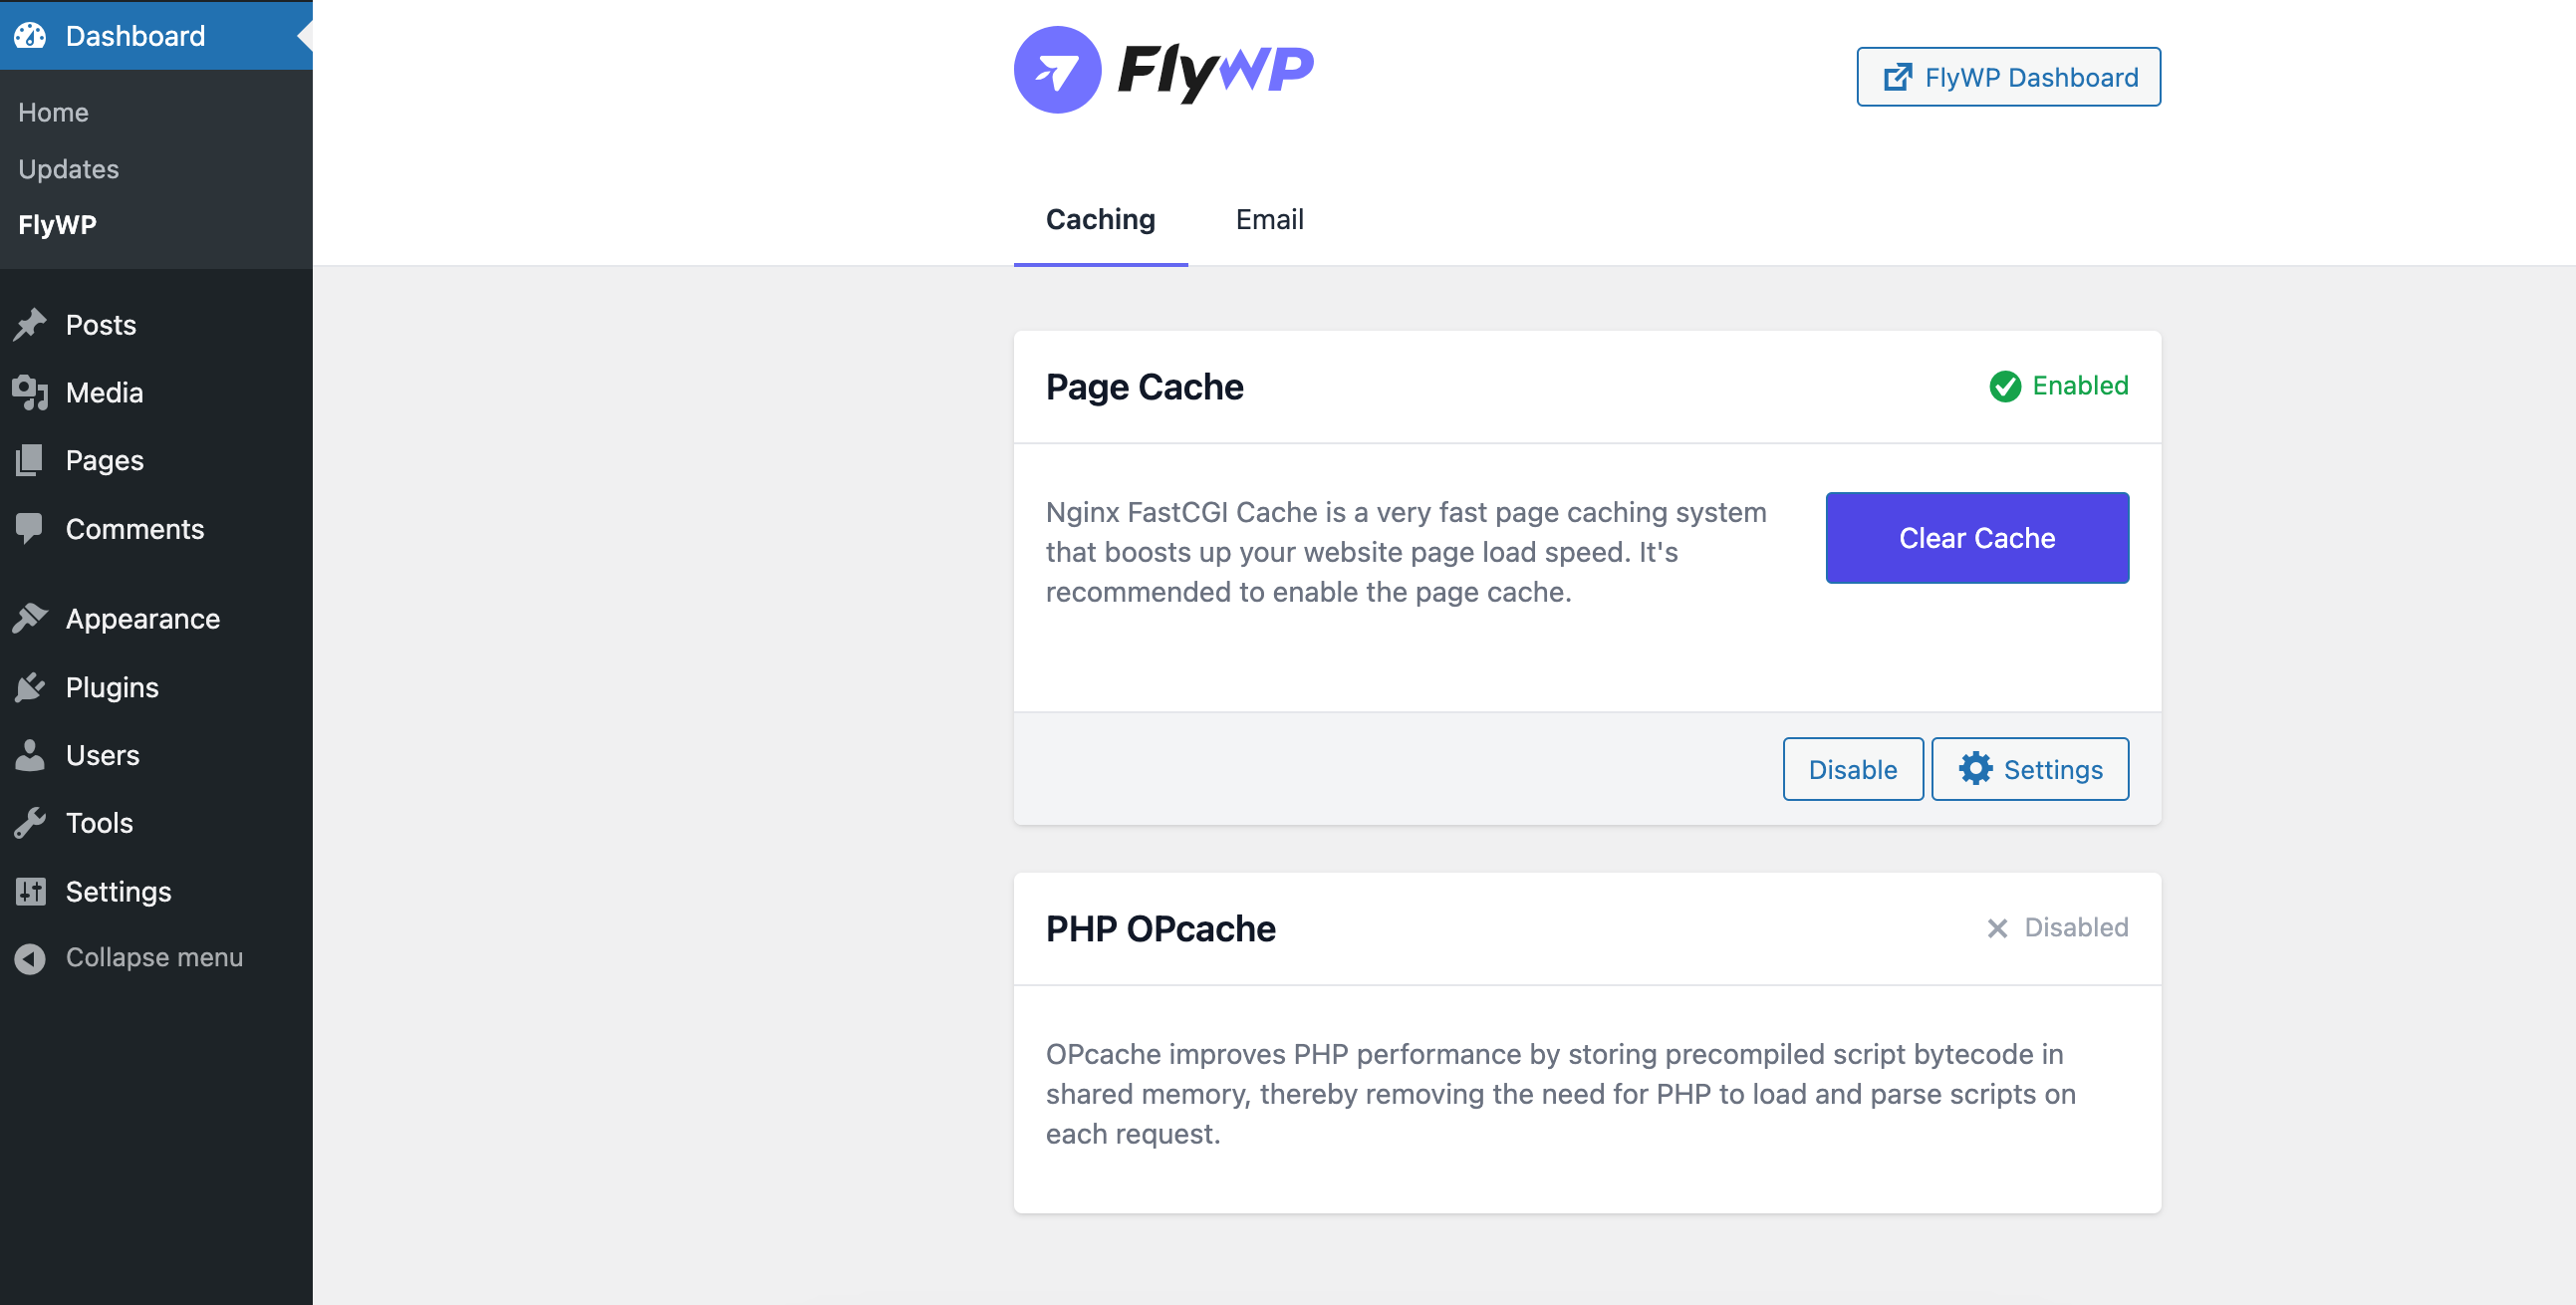
After successfully creating your site, you’ll see the email option in the side menubar. Click on it.
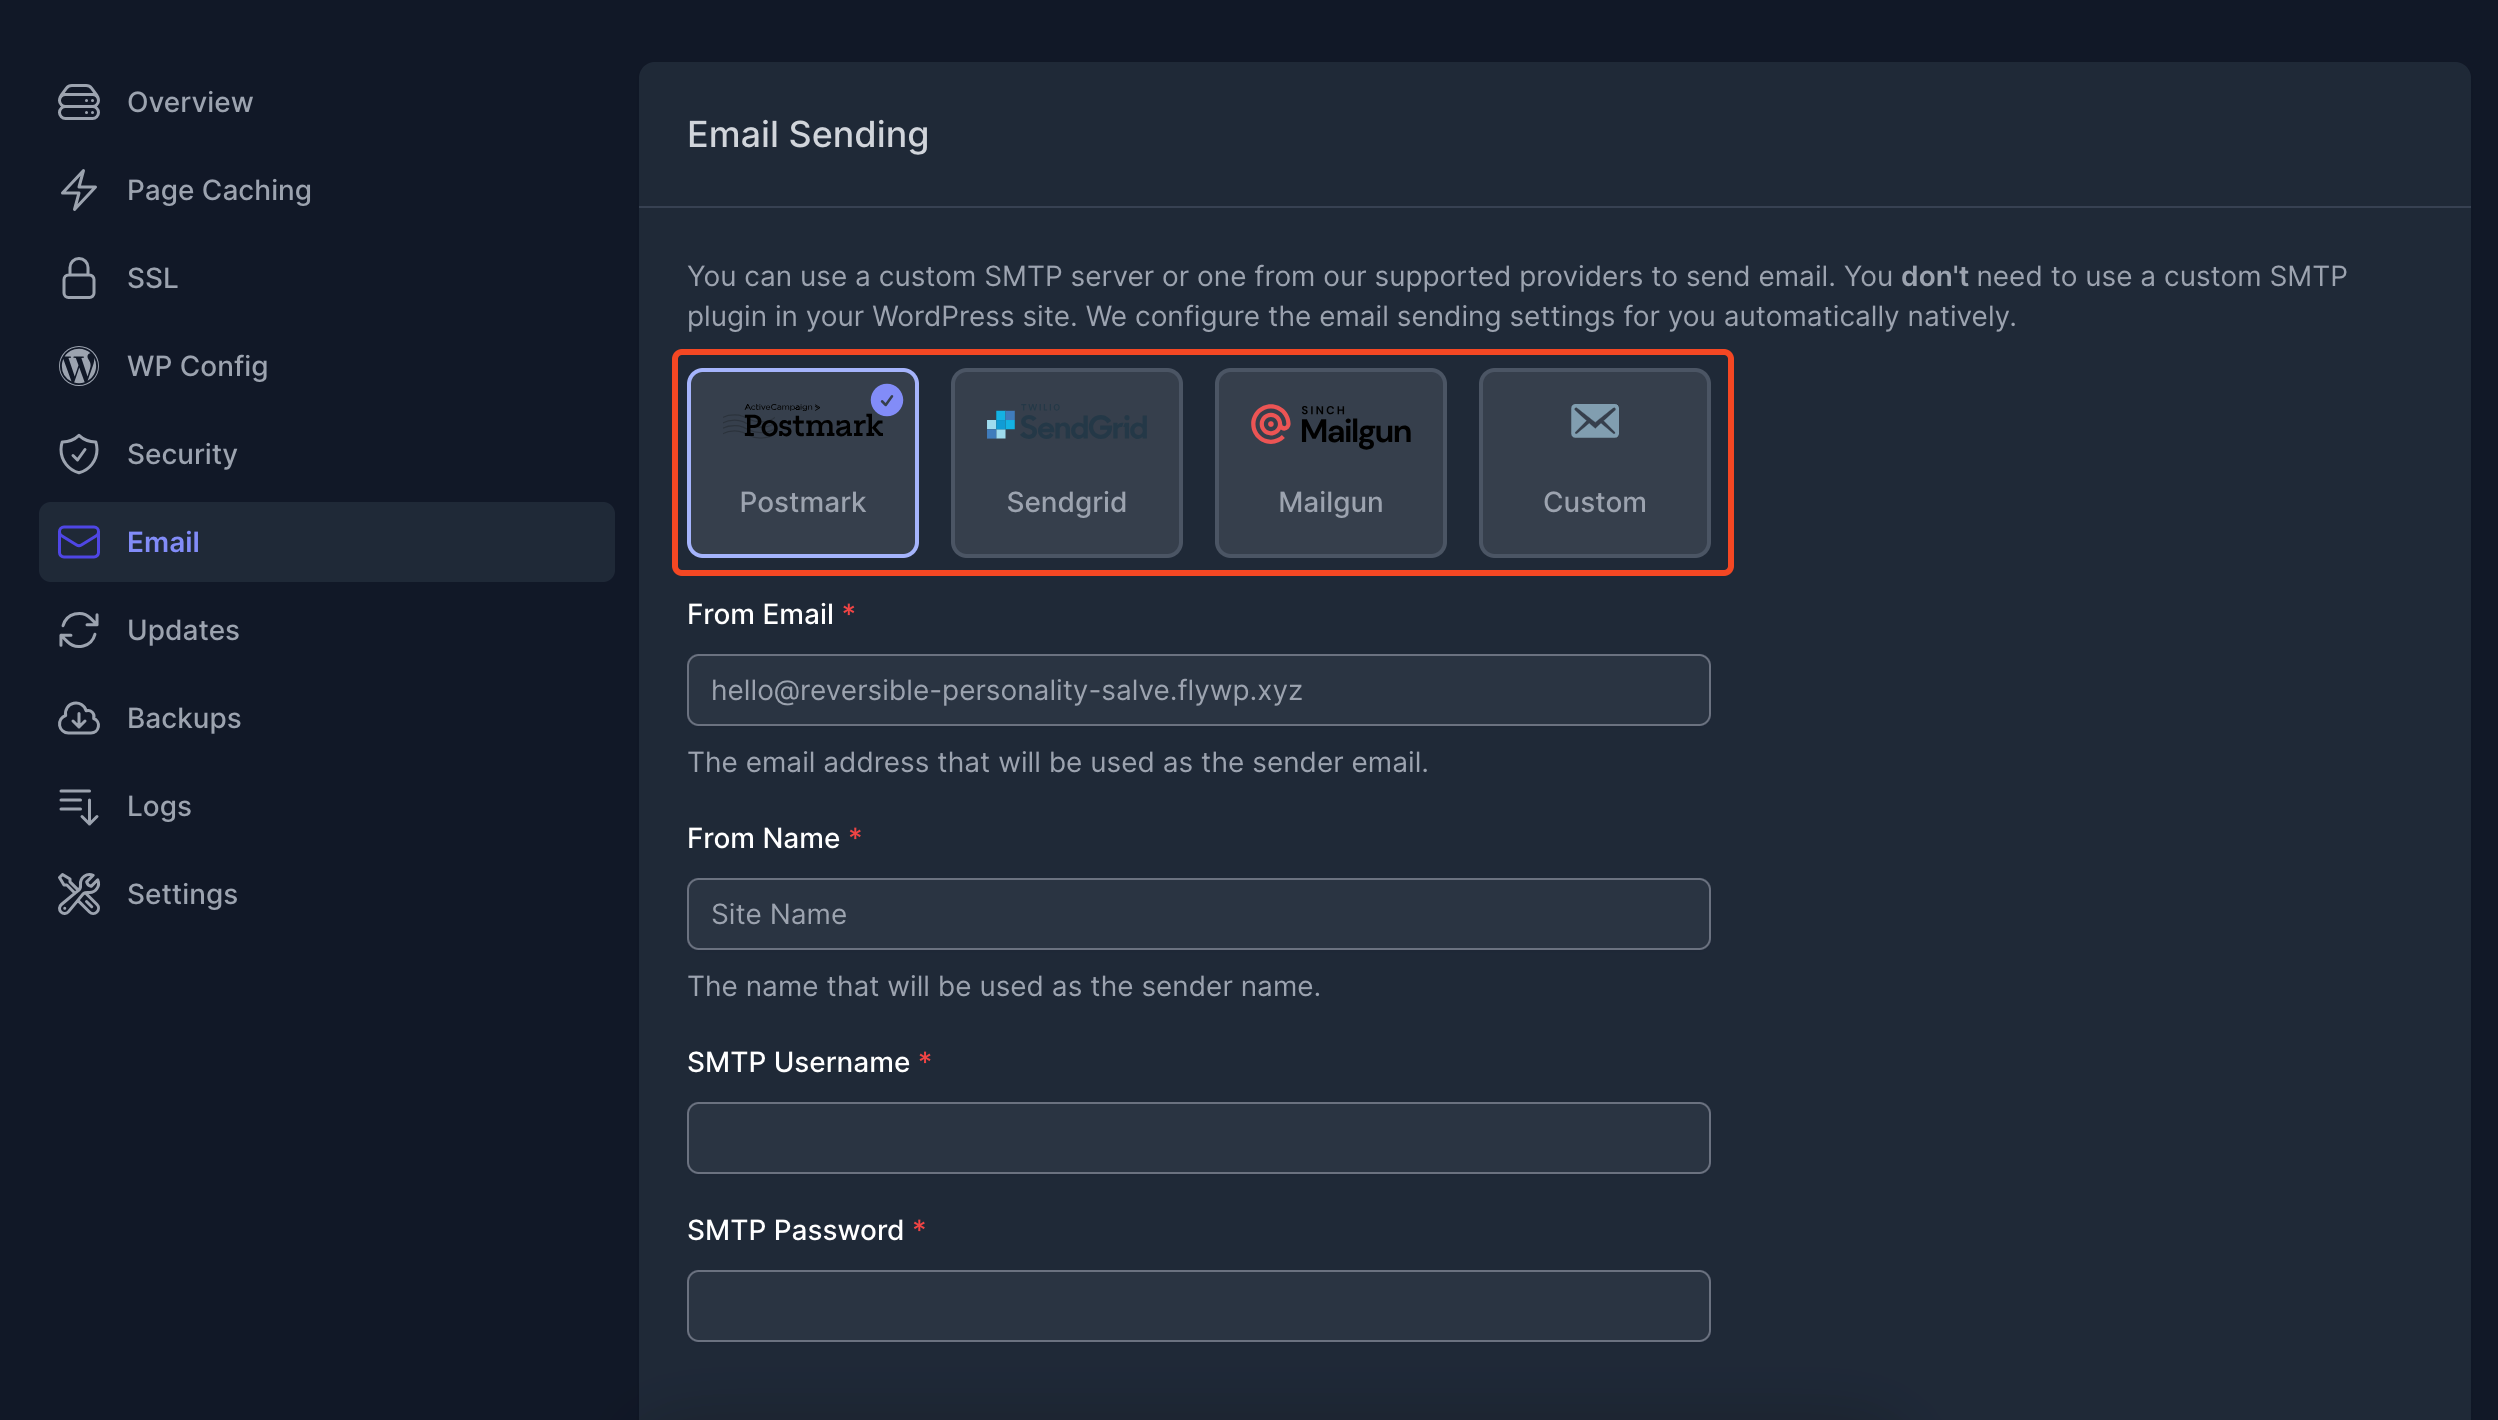
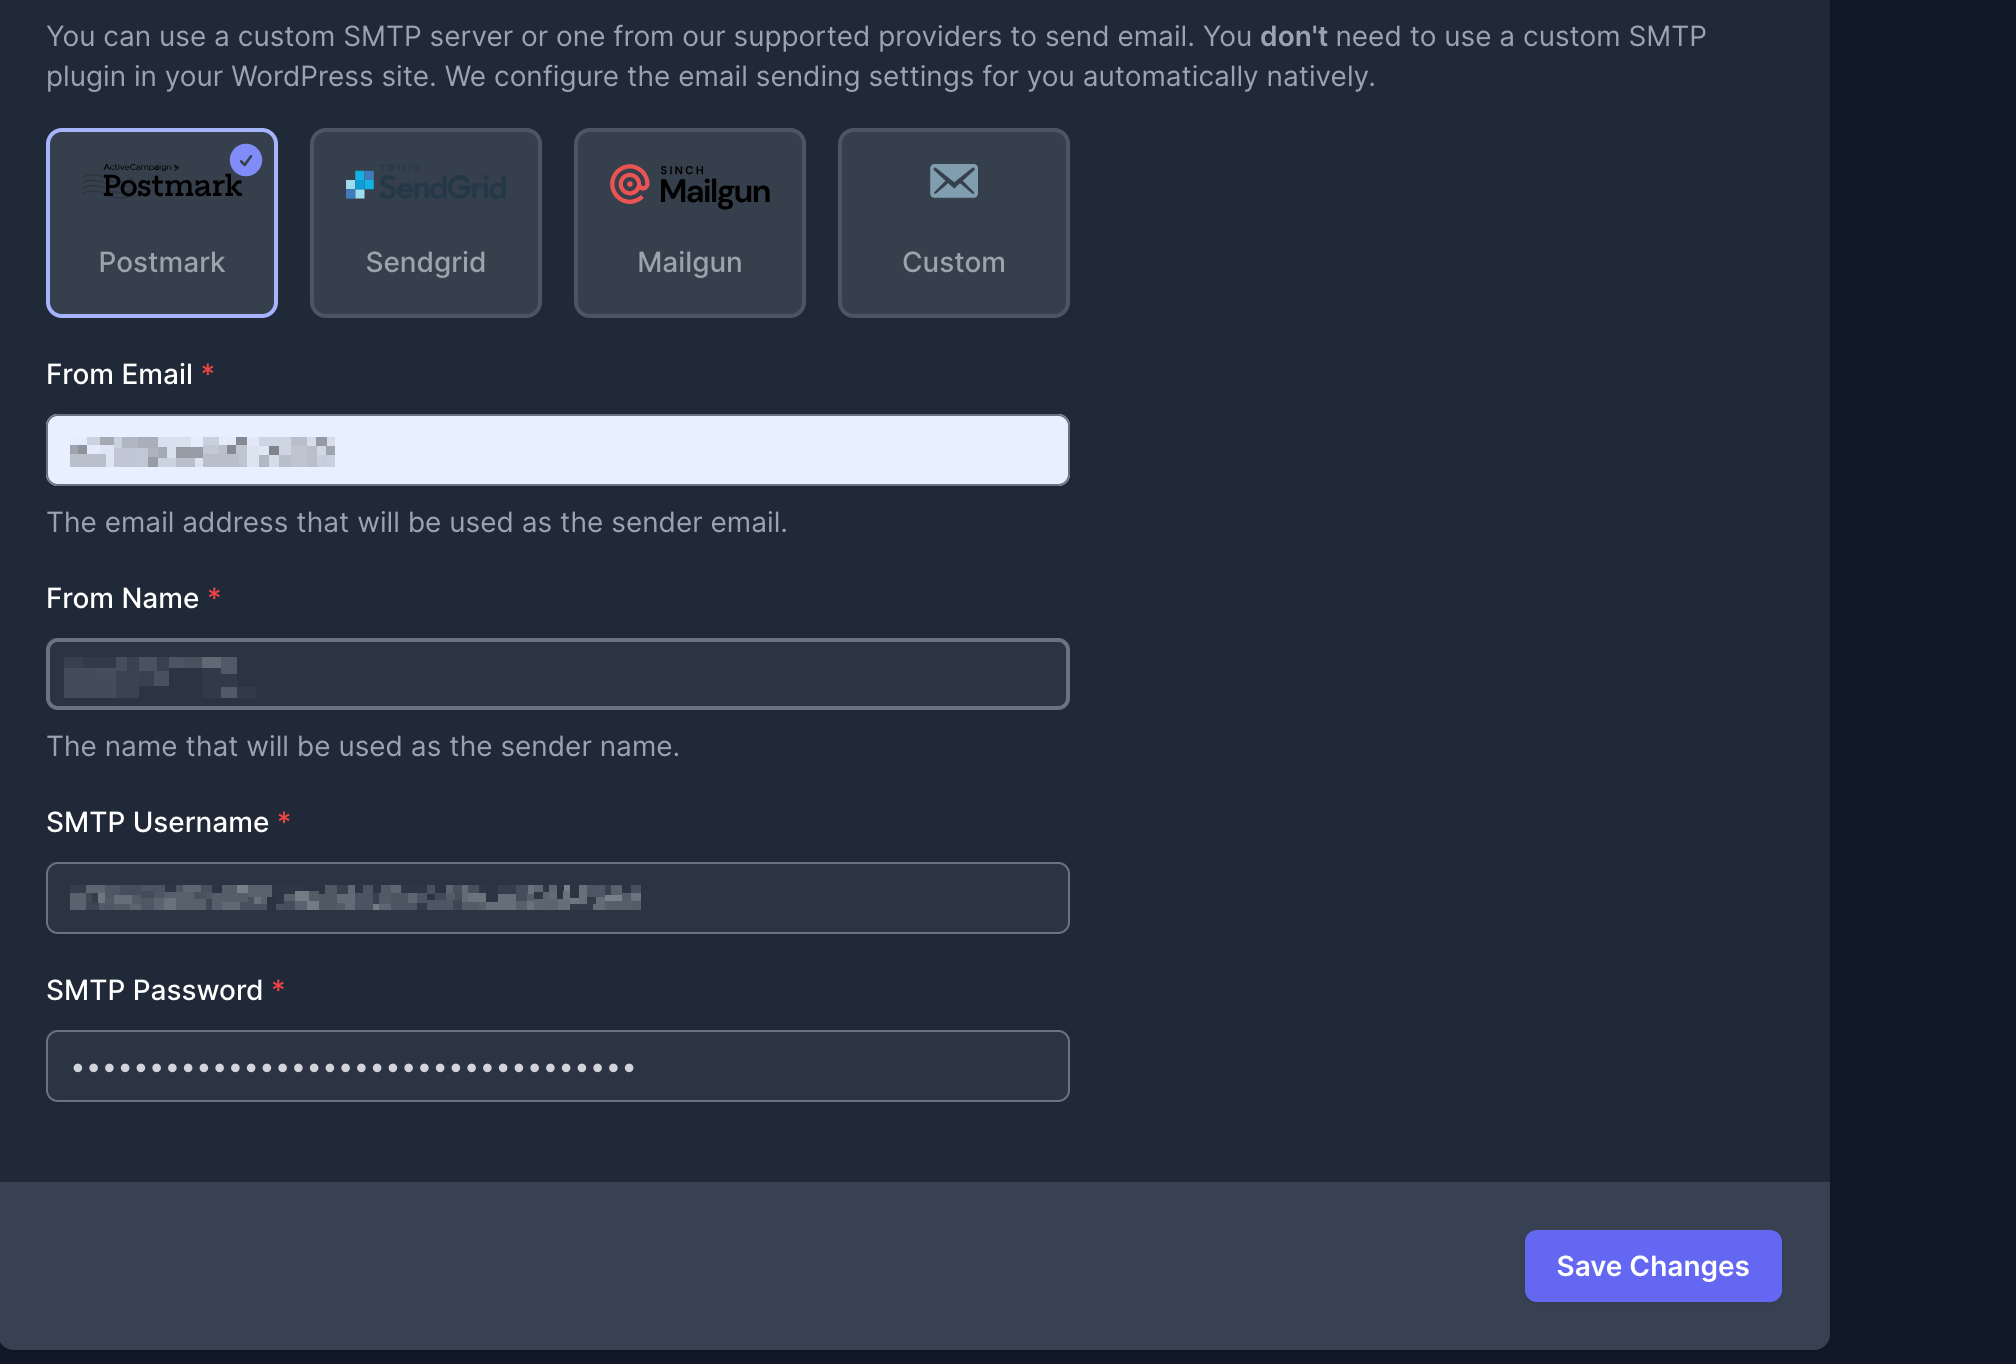
Here you’ll find the SMTP servers.
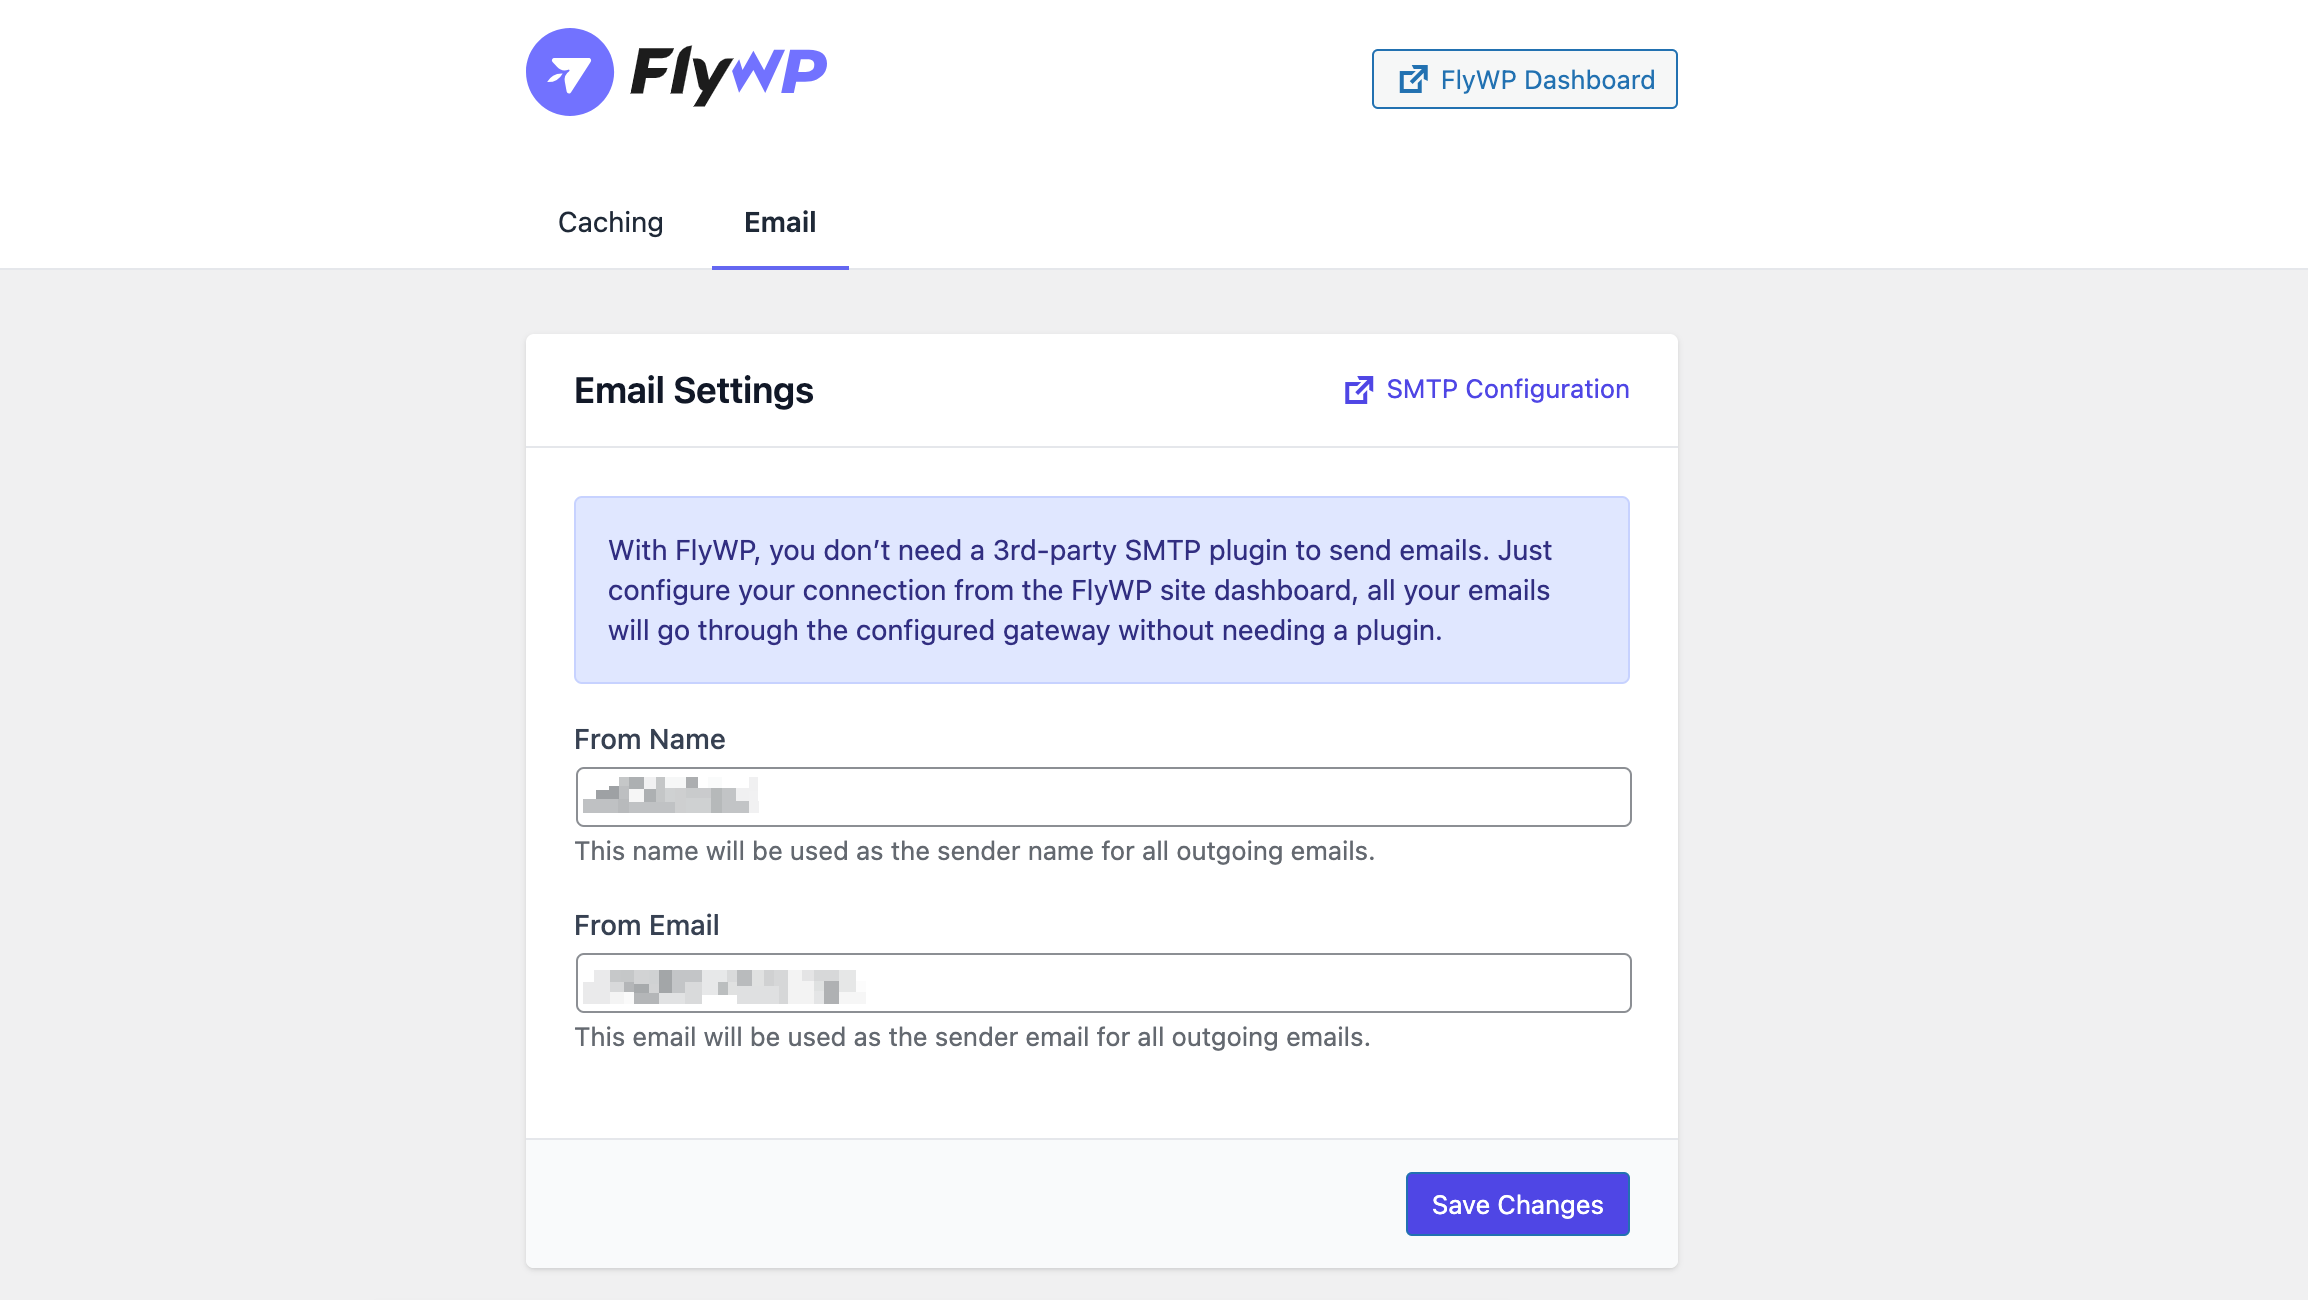
Please note: With FlyWP, you don’t need a 3rd-party SMTP plugin to send emails. Configure your connection from the FlyWP site dashboard, and all your emails will go through the configured gateway without needing a plugin.
Step four: The site’s admin email settings
Click on the WP Admin to see the site’s admin email settings.
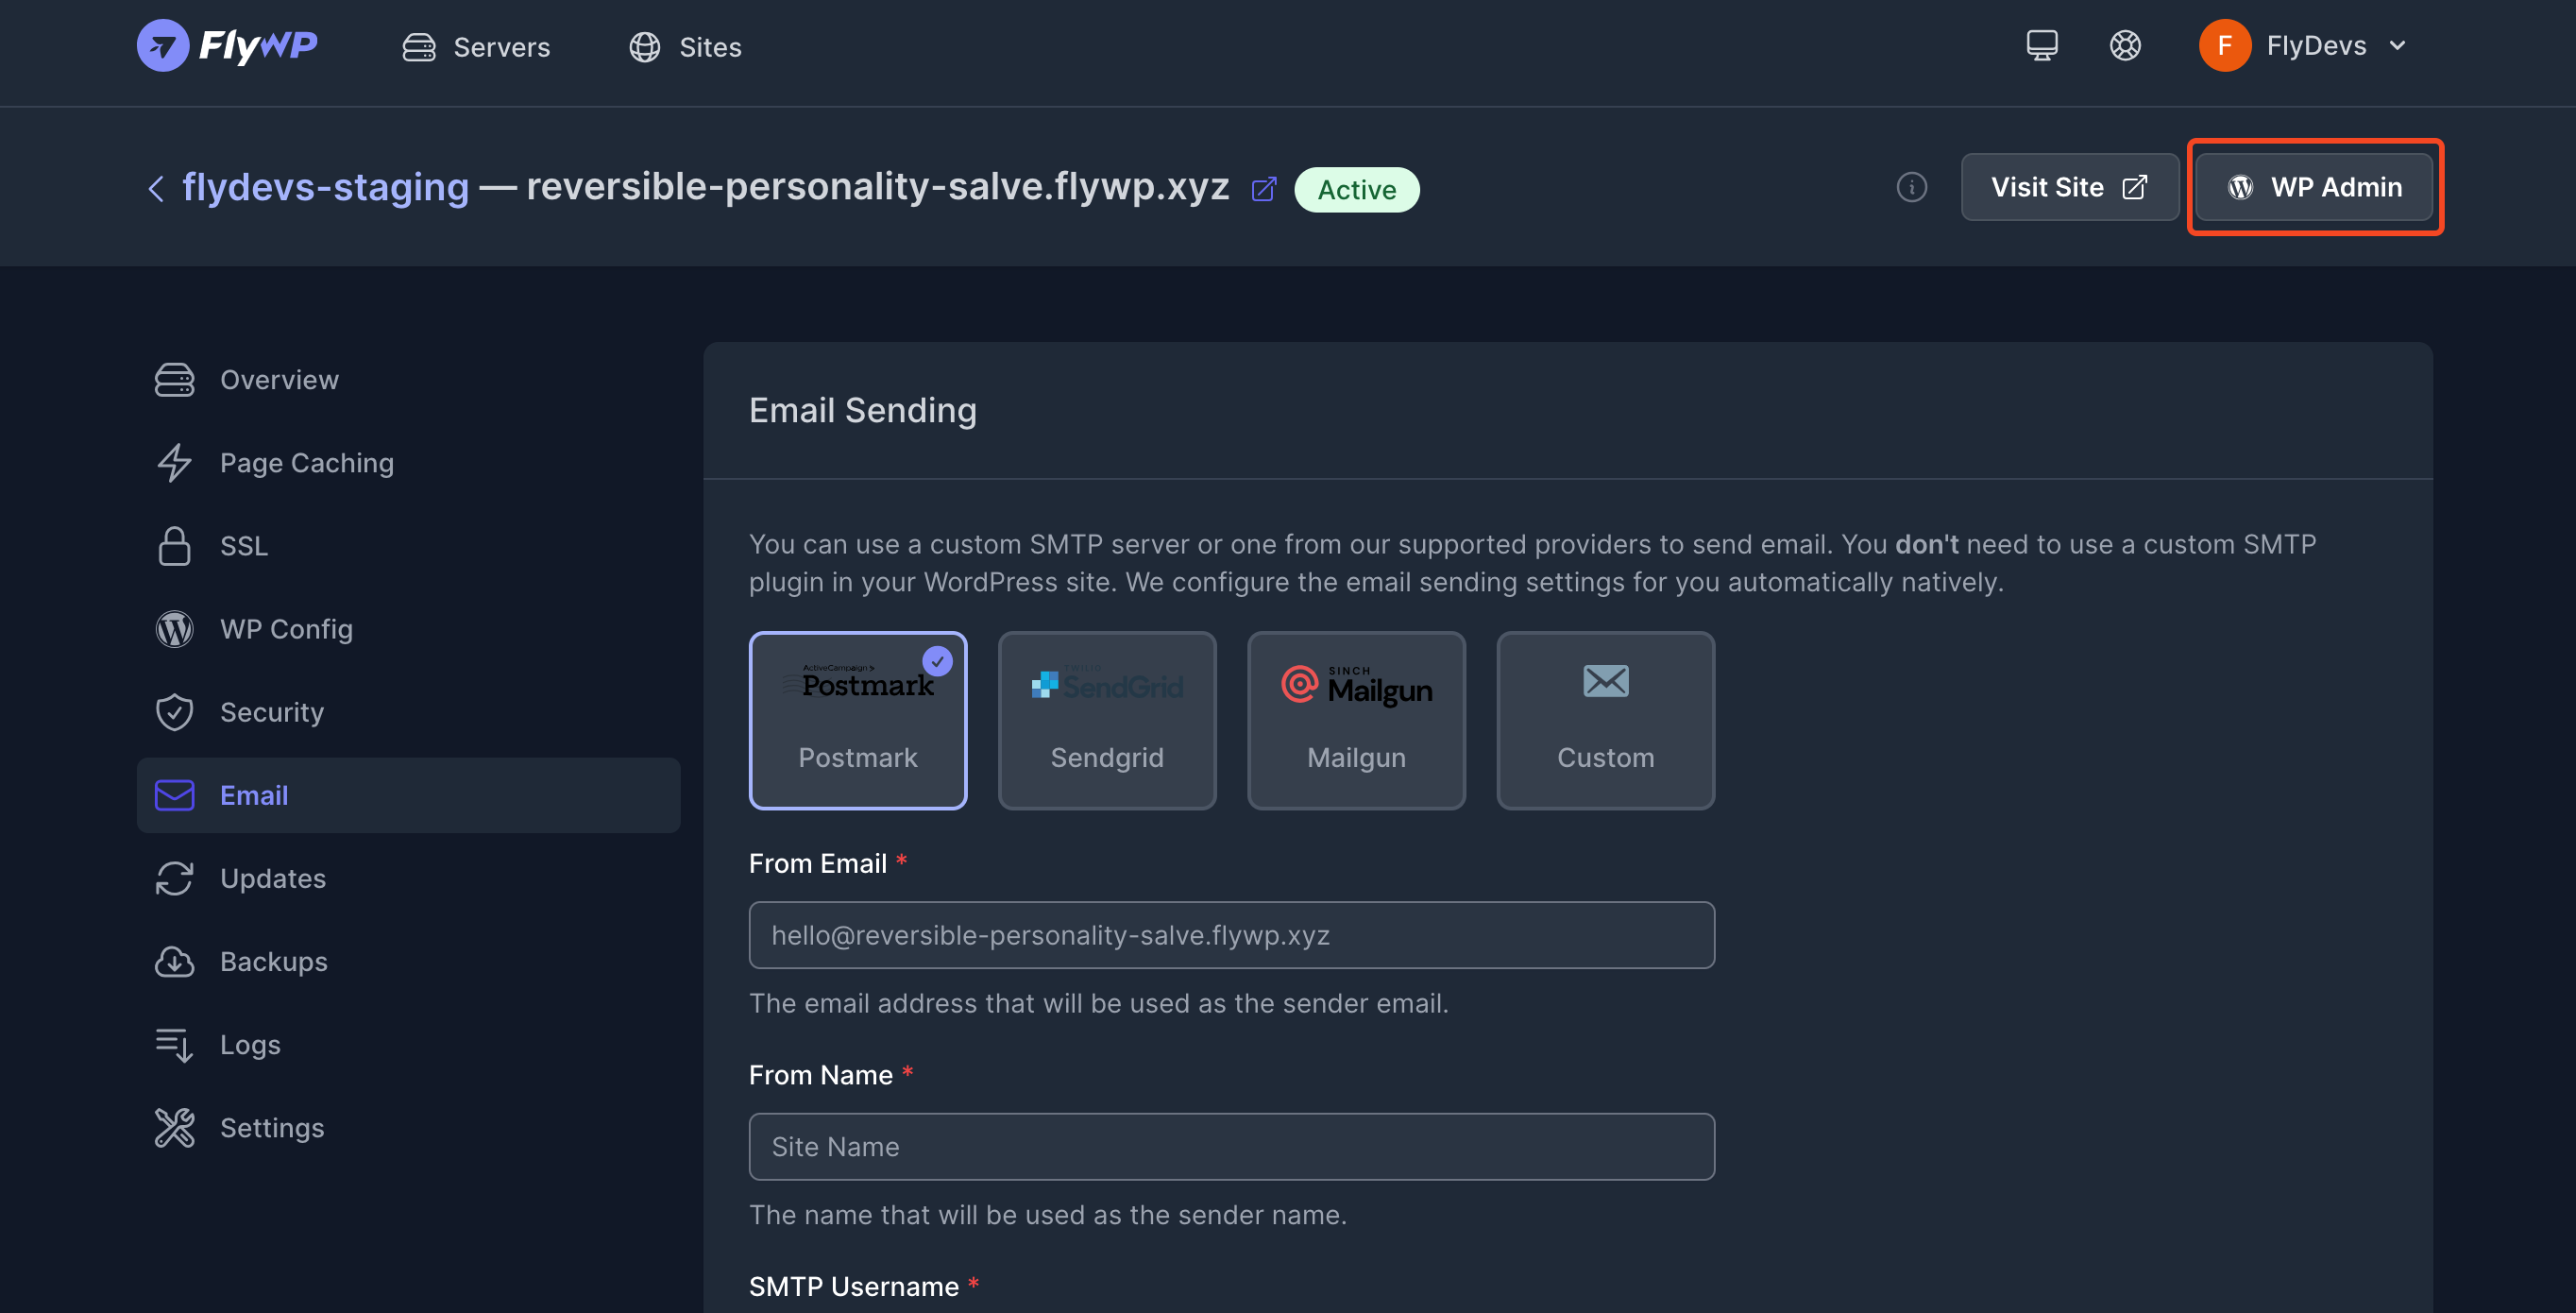
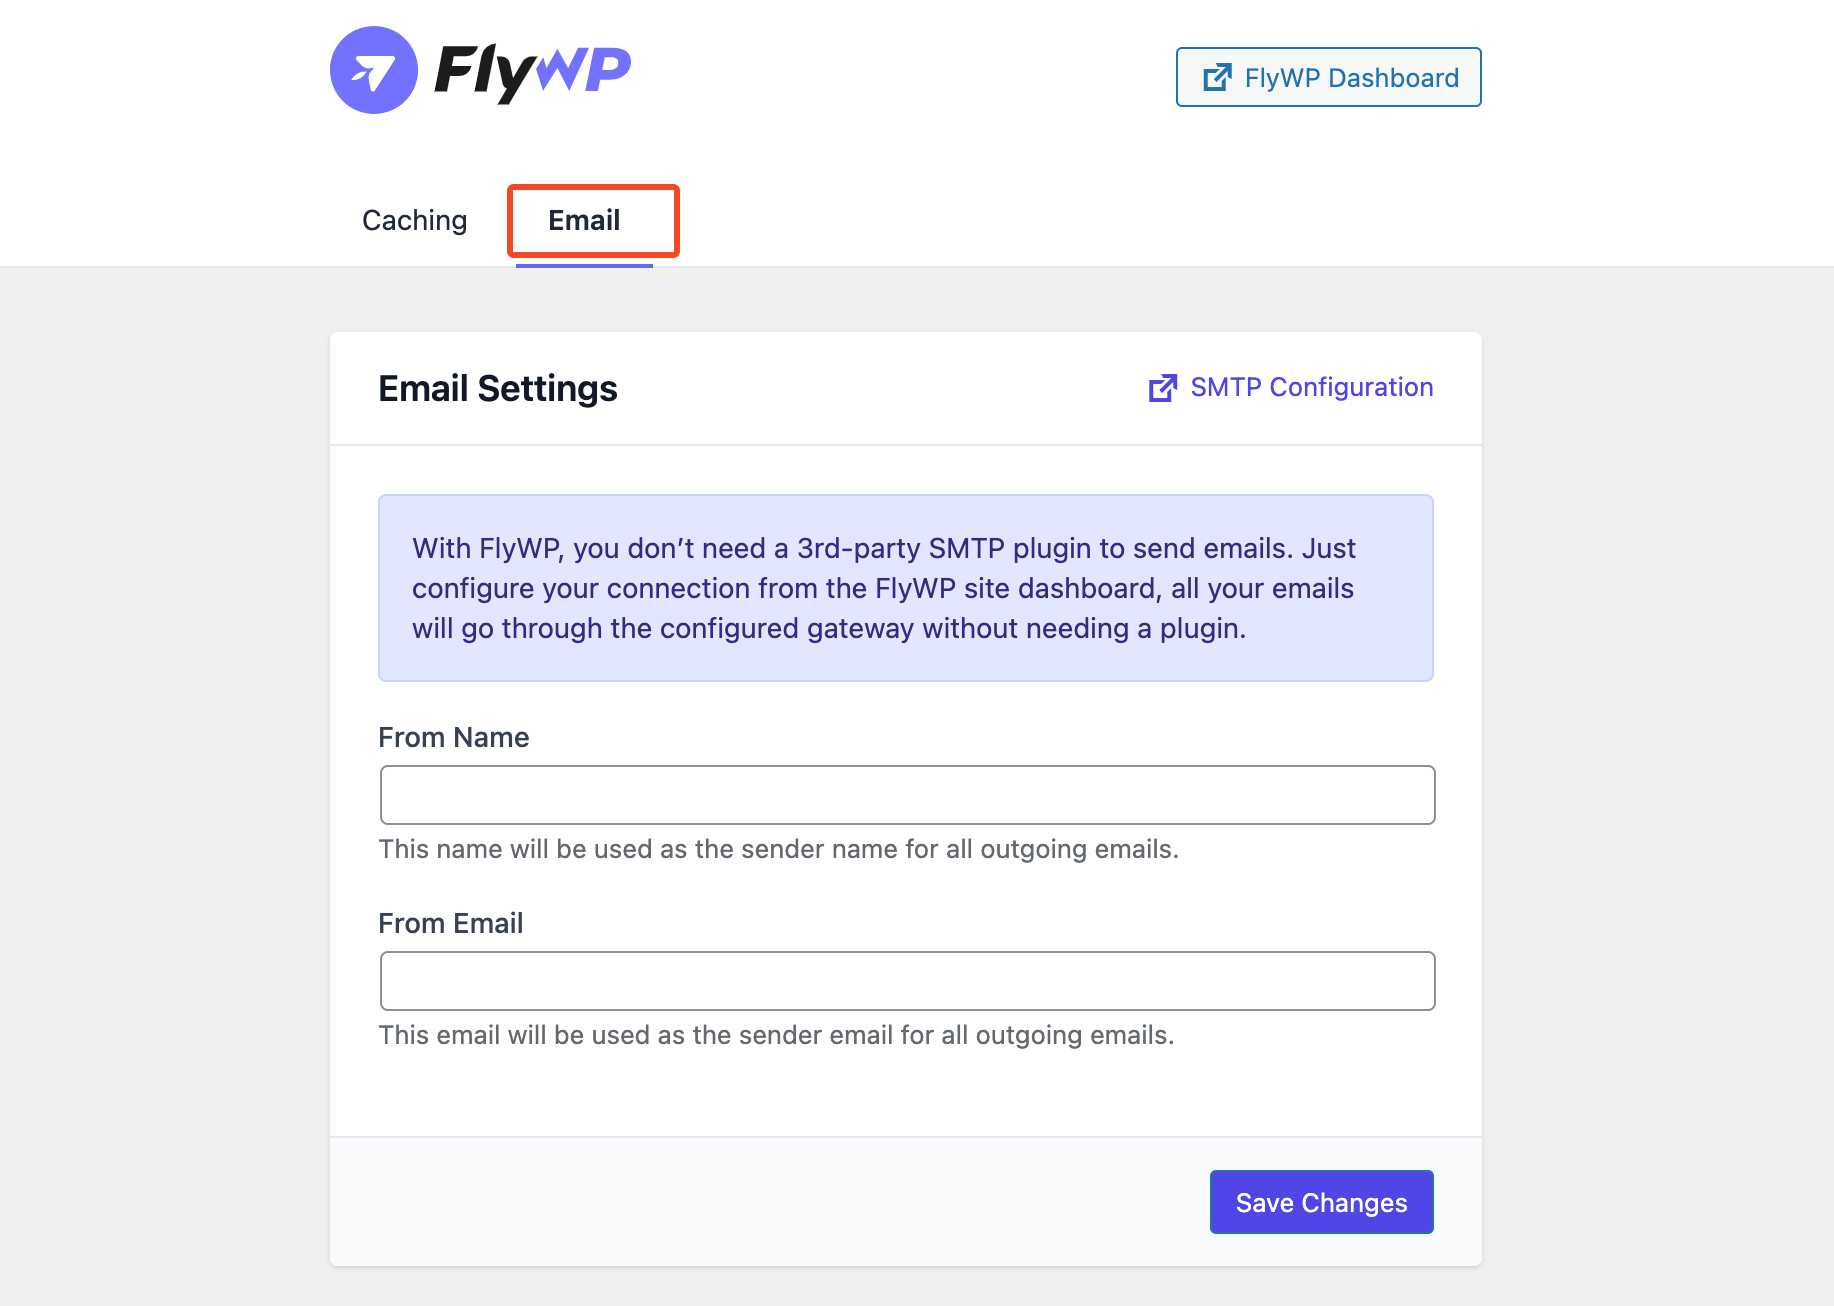
On the FlyWP page, you’ll see the email option.
Here, you can also see the from name and email. It will be automatically filled out after you provide it on the FlyWP dashboard.
Next, move to your postmark account since we have selected “postmark” as an SMTP email sender. Then copy the username and password.
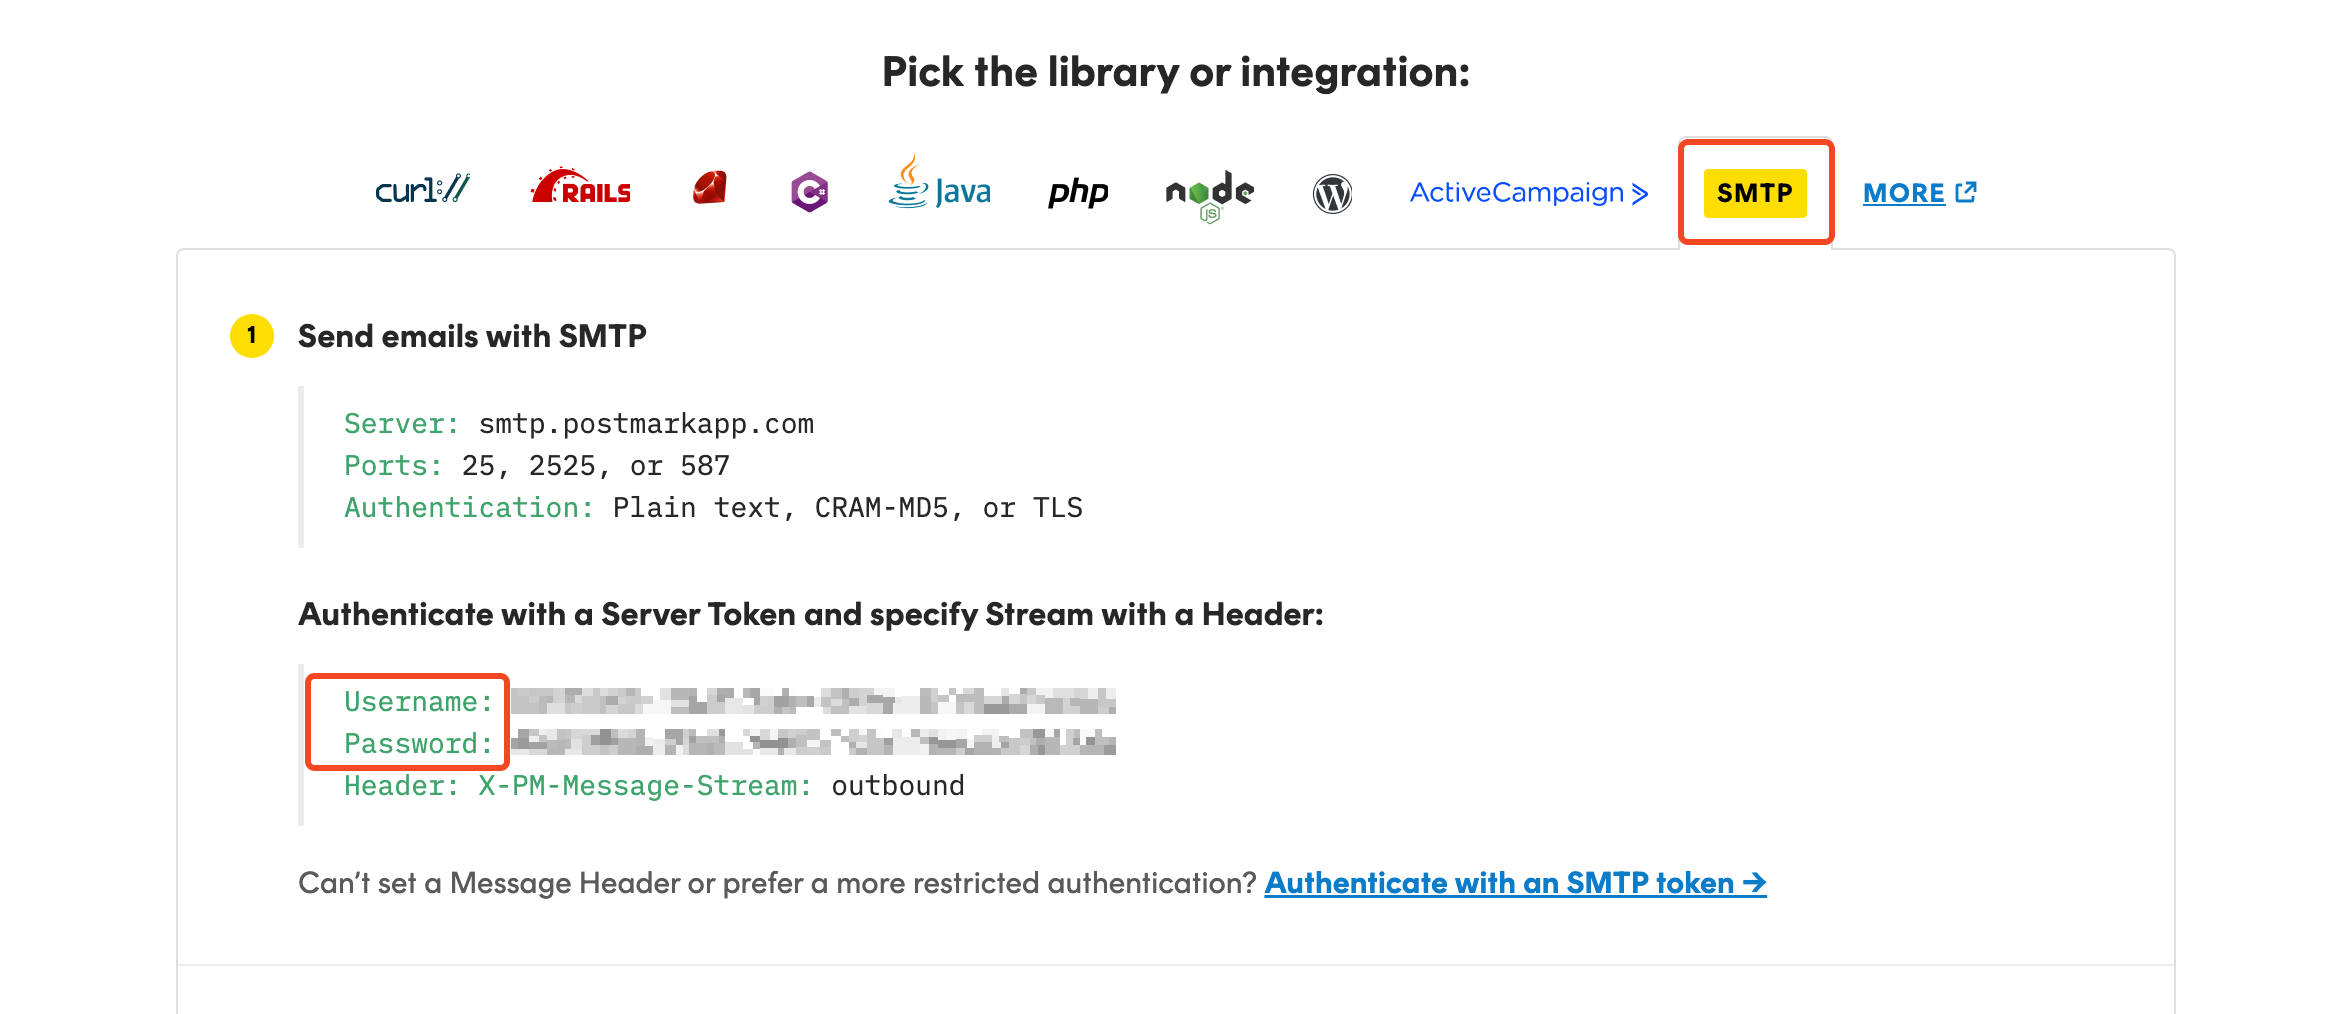
Copy the username and password. But remember, you need to verify your domain in Postmark to send emails successfully.
Follow these guides to verify your domain in Postmark.
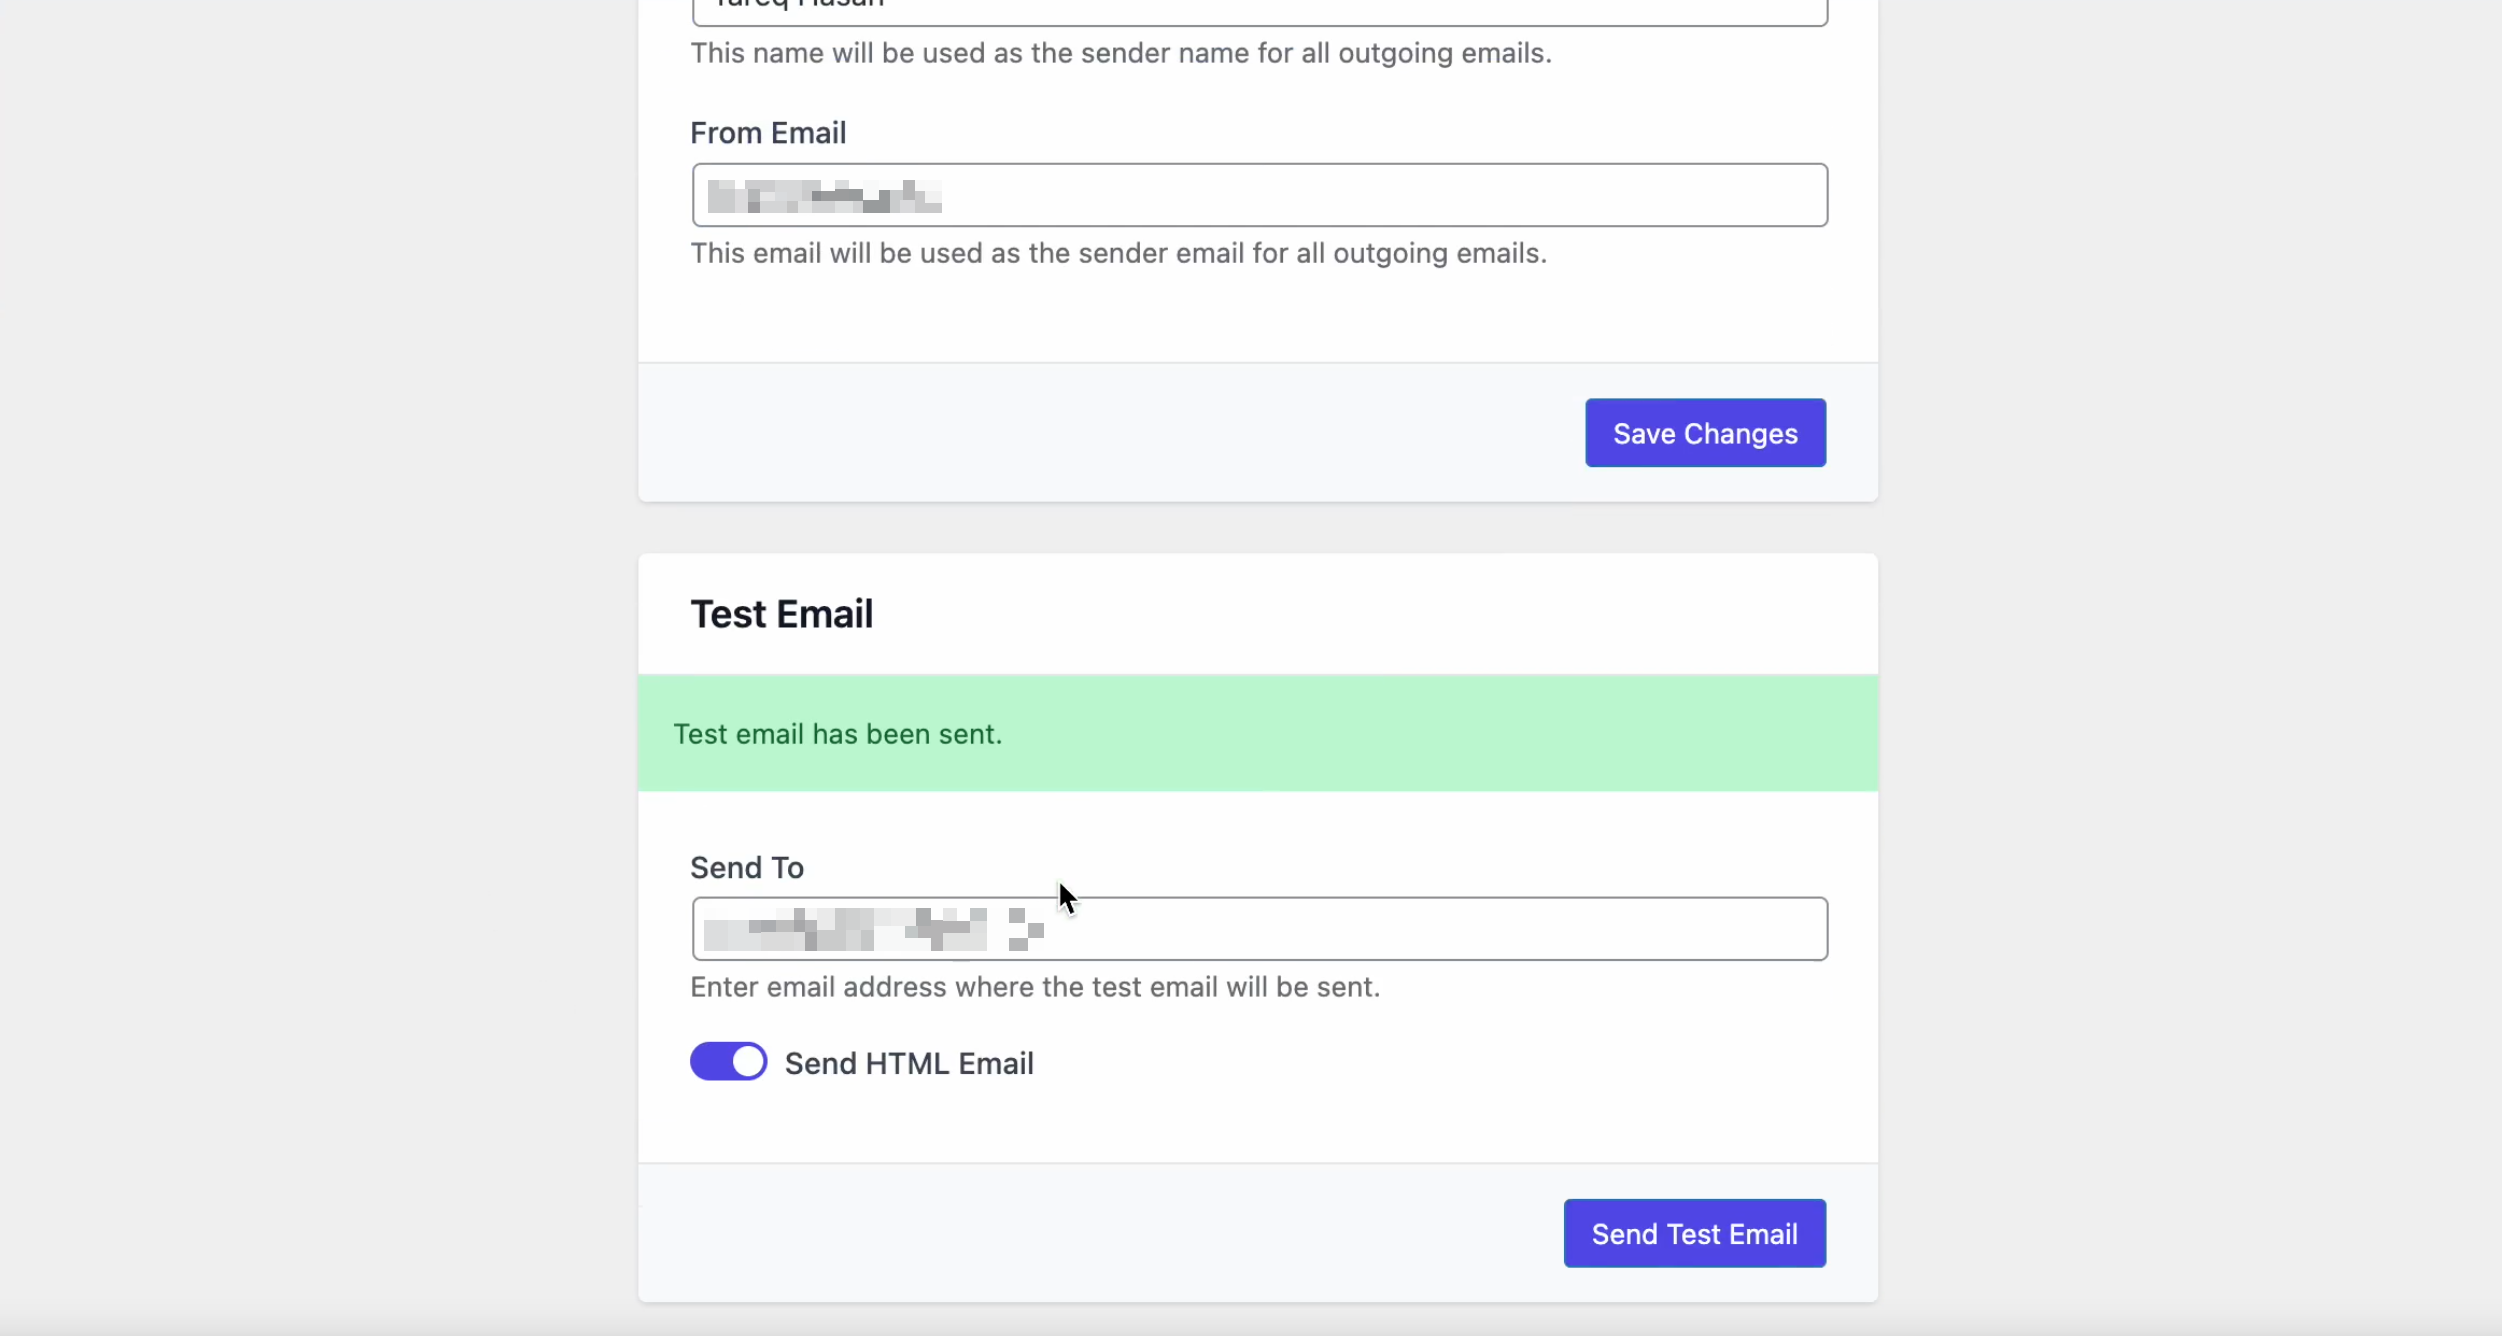
When you hit the save button, you can see that the name and the email will automatically appear here.
Then you can send a test email to check.
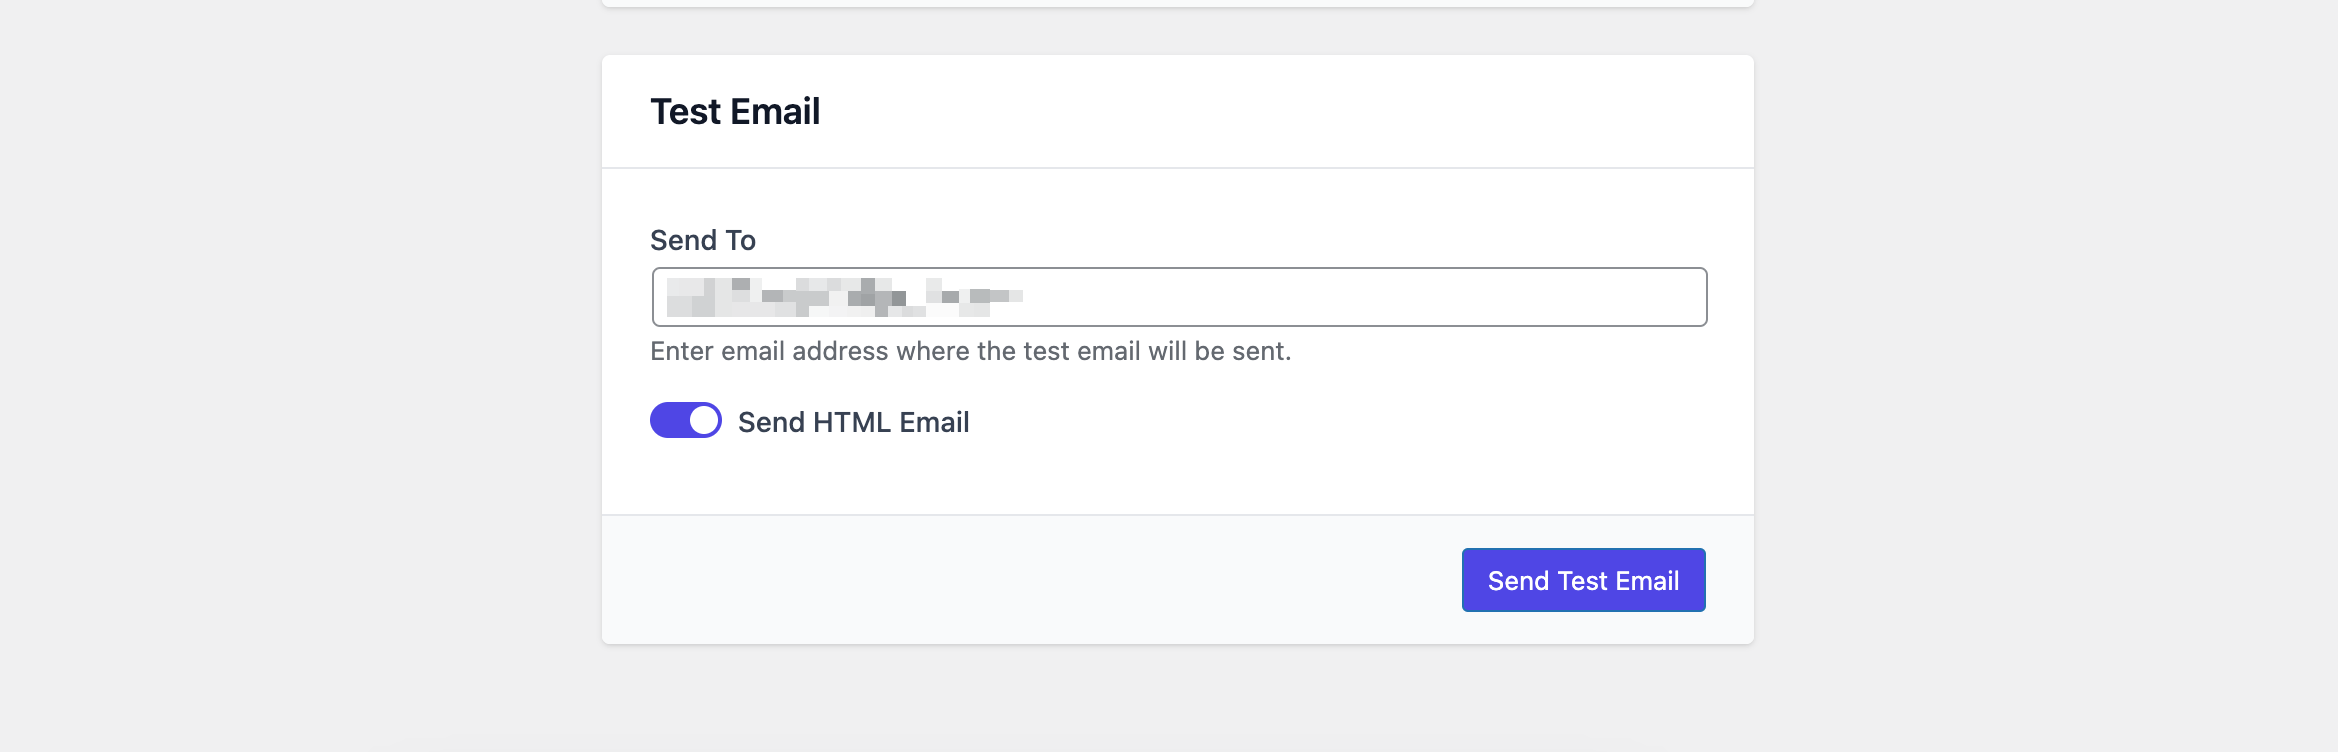
Click on the send test email button.
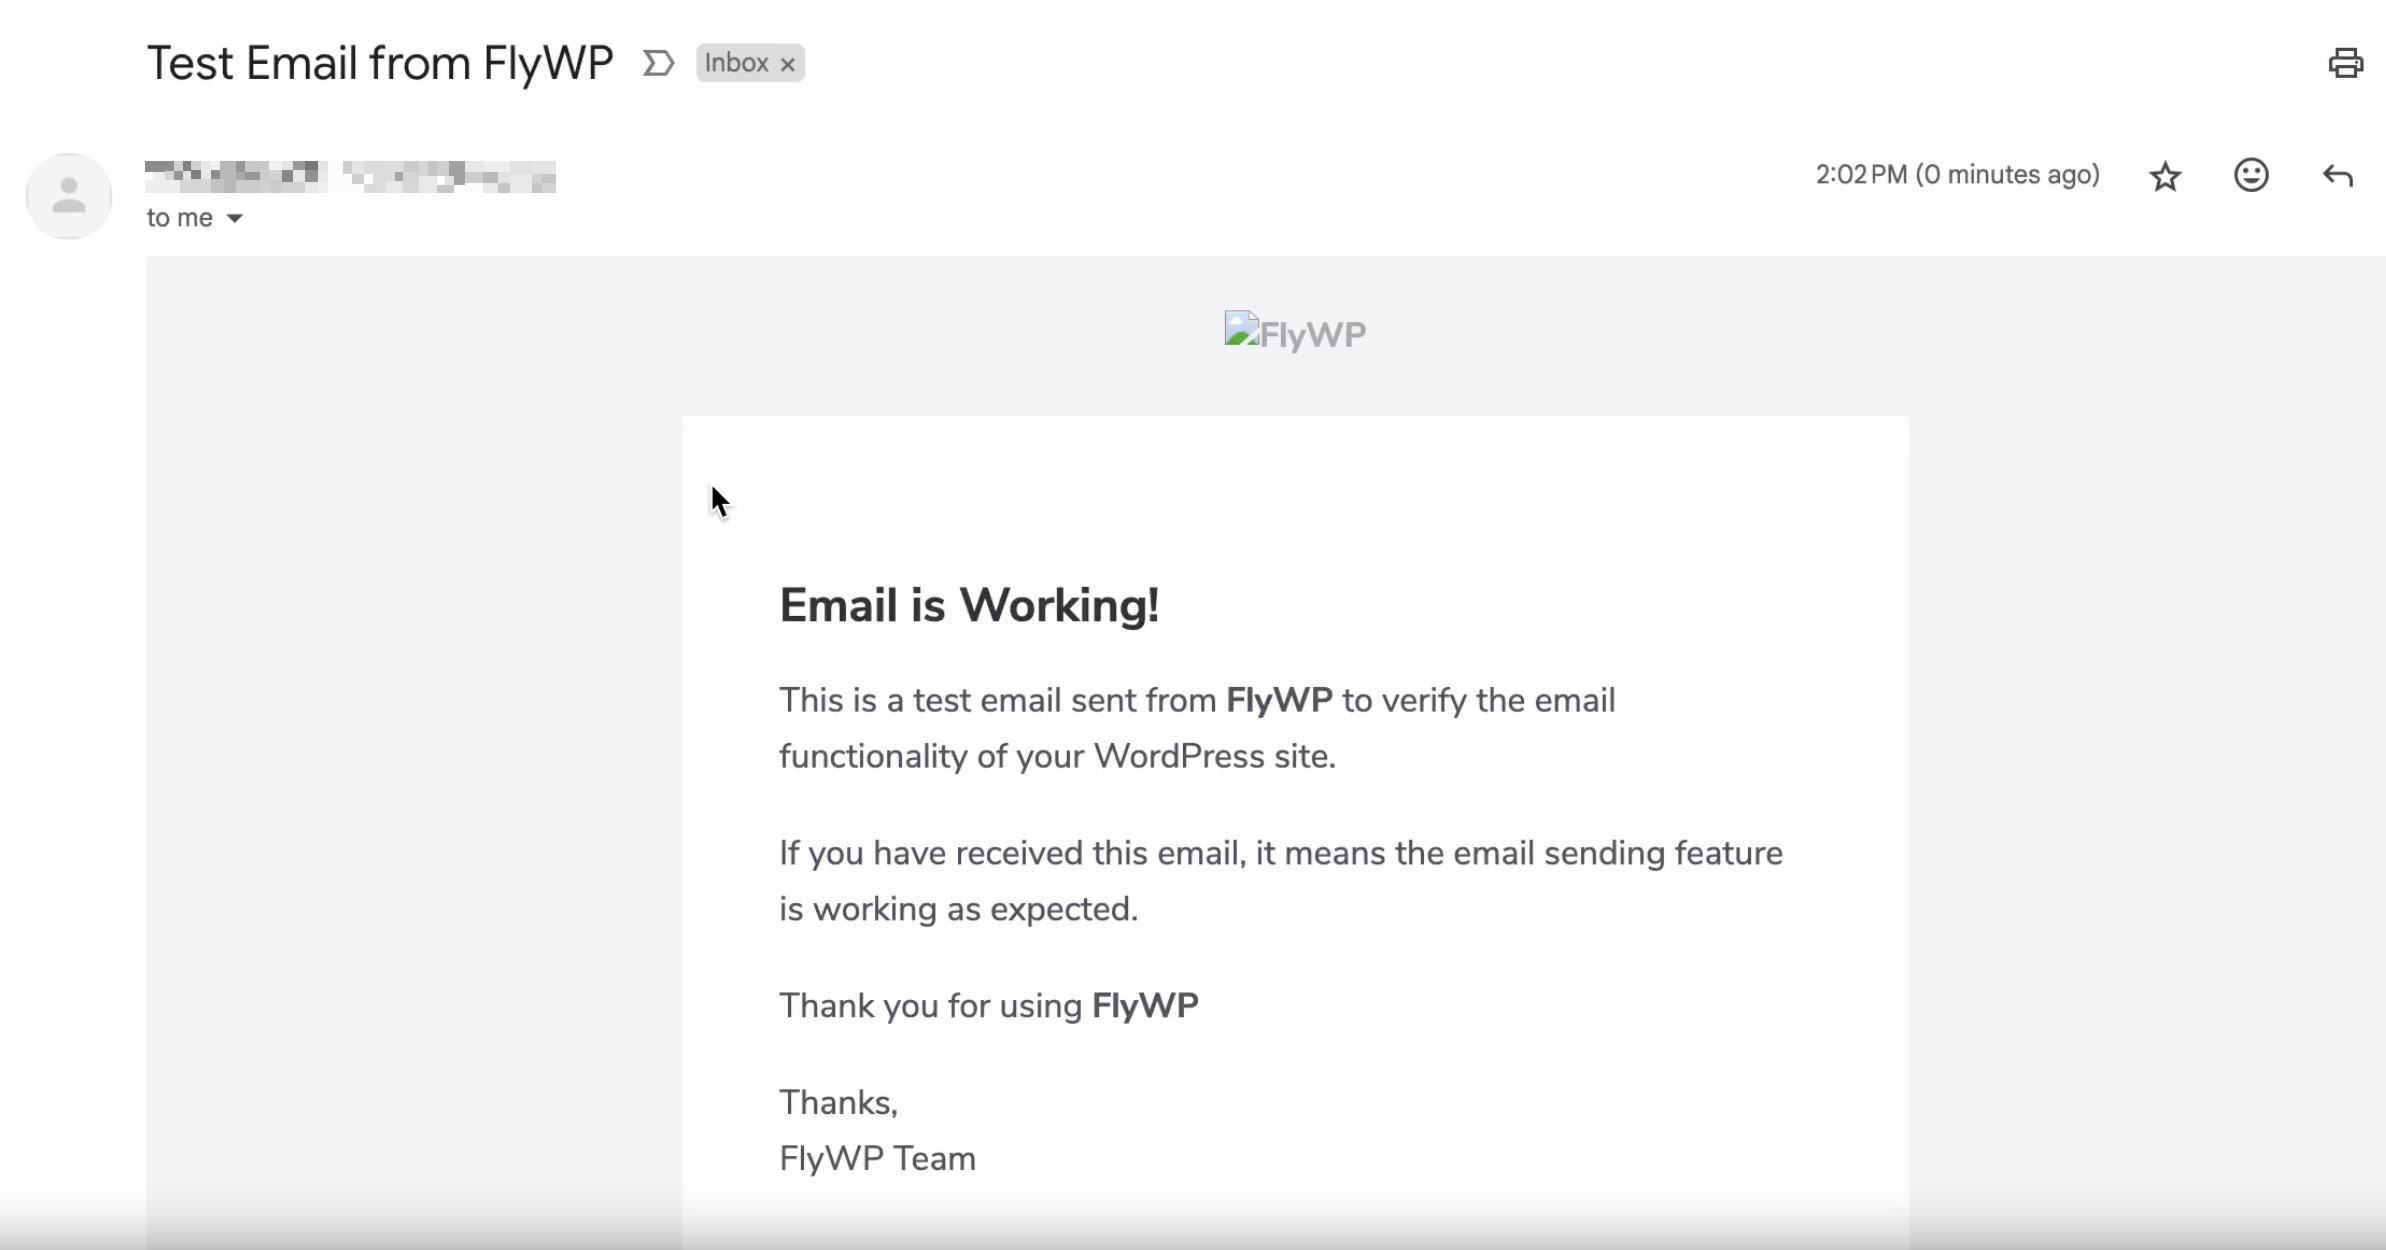
You’ll get the email immediately.
So that’s how the email feature works in FlyWP.