DigitalOcean is a popular server provider in the market. It provides a wide range of cloud computing options to developers, startups, and small and medium-sized businesses. We all know that its platform is designed to be simple and easy to use, and it offers a variety of features that make it a good choice for those who are new to cloud computing.
Well, FlyWP lets you skyrocket your WordPress server management journey with DigitalOcean. You can add this popular server provider to FlyWP and manage your WordPress site like never before.
Let’s see how to add this server provider to FlyWP.
How to add DigitalOcean as your prior server provider
Step one:
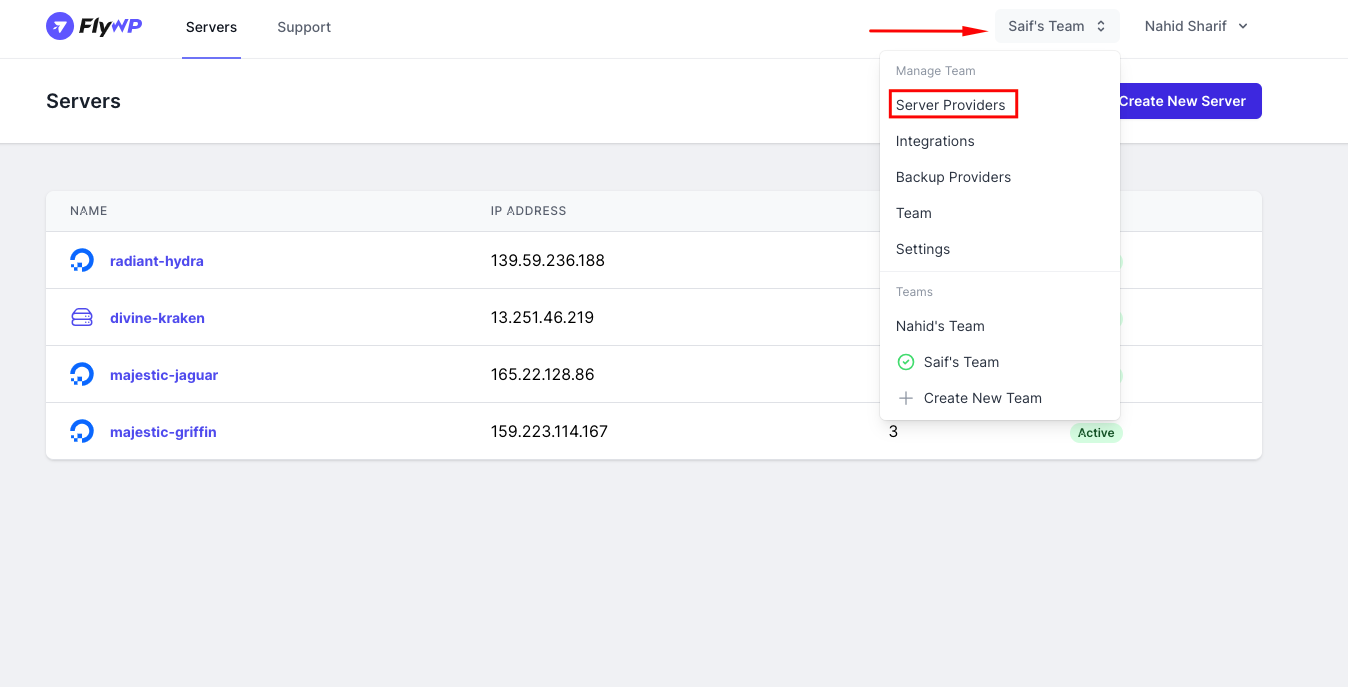
- Navigate to the FlyWP dashboard.
- Click on it in the top right corner, then select your team.
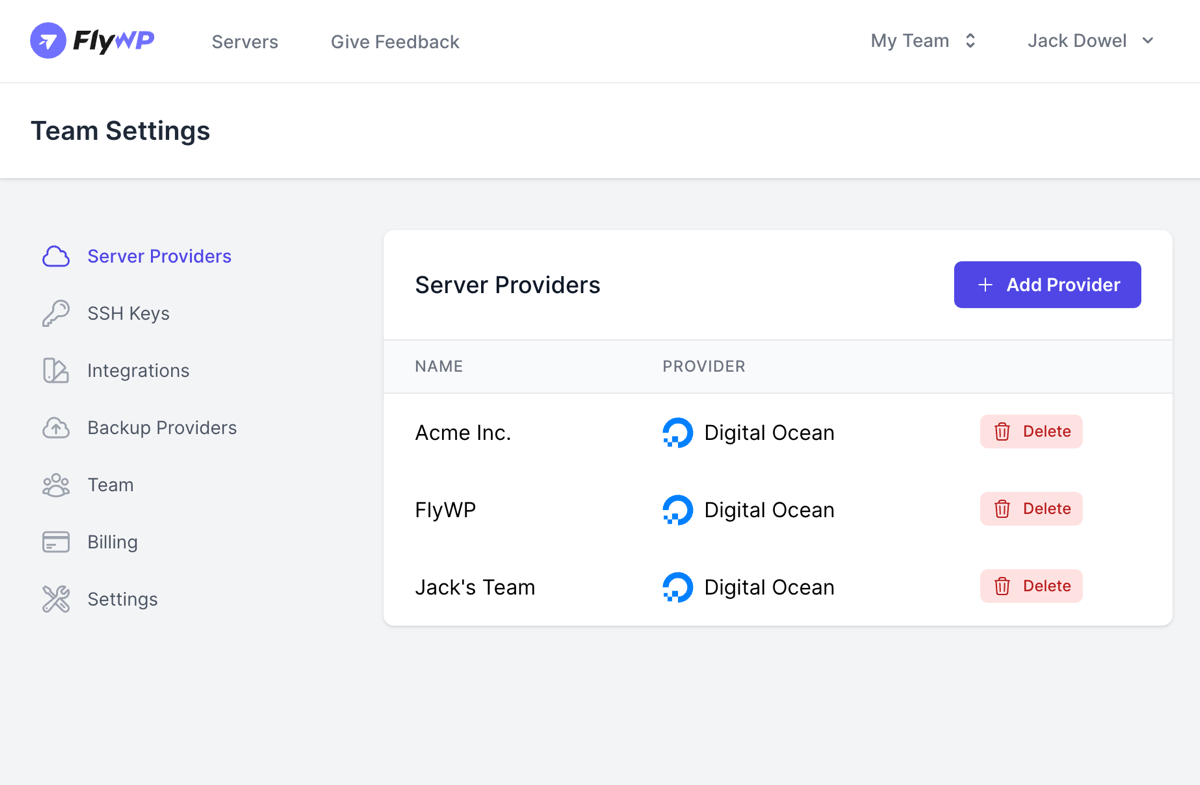
- On the left sidebar, click on Server Providers under Team Settings.
Step two:
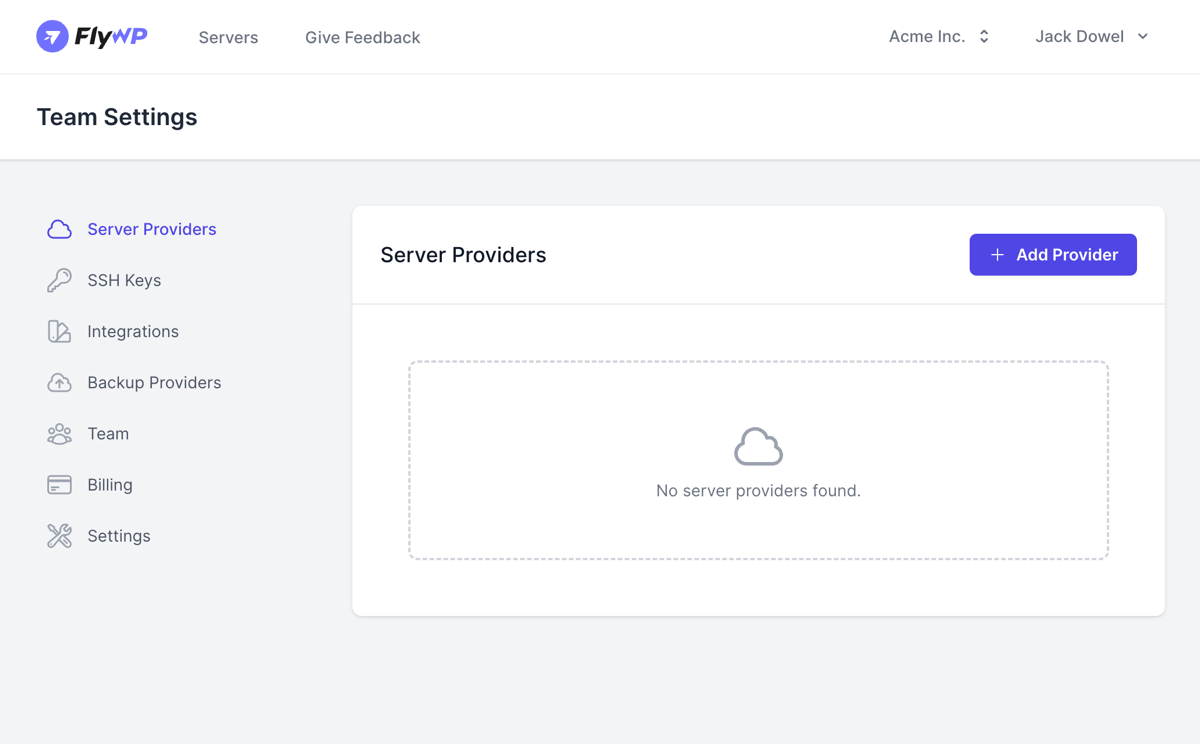
- Click on the Add Provider button.
- A pop-up window will appear, displaying a list of supported server providers.
Step three:
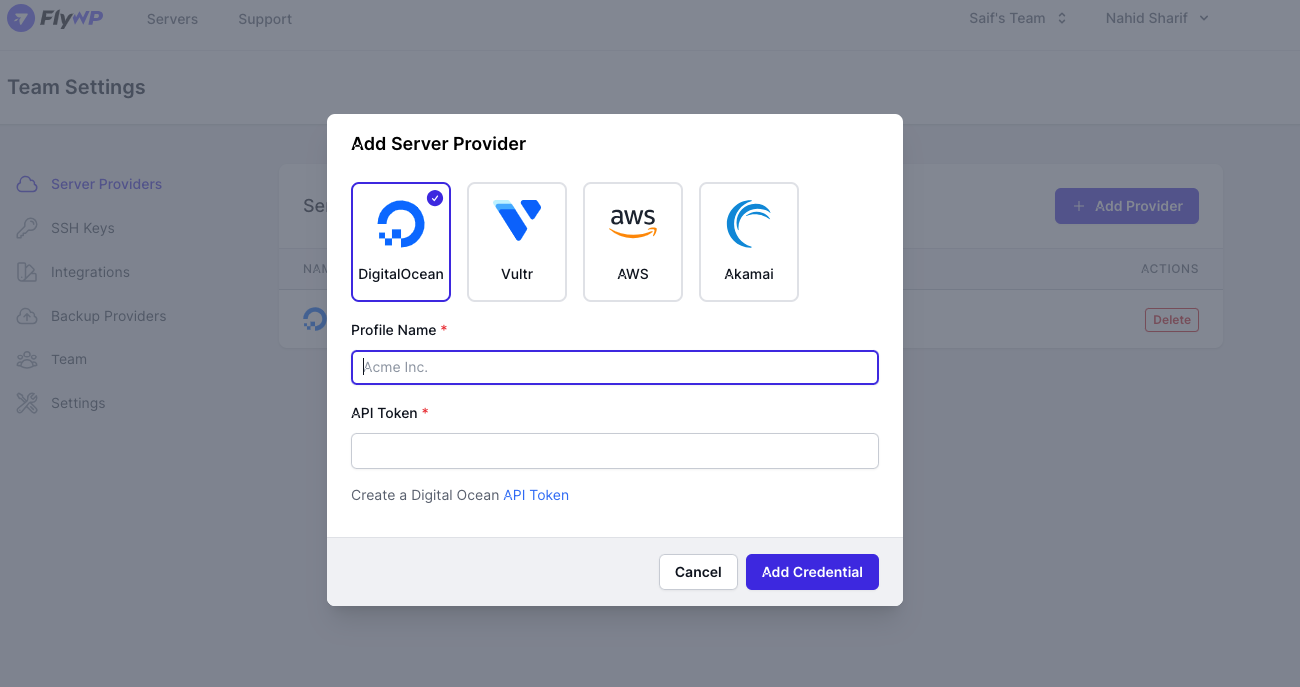
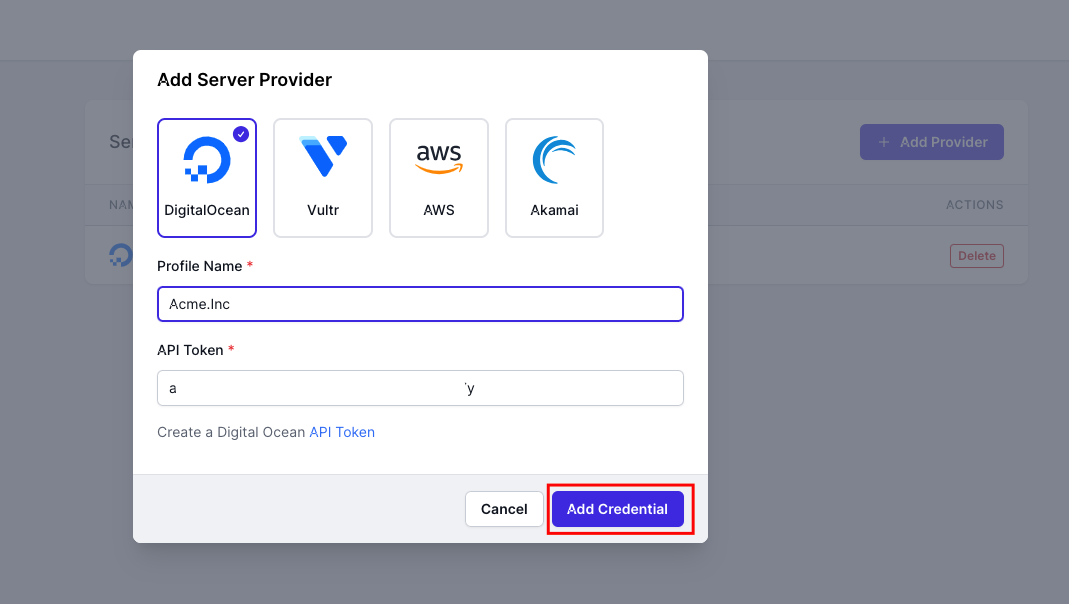
- Choose the server provider you want to add, e.g., Digital Ocean or any other server provider.
Step four:
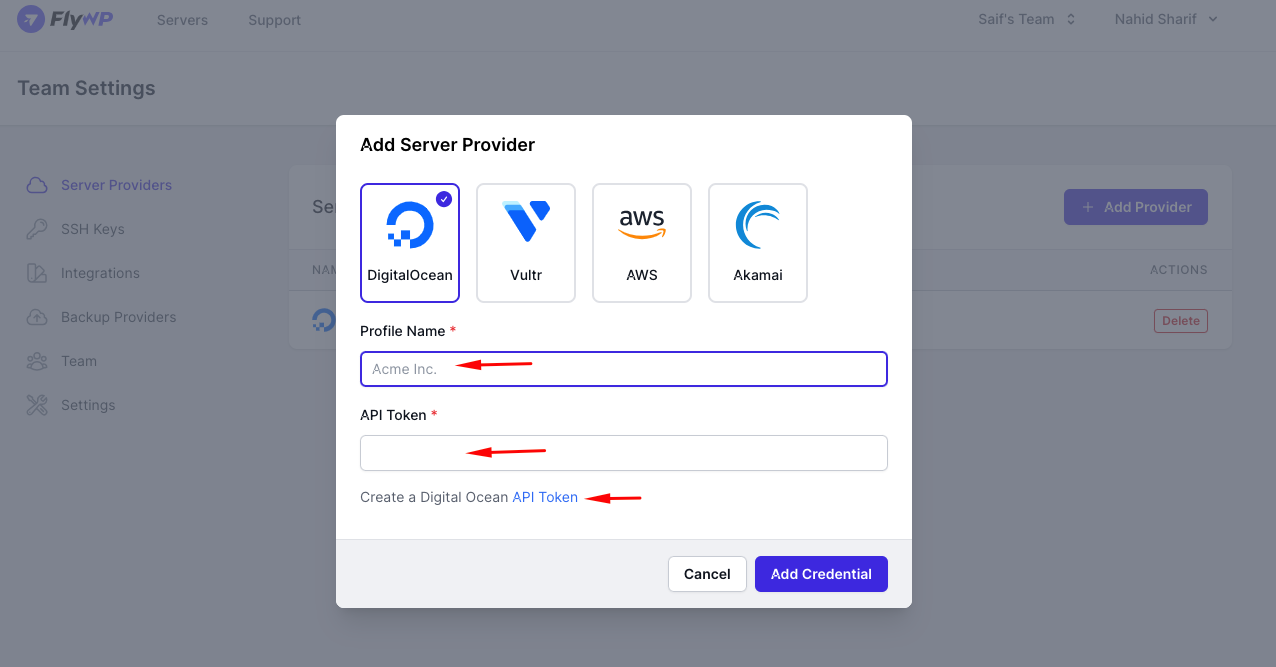
- Profile Name: Enter a name for this provider profile. It’s a good idea to use a name that easily identifies the purpose or organization associated with this profile, such as “Acme, Inc.”
- API Token: You’ll need to provide an API token from your server provider. This token allows FlyWP to communicate with and manage servers on your behalf. If you don’t have one, there’s a link or guidance provided (e.g., “Create a Digital Ocean API Token”) to direct you on how to generate it from the server provider’s dashboard.
Step four:
- Once you click the link, you’ll be landed on the API page
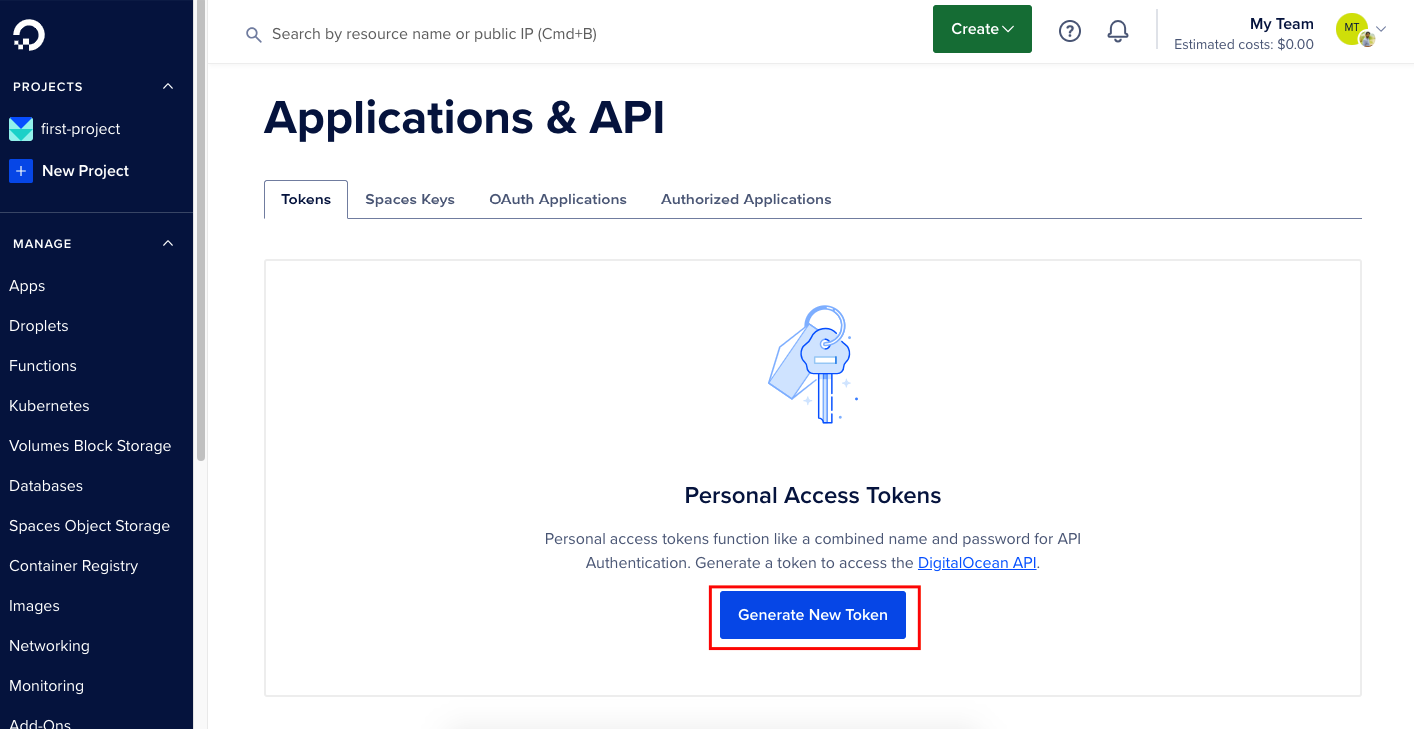
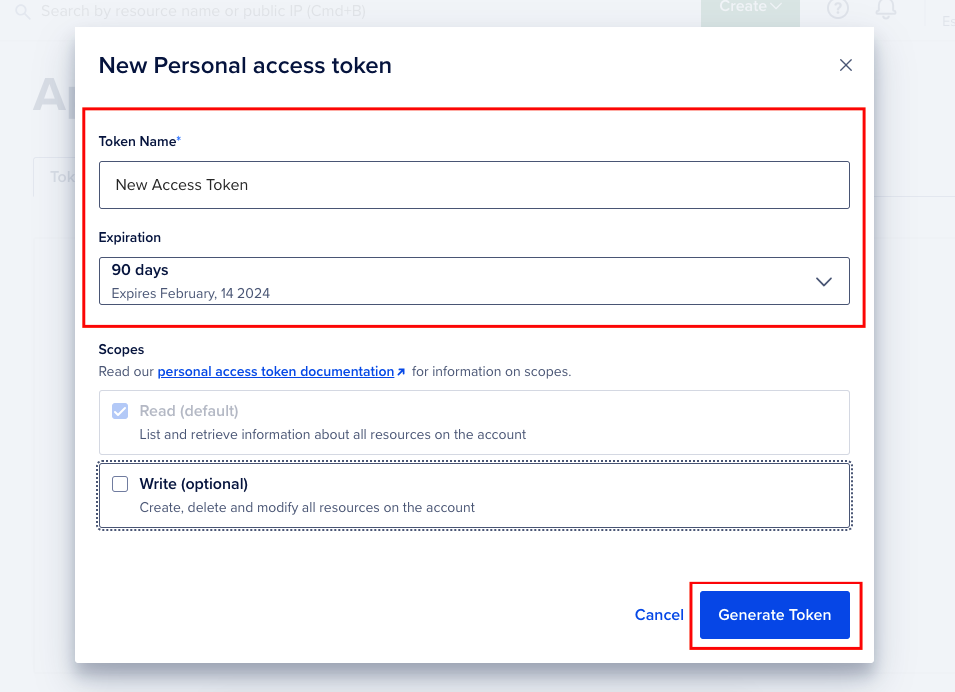
Step five:
- Provide the token name
- Expiration of your API keys
- And click on “Generate Token“
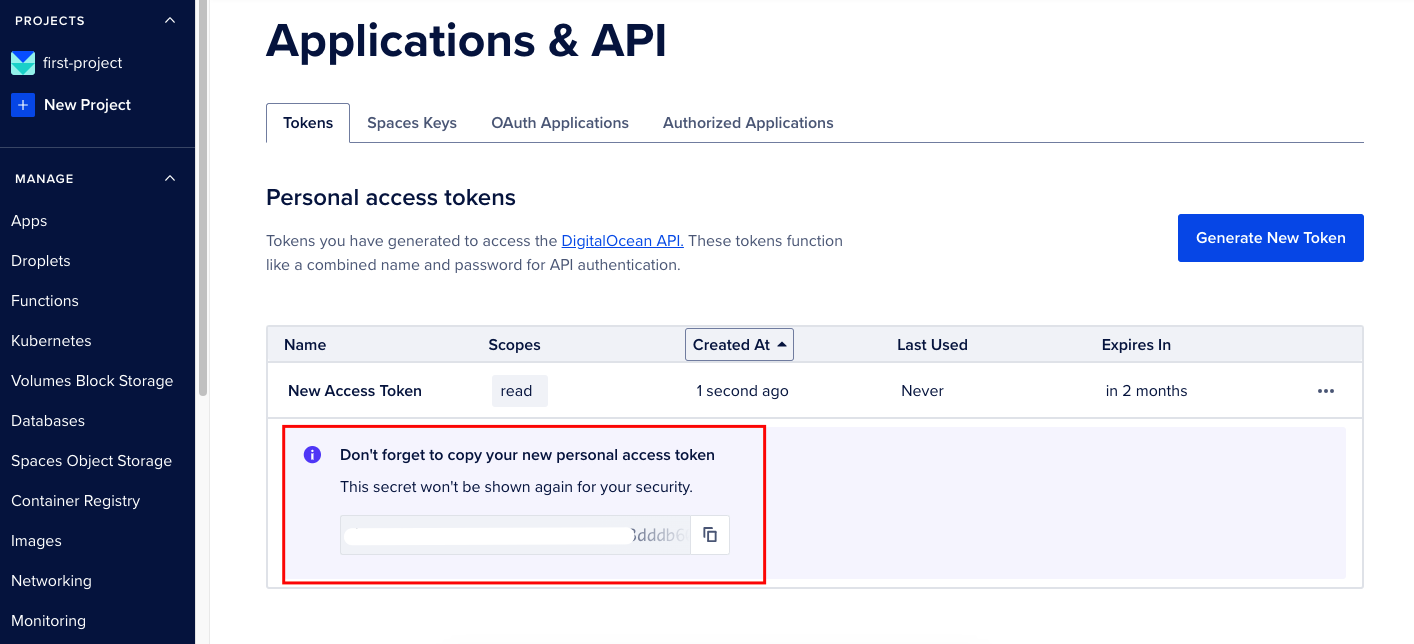
Step six:
- You’ll get the API keys here. Just copy it and paste it on the FlyWP backend.
Step seven:
- Once you’ve filled in the necessary details, click on Add Credential.
- The server provider will now be added to your list of providers under the Server Providers section.
Step eight:
- That’s all. You have successfully added DigitalOcean as your server provider.
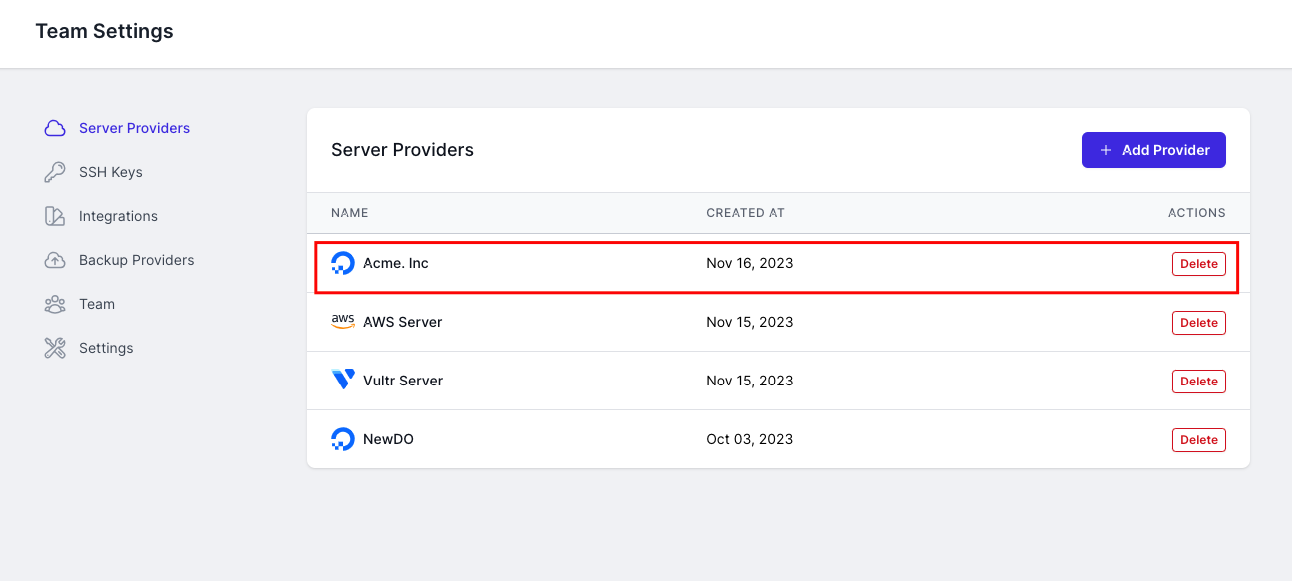
Server Providers Management
- You can view, edit, or delete server providers from the list at any time.
- To remove a provider, click on the Delete icon next to the provider’s name.
Now, with server providers integrated into your FlyWP team settings, you’re one step closer to seamless server deployments and management. So this is how you can add DigitalOcean to FlyWP to manage unlimited sites and servers.