Welcome to the FlyWP server provisioning guide! This documentation will walk you through the process of setting up your servers on FlyWP, a platform designed to simplify server management. Whether you’re a professional developer or new to server administration, FlyWP streamlines the process, letting you focus on your applications.
Let’s learn the step-by-step guide to setting up the server with FlyWP
Getting started
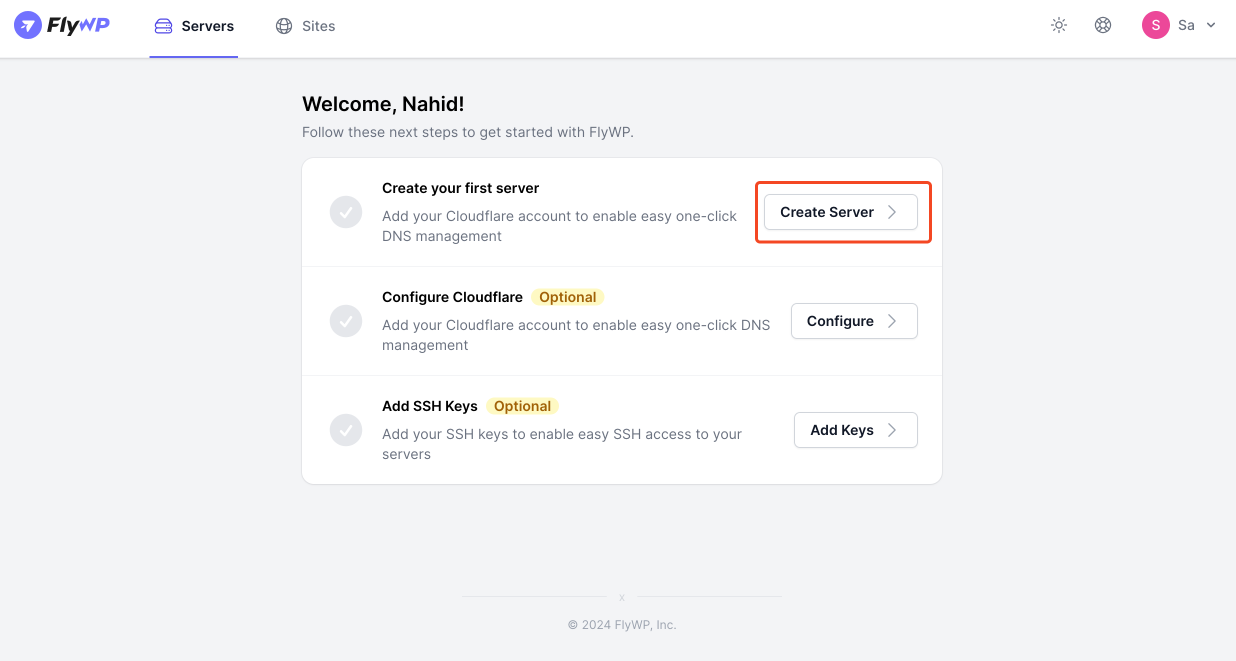
Head up to the onboarding site of FlyWP.
Click on the “create server“.
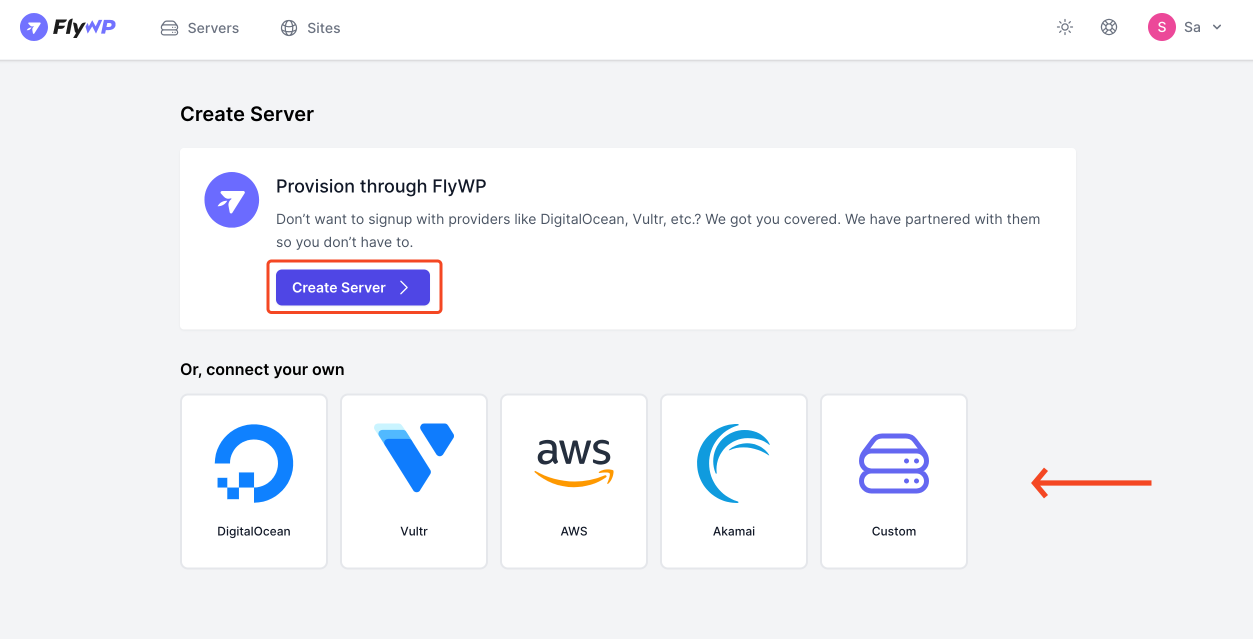
Then click on the “Create Server” button.
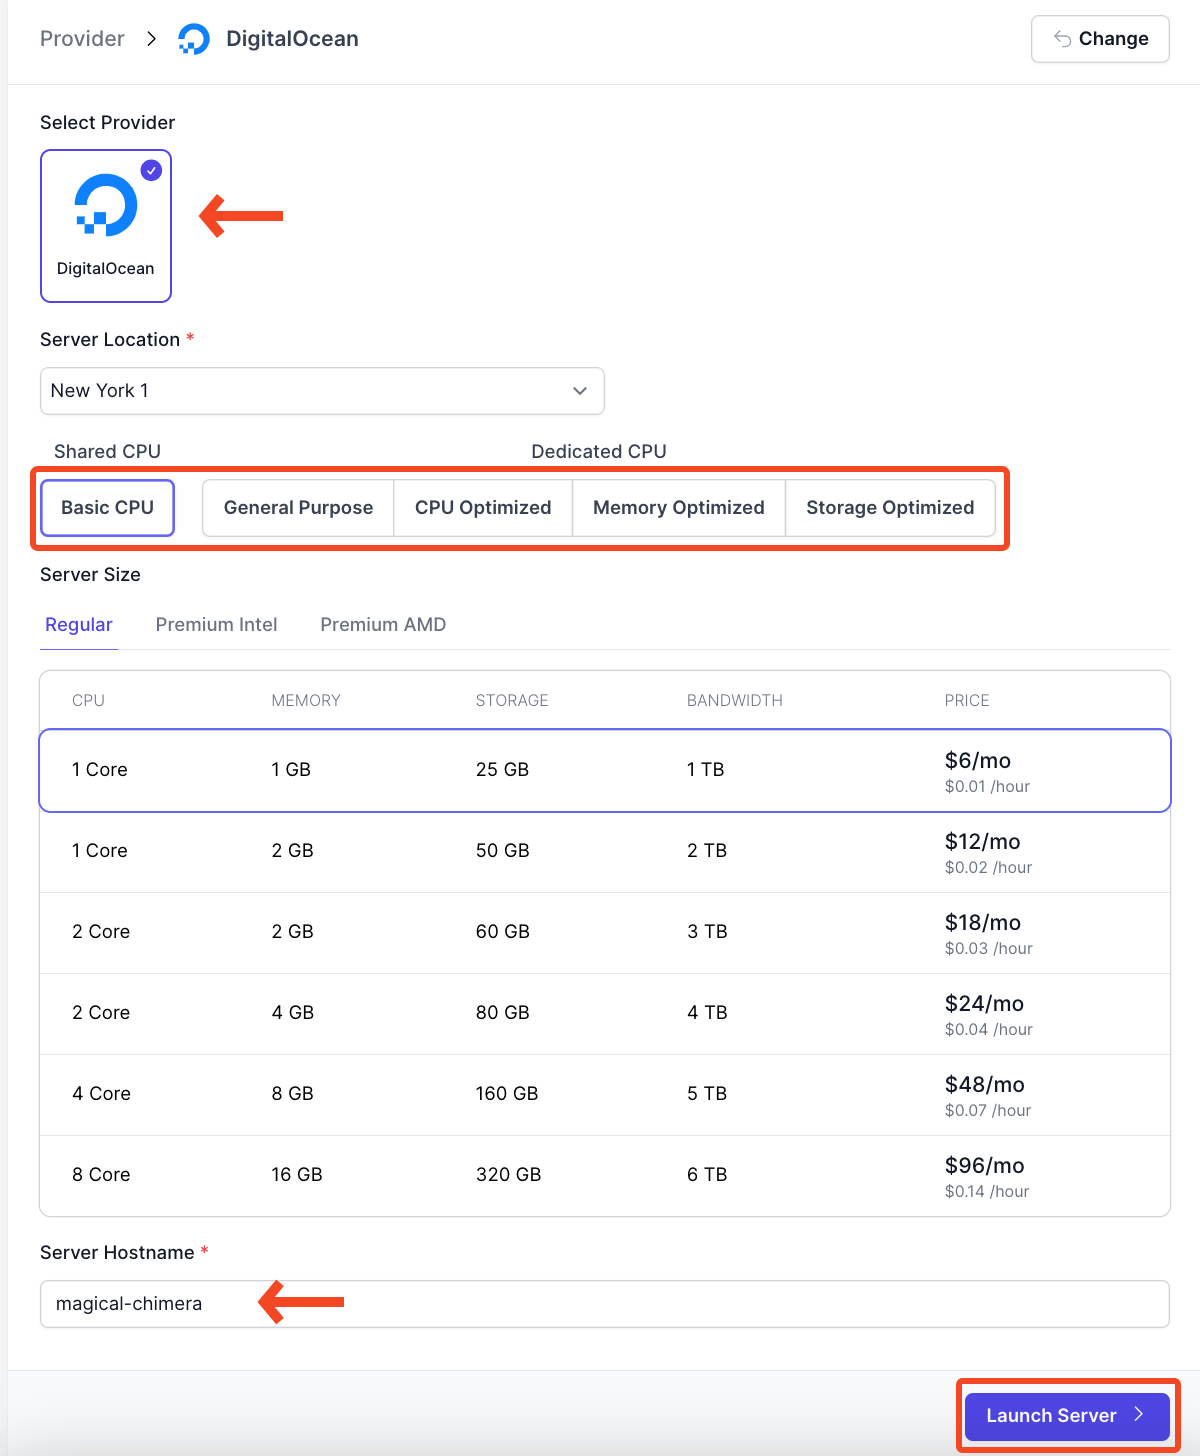
Select the server provider, location, CPU, size, and hostname. Then click on “launch server.“.
After that, you’ll see the server provisioning stage.
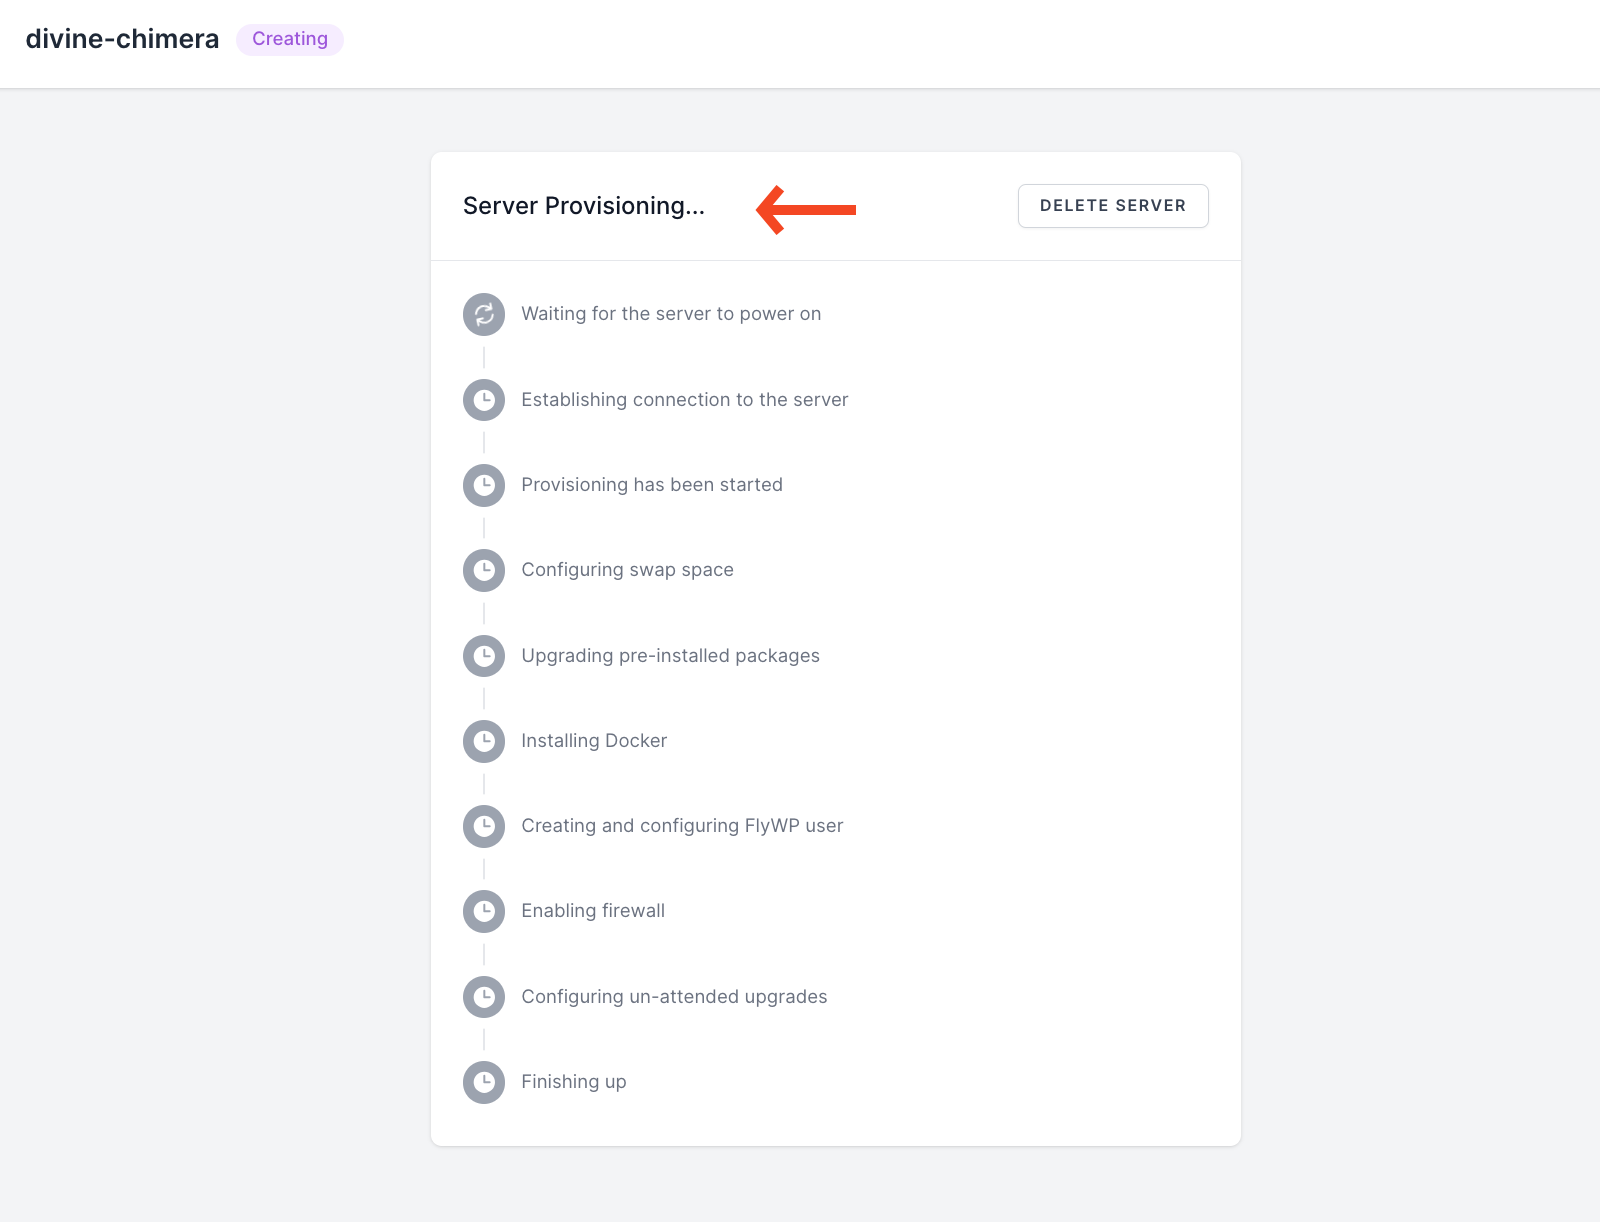
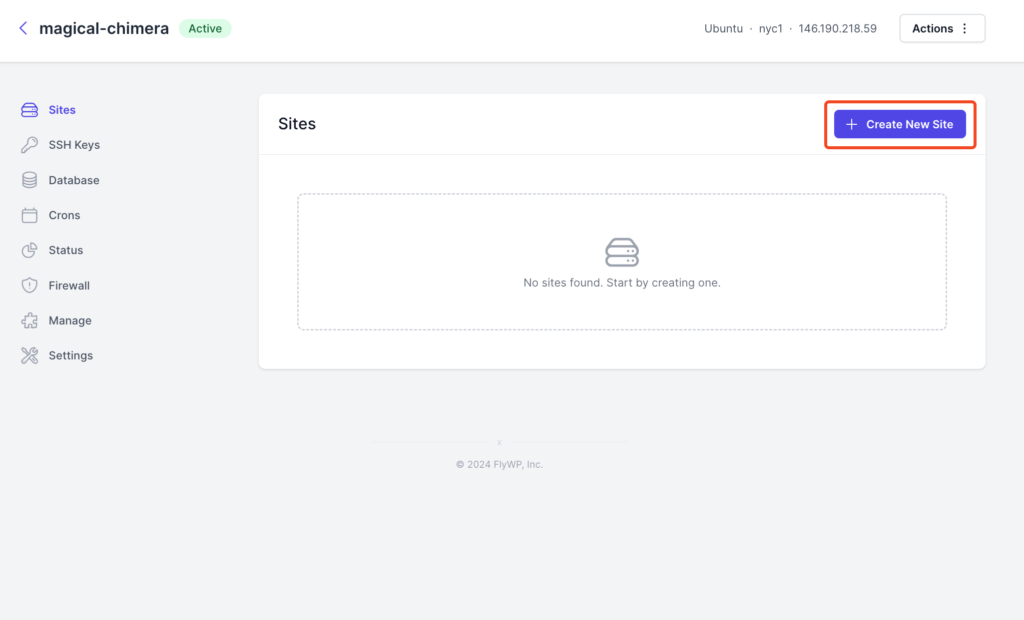
Well, you have successfully created a server with FlyWP. Now, from here, you can create your site, customize it, and do the required things.
So that’s how you can provision servers with FlyWP. We hope you find this documentation helpful. Check out our other documentation to easily get started with FlyWP