
Effortless Deployment: With just a few clicks, you can now deploy your GitHub repositories directly to FlyWP servers. This feature eliminates the need for manual file transfers or complex deployment processes. Note: The feature can also be used to deploy Bedrock managed websites.
Key Highlights
- Seamless Git Integration: Connect with popular Git hosting providers like GitHub to deploy and manage your WordPress sites easily. Support for GitLab and Bitbucket is coming soon.
- Searchable repository & branch selection: Find any repository or branch instantly, even across large accounts and repos with hundreds of branches — see Choosing a repository and branch below.
- Bedrock Support: Take advantage of Bedrock’s improved folder structure, easier configuration, and enhanced security features.
- Effortless Deployment: Clone your repository directly when creating a new site, or set up a deployment script for continuous integration.
- Push to Deploy: Activate ‘Push to Deploy’ for your WordPress site and have your code changes automatically deployed upon push to your chosen branch.
- Enhanced Control: Manage your environment variables directly from the FlyWP portal for better security and control over your WordPress configuration.
Get Started with FlyWP <> GitHub Integration
Connect your GitHub account seamlessly to your FlyWP environment. This integration ensures that your projects are always up-to-date and can be deployed effortlessly whenever changes are pushed to your GitHub repositories.
Deploy from Git to FlyWP Servers (Supports Bedrock)
Effortless Deployment: With just a few clicks, you can now deploy your GitHub repositories directly to FlyWP servers. This feature eliminates the need for manual file transfers or complex deployment processes. Note: The feature can also be used to deploy Bedrock managed websites
Key Highlights
- Seamless Git Integration: Connect with popular Git hosting providers like GitHub to deploy and manage your WordPress sites easily. Support for GitLab and Bitbucket is coming soon.
- Bedrock Support: Take advantage of Bedrock’s improved folder structure, easier configuration, and enhanced security features.
- Effortless Deployment: Clone your repository directly when creating a new site, or set up a deployment script for continuous integration.
- Push to Deploy: Activate ‘Push to Deploy‘ for your WordPress site and have your code changes automatically deployed upon push to your chosen branch.
- Enhanced Control: Manage your environment variables directly from the FlyWP portal for better security and control over your WordPress configuration.
Get Started with FlyWP <> GitHub Integration
Connect your GitHub account seamlessly to your FlyWP environment. This integration ensures that your projects are always up-to-date and can be deployed effortlessly whenever changes are pushed to your GitHub repositories.
Getting Started
- Connect Your GitHub Account: In your FlyWP dashboard, navigate to Profile >Settings> Git Providers (If you’re logged in at FlyWP, access it here directly) And then click on the Connect your button. This secure connection enables the seamless flow of your projects from GitHub to FlyWP.
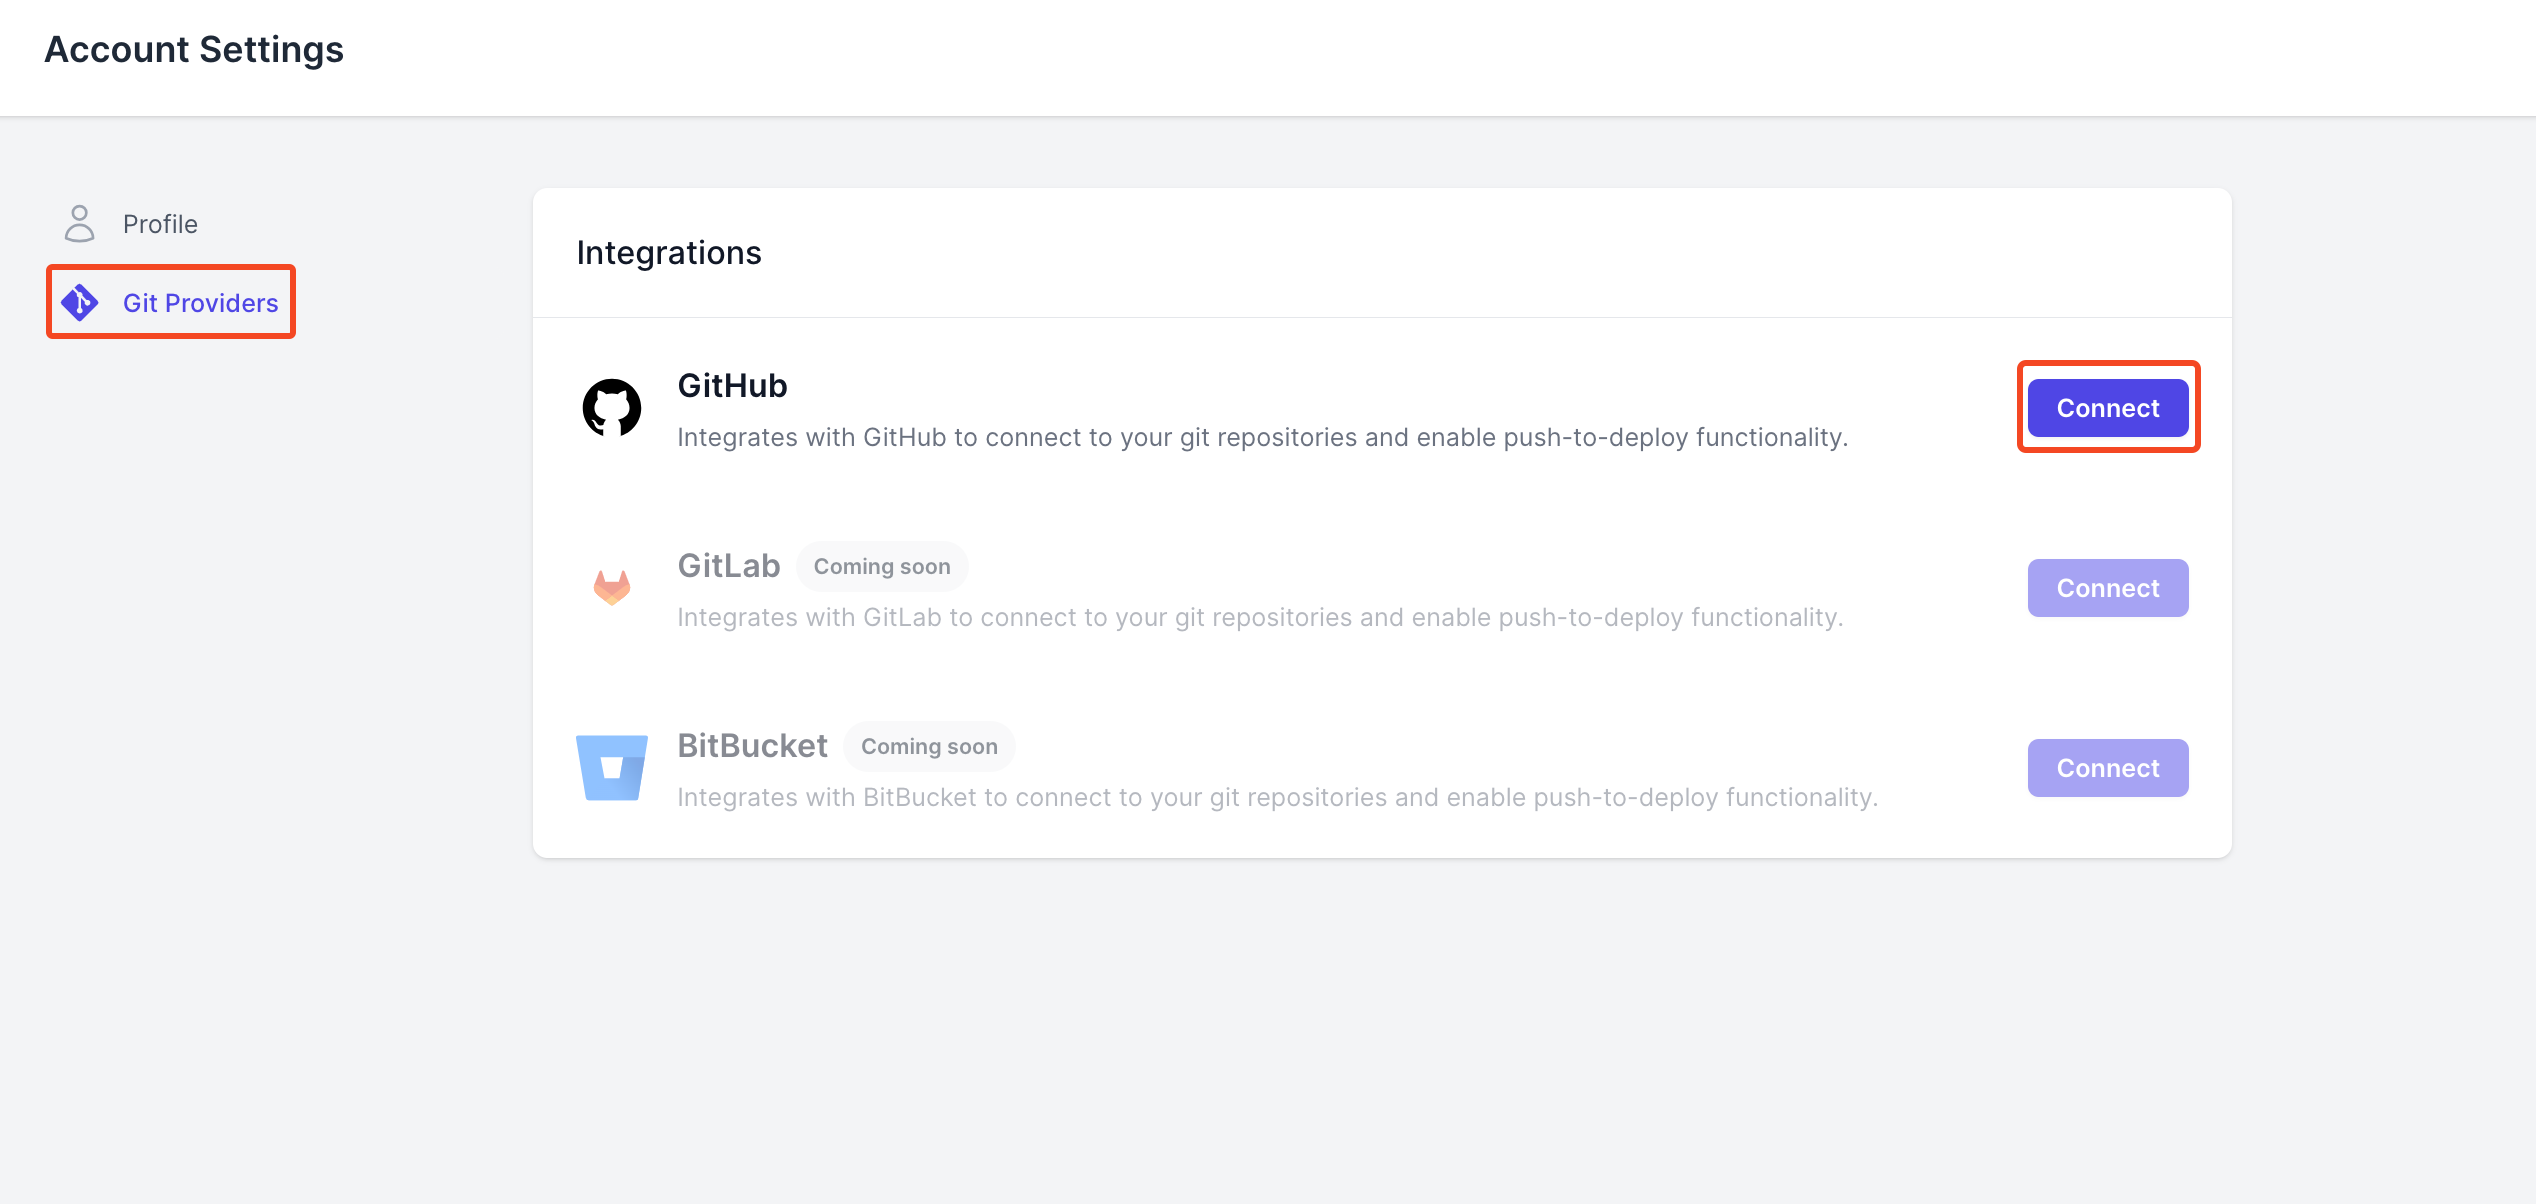
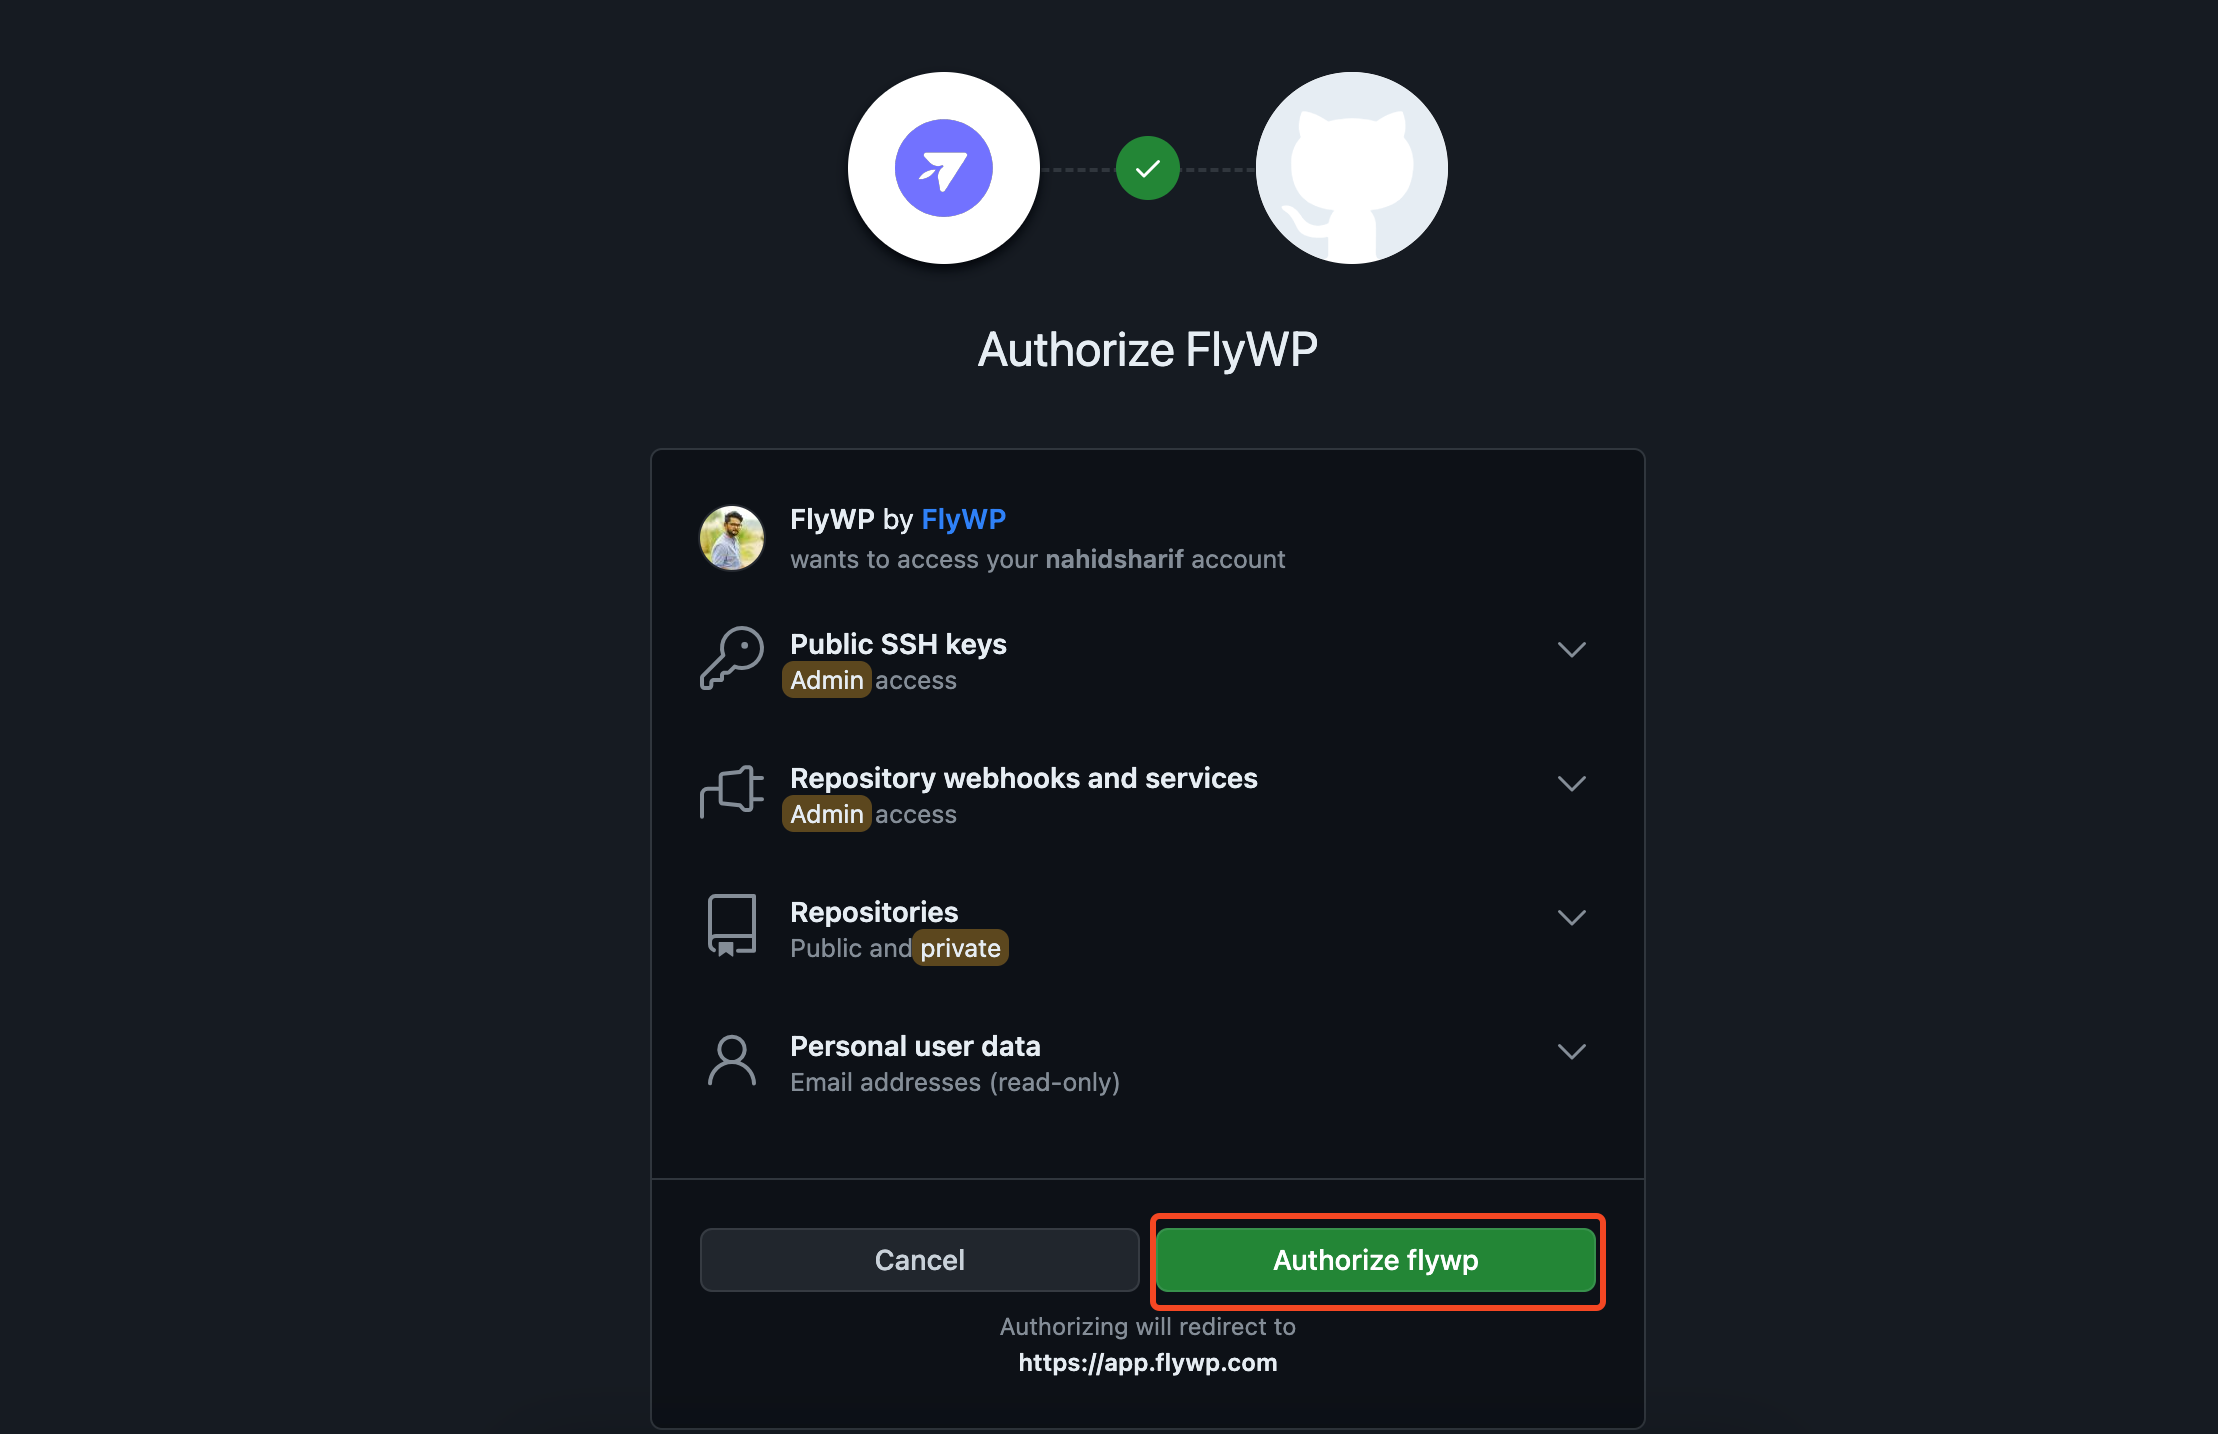
- Authorize your account: In the next step, you will need to authorize your account with FlyWP.
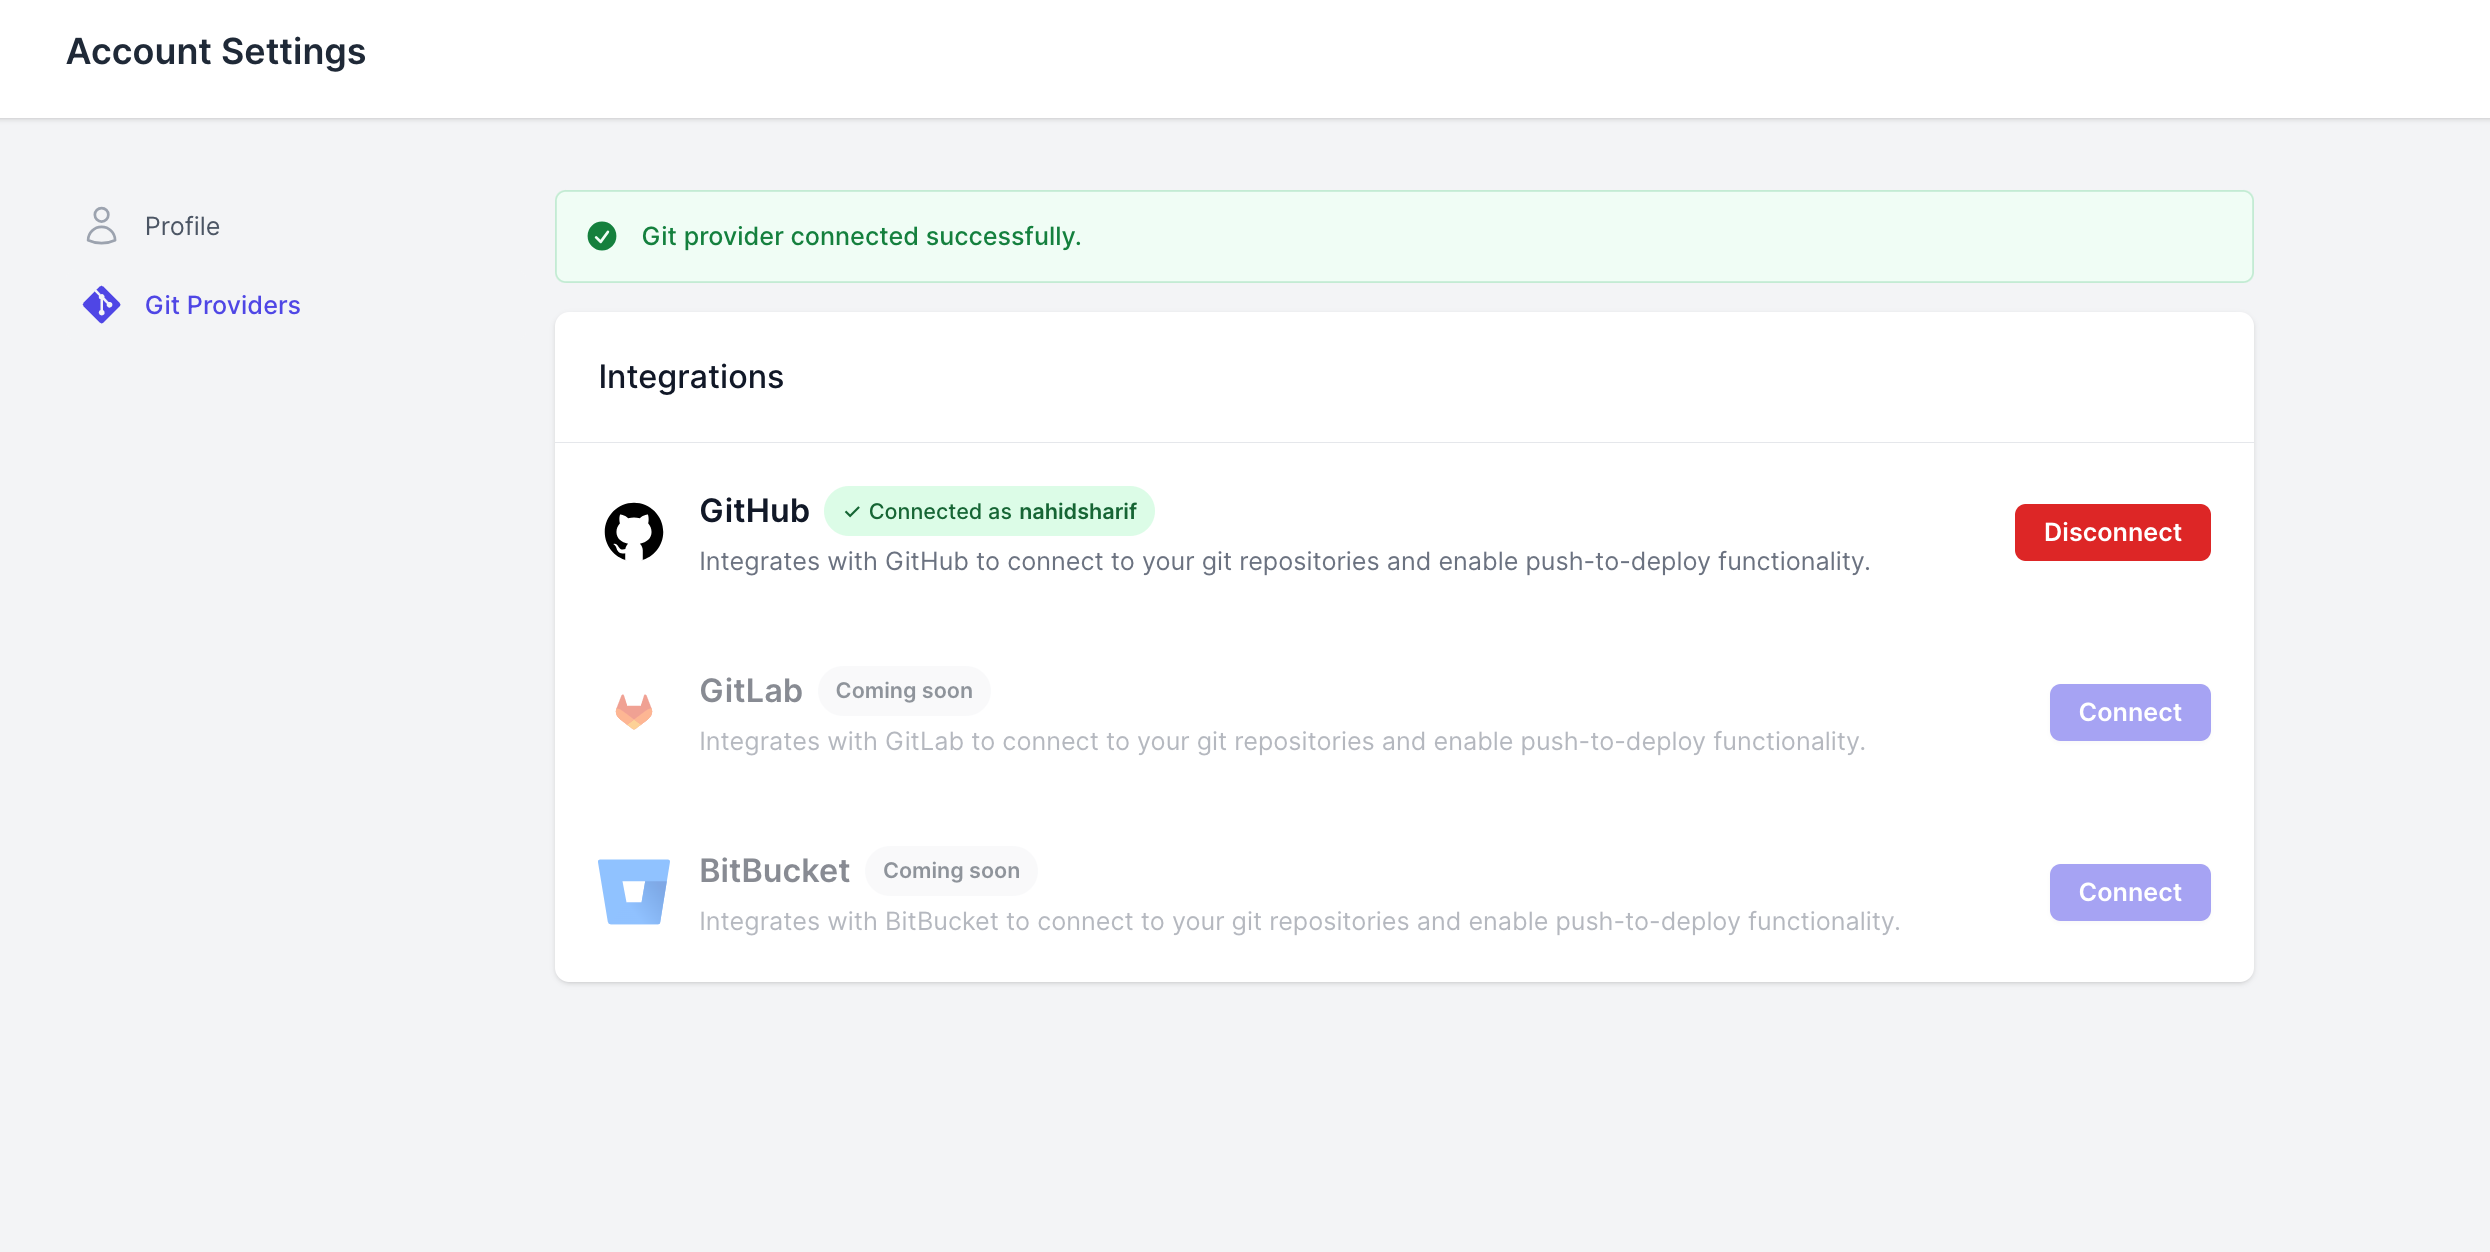
- Connection is successful: After connecting the GitHub account, you can see the updated message here.
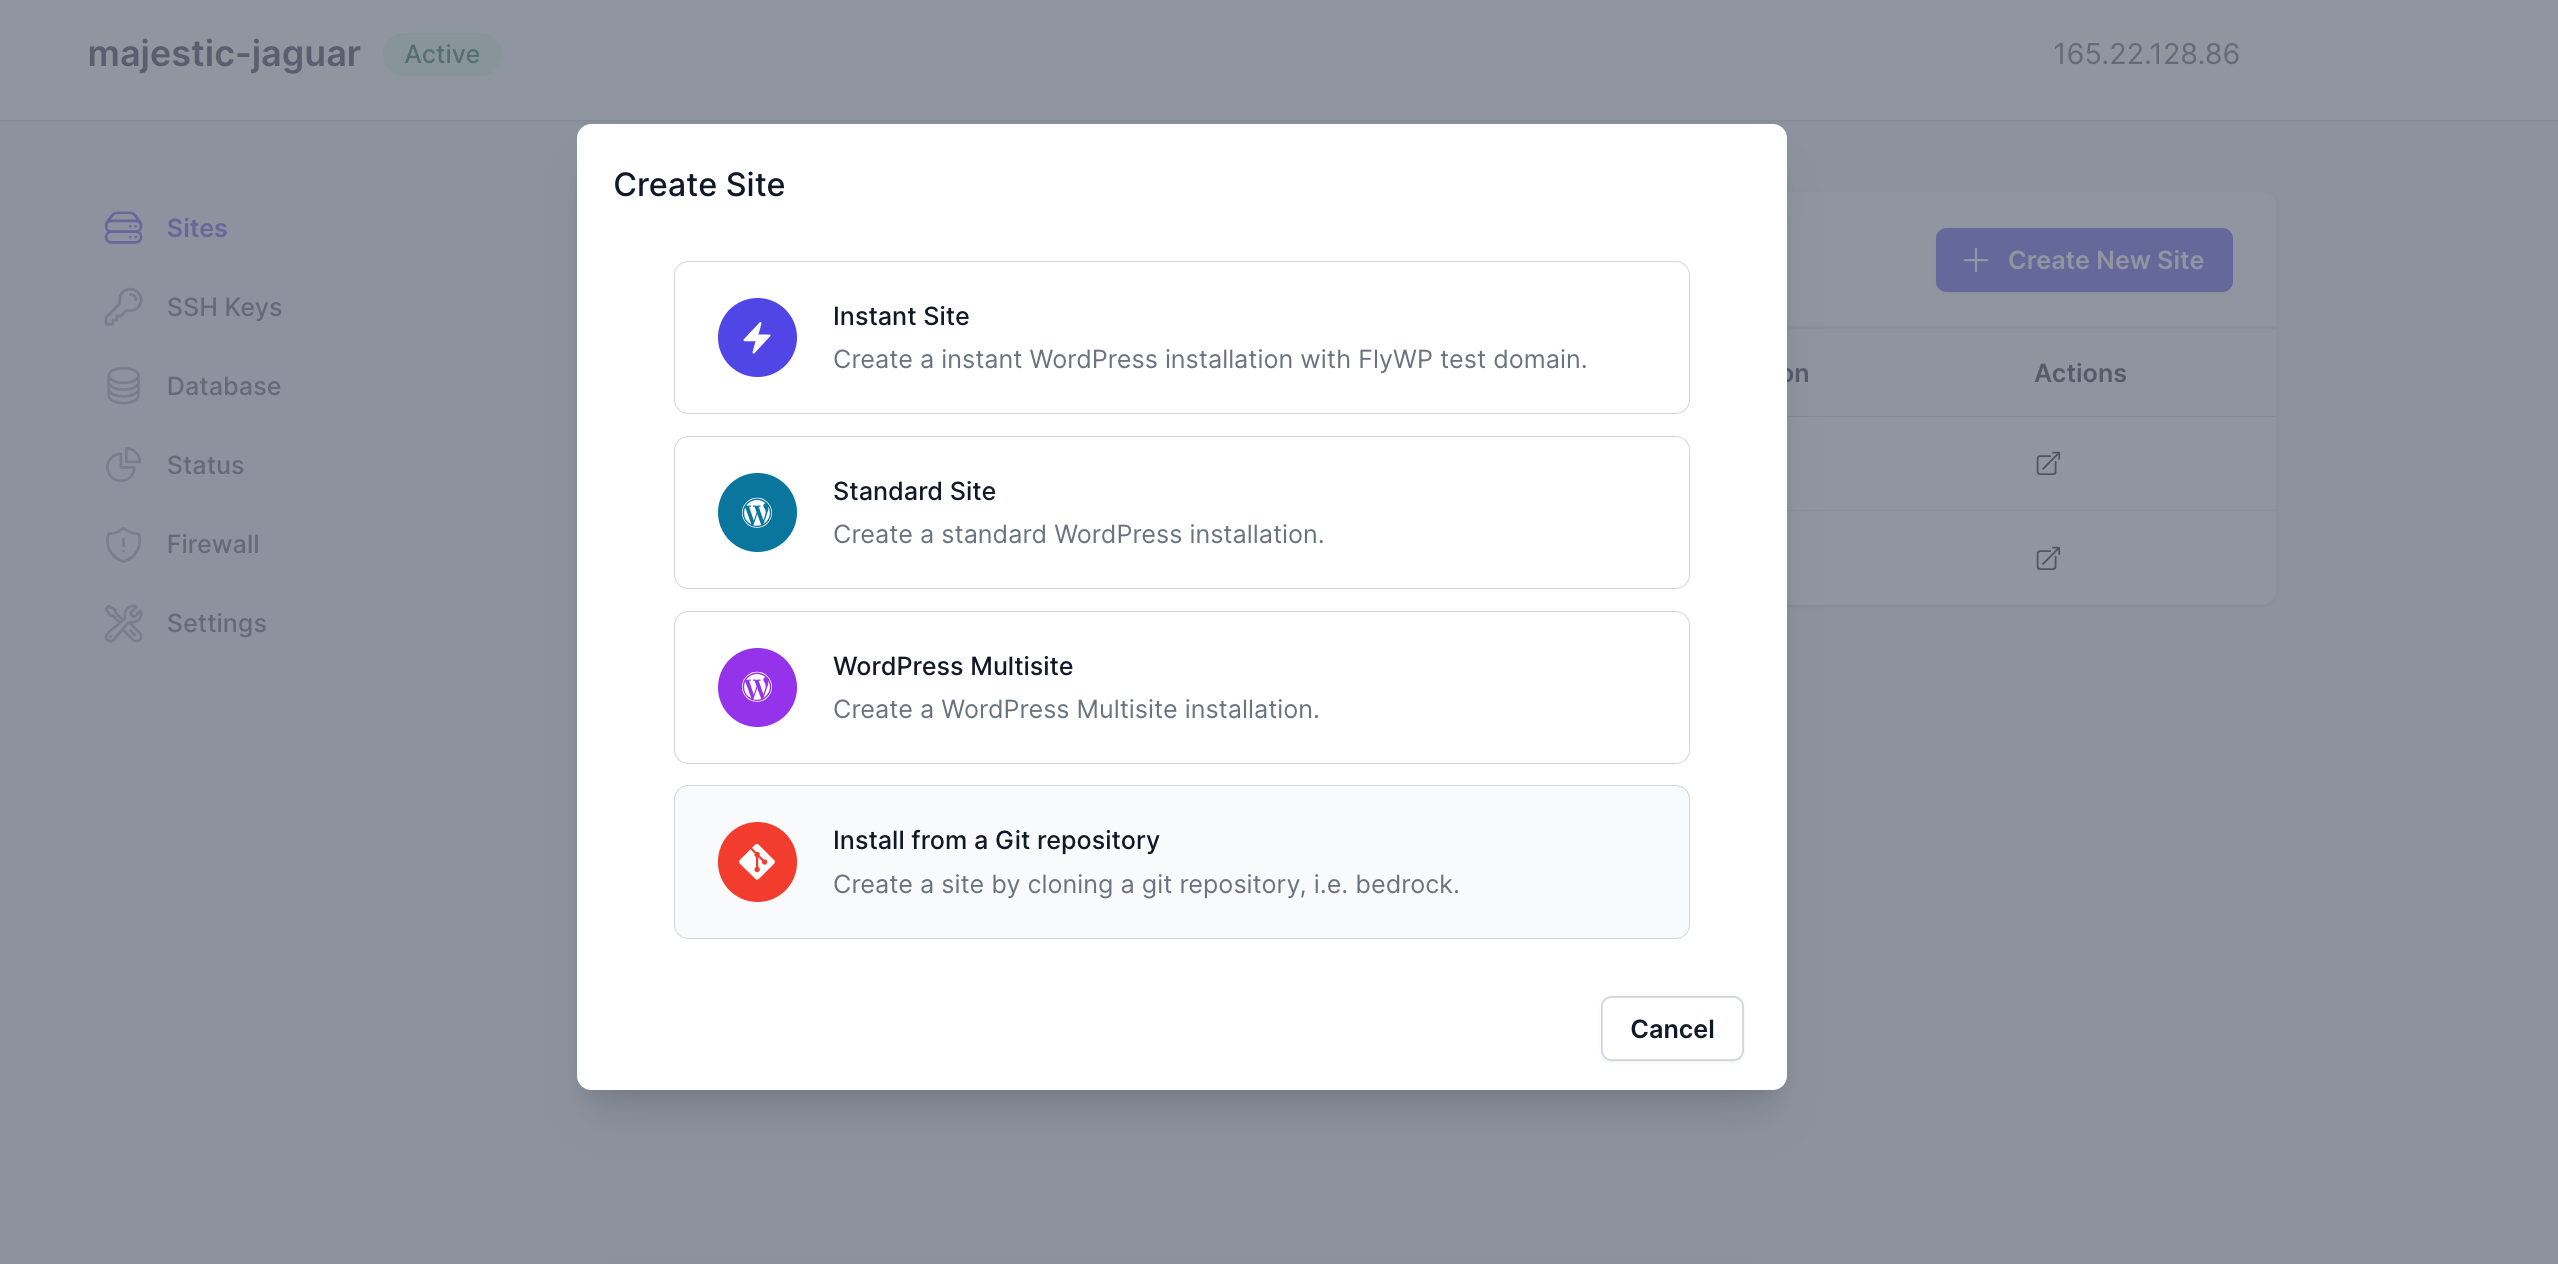
- Now select the option “Install from a Git Repository.“
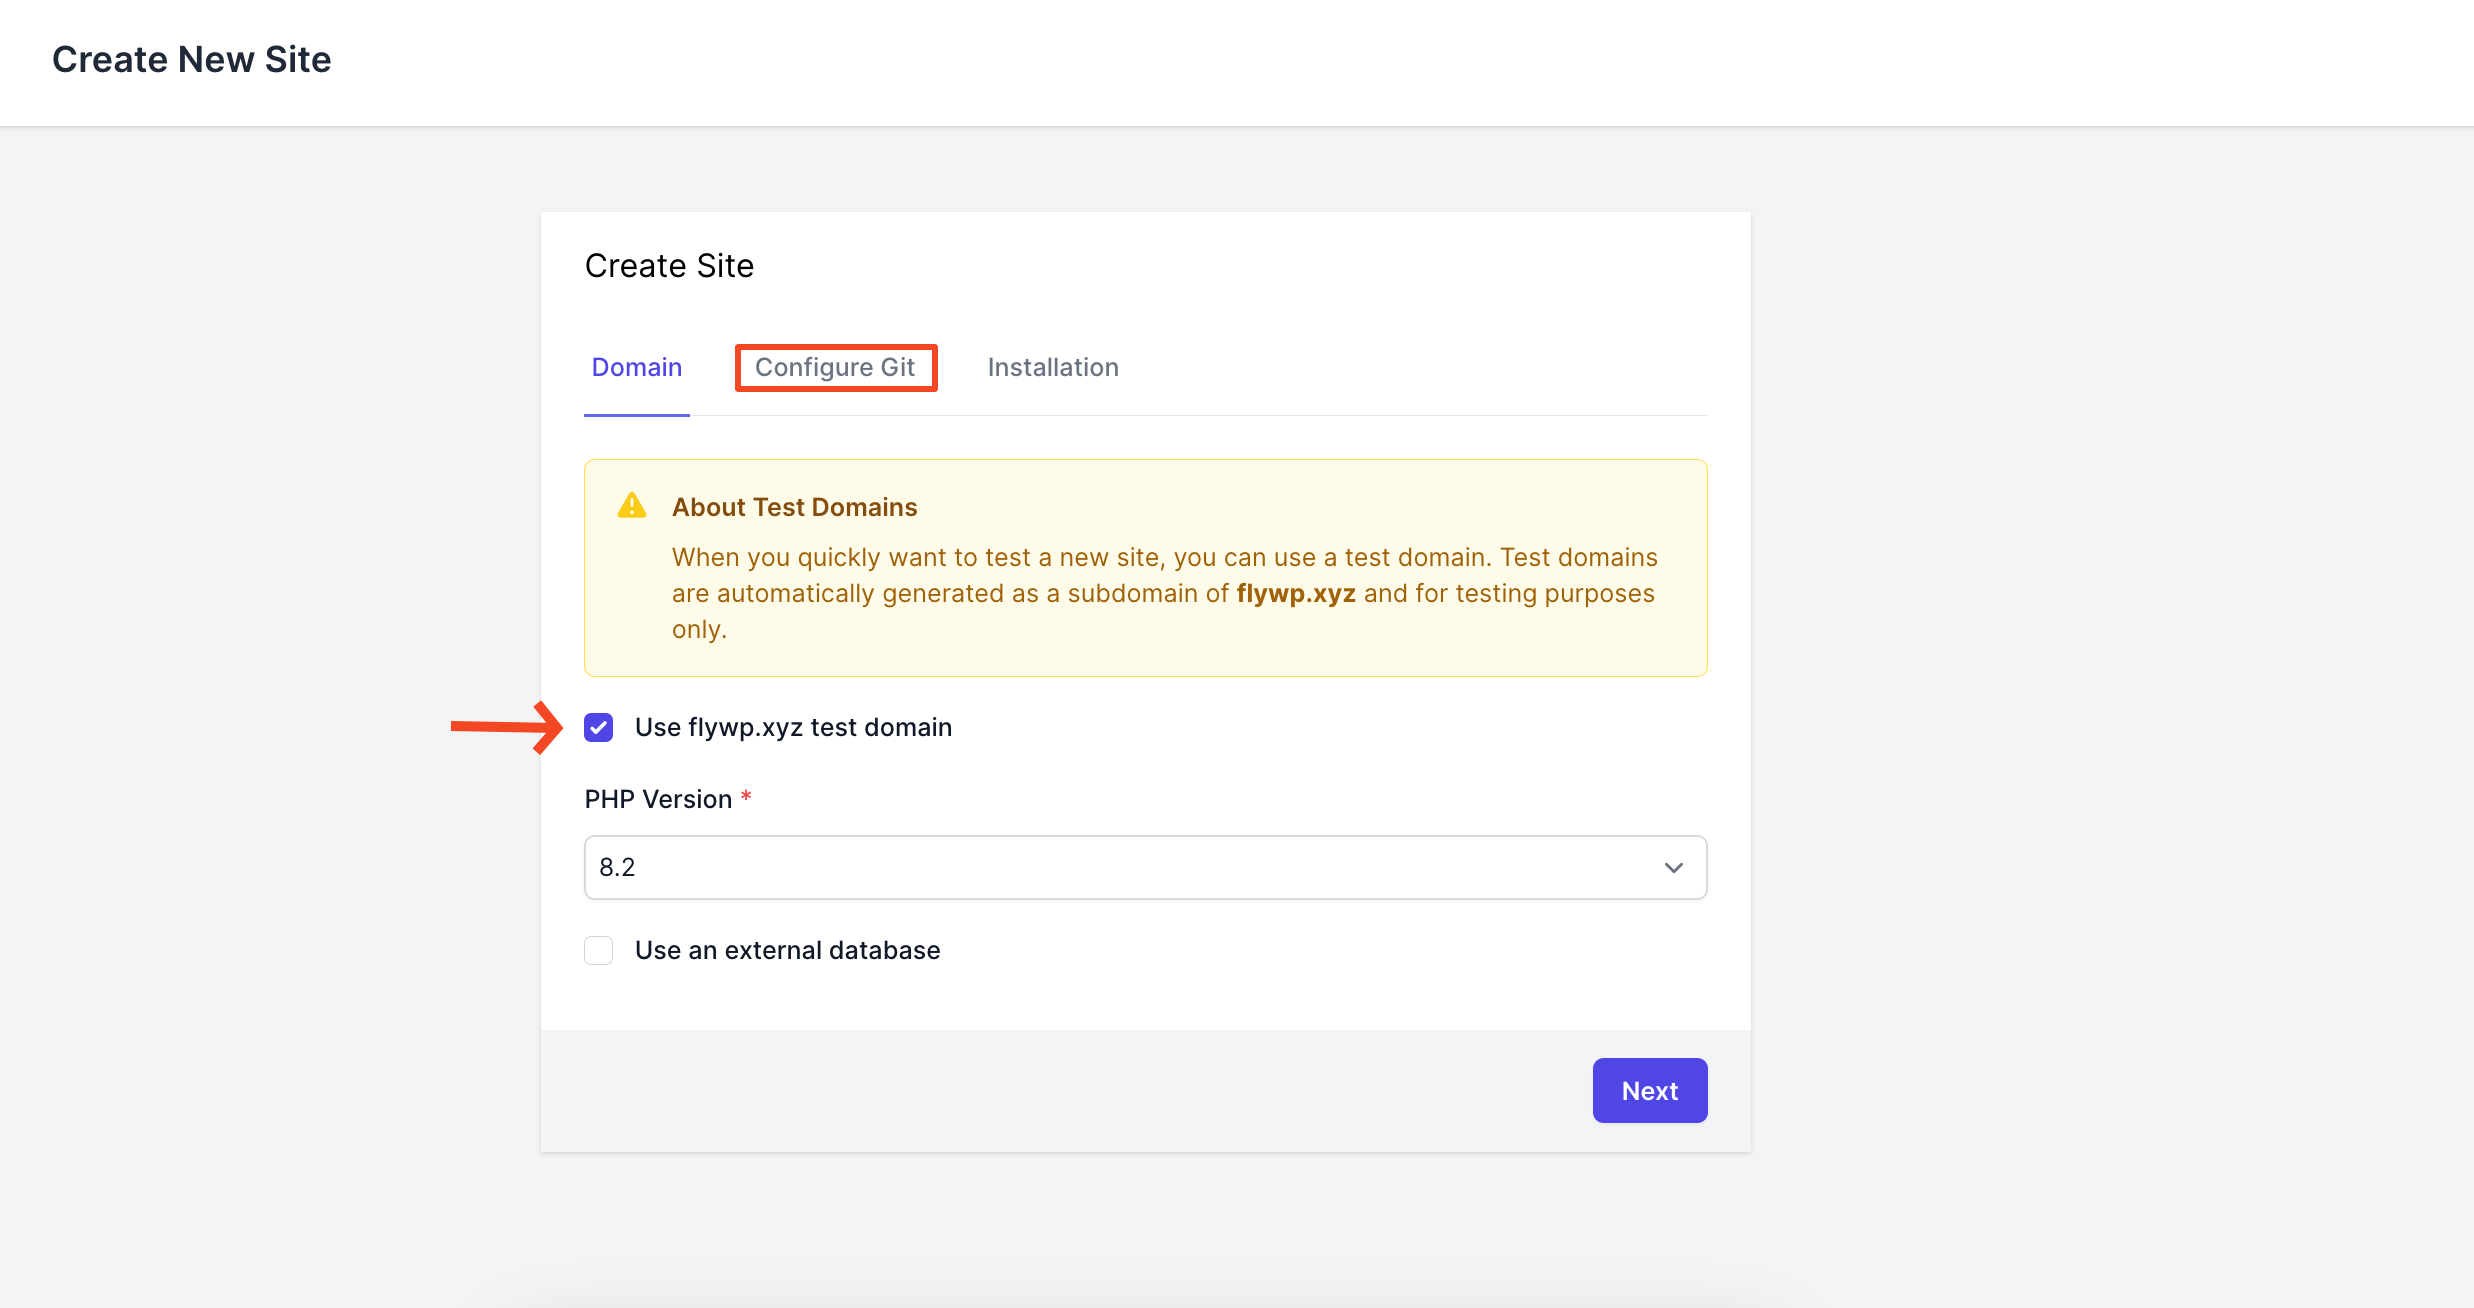
- Next, you’ll find the Configure Git option. Click here.
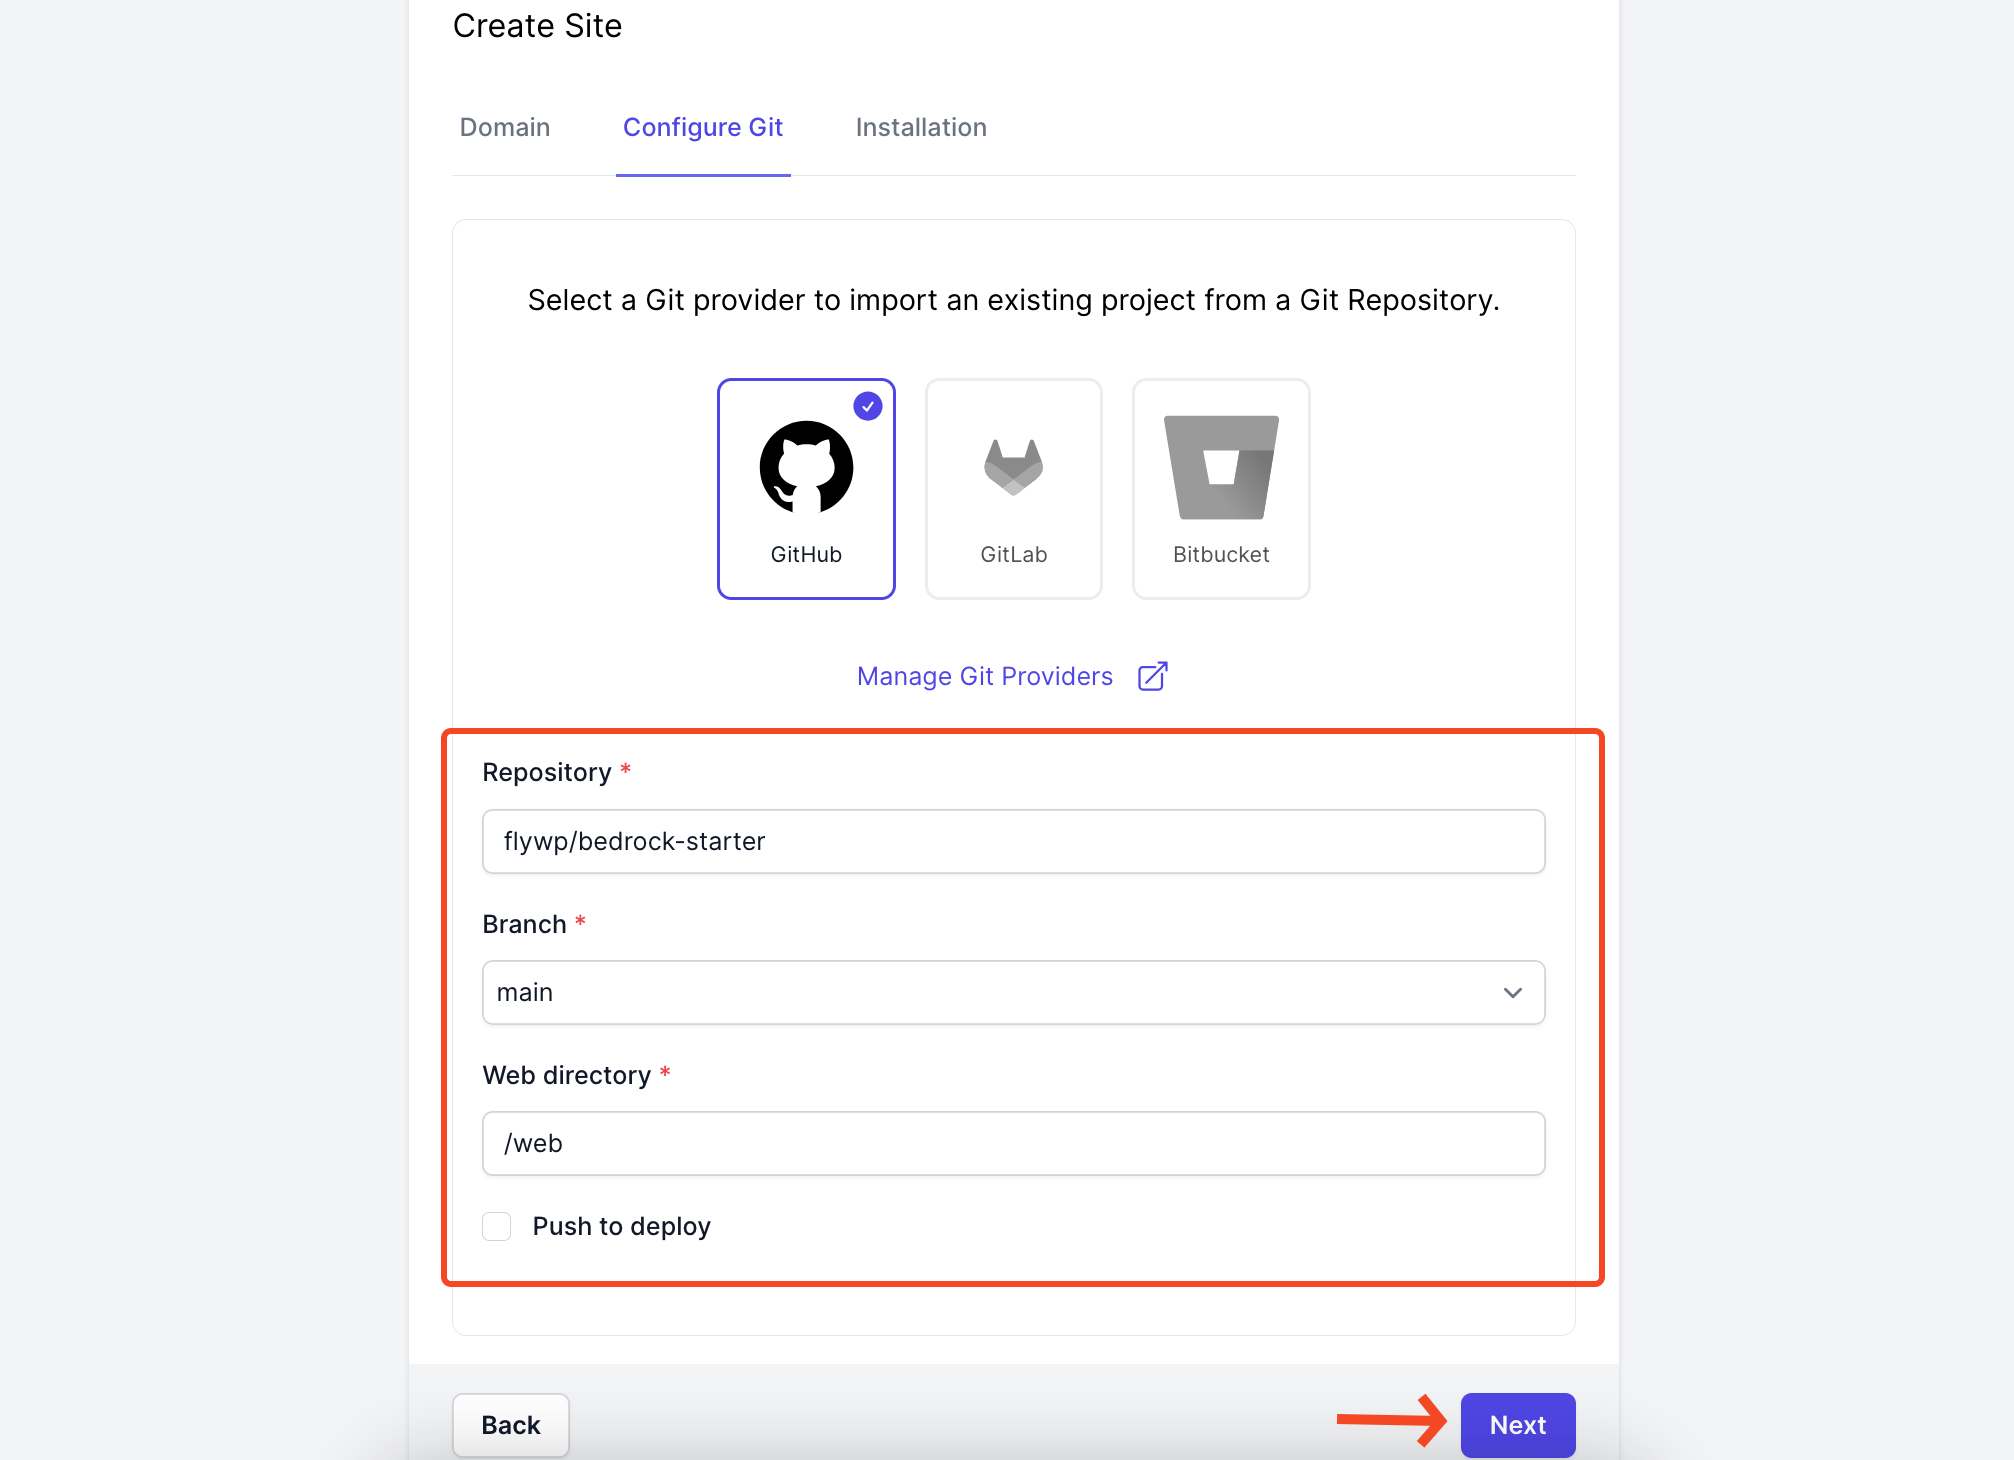
- Select GitHub, repository name, branch, and web directory, and click on “push to deploy.“
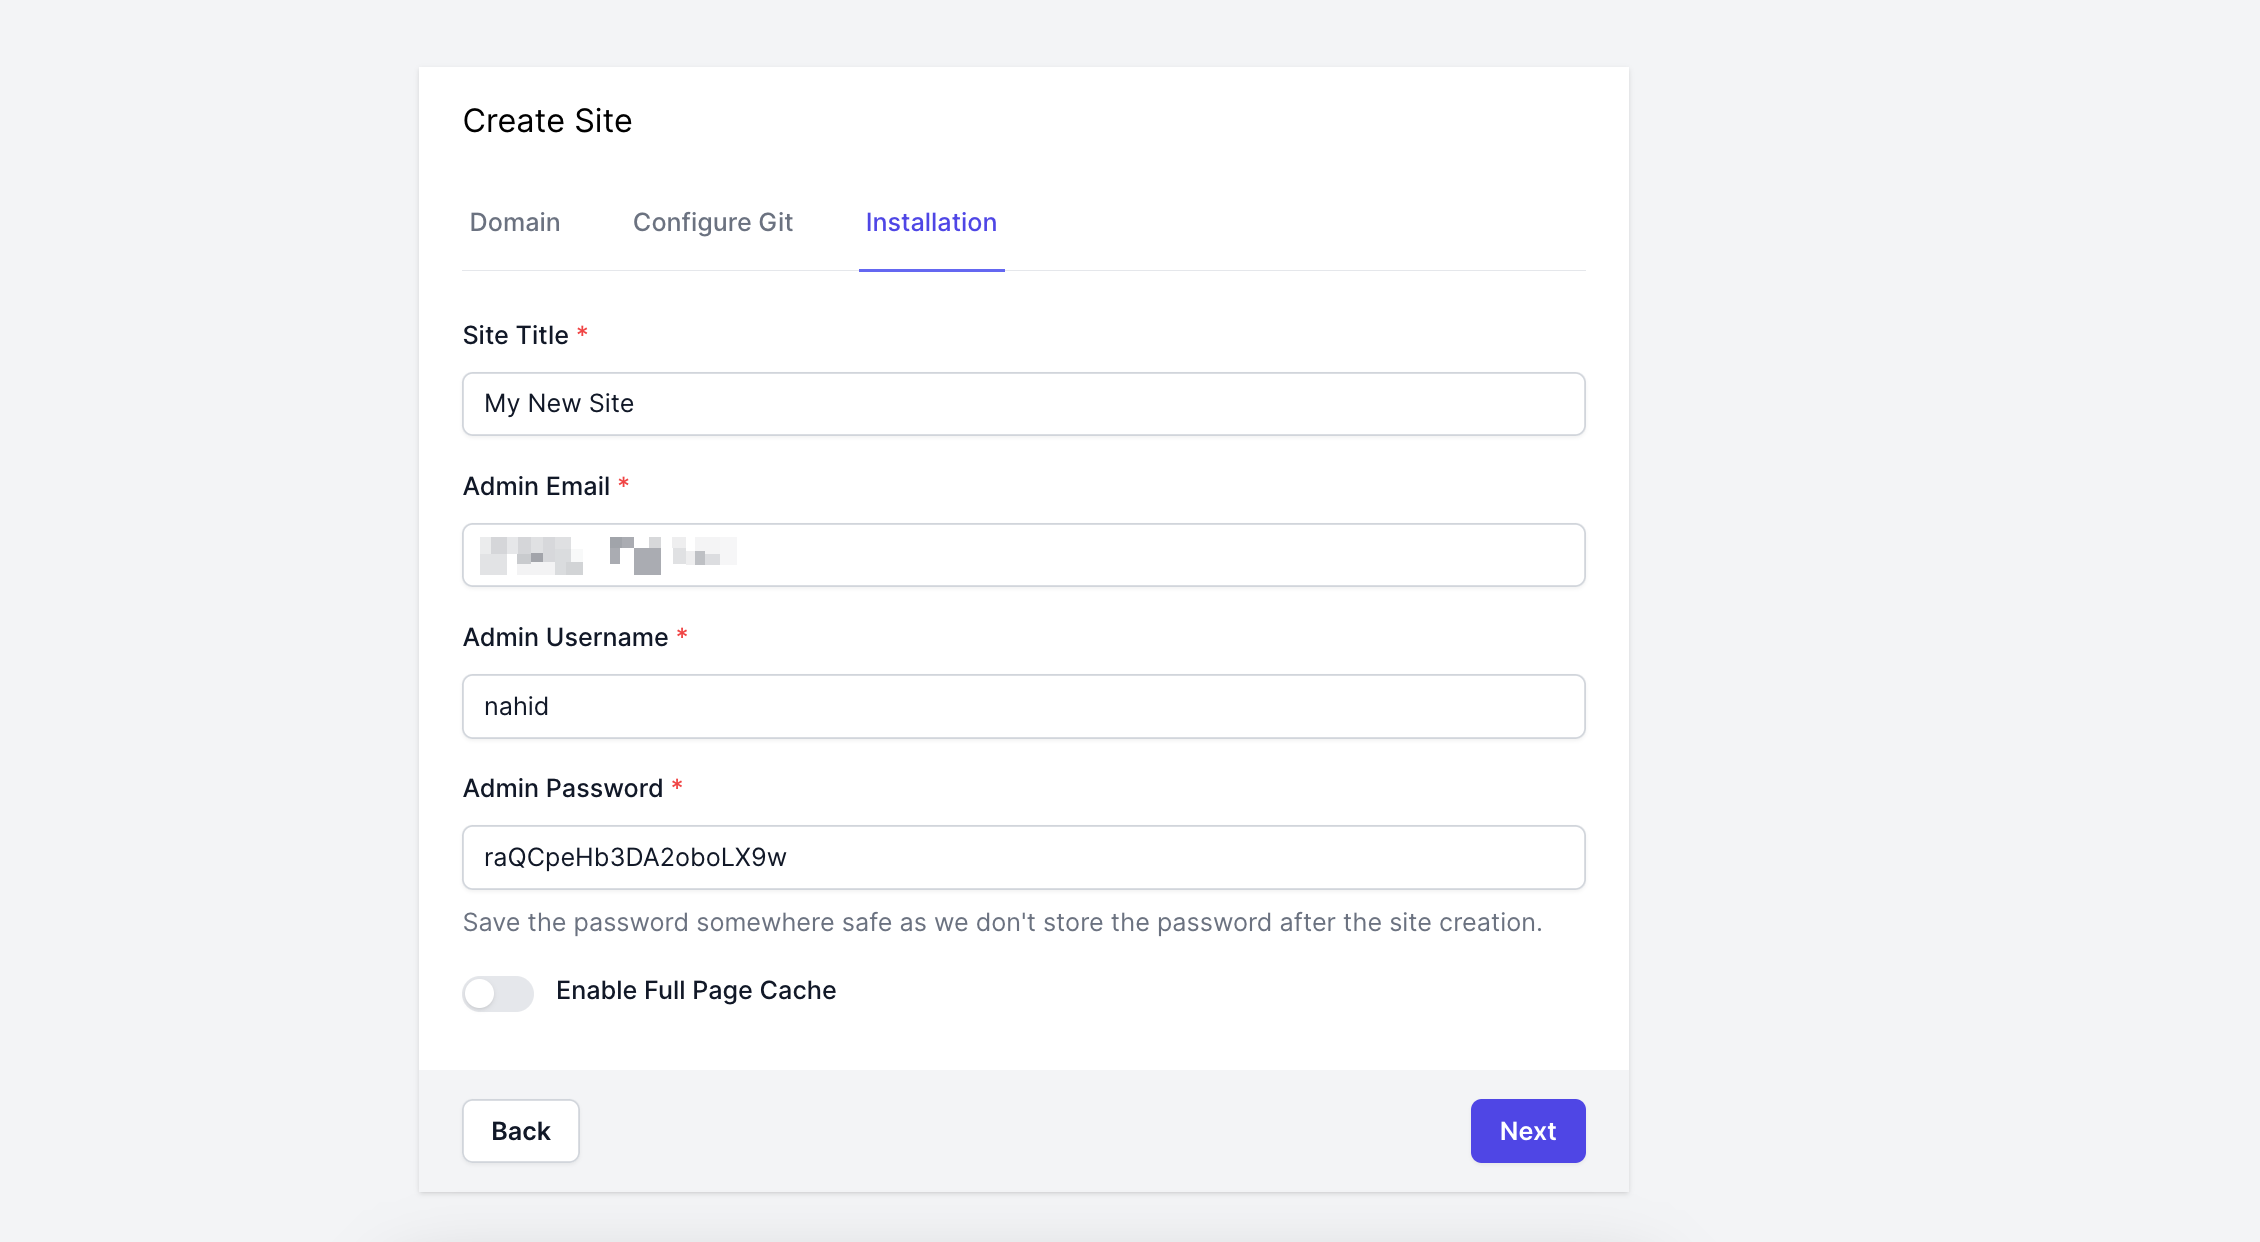
- Now in the installation tab, provide your site title, email, name, and password. Then click on the next button.
- Now, after creating the site, you’ll get a deployment tab. Click on it, and you’ll see all the details.
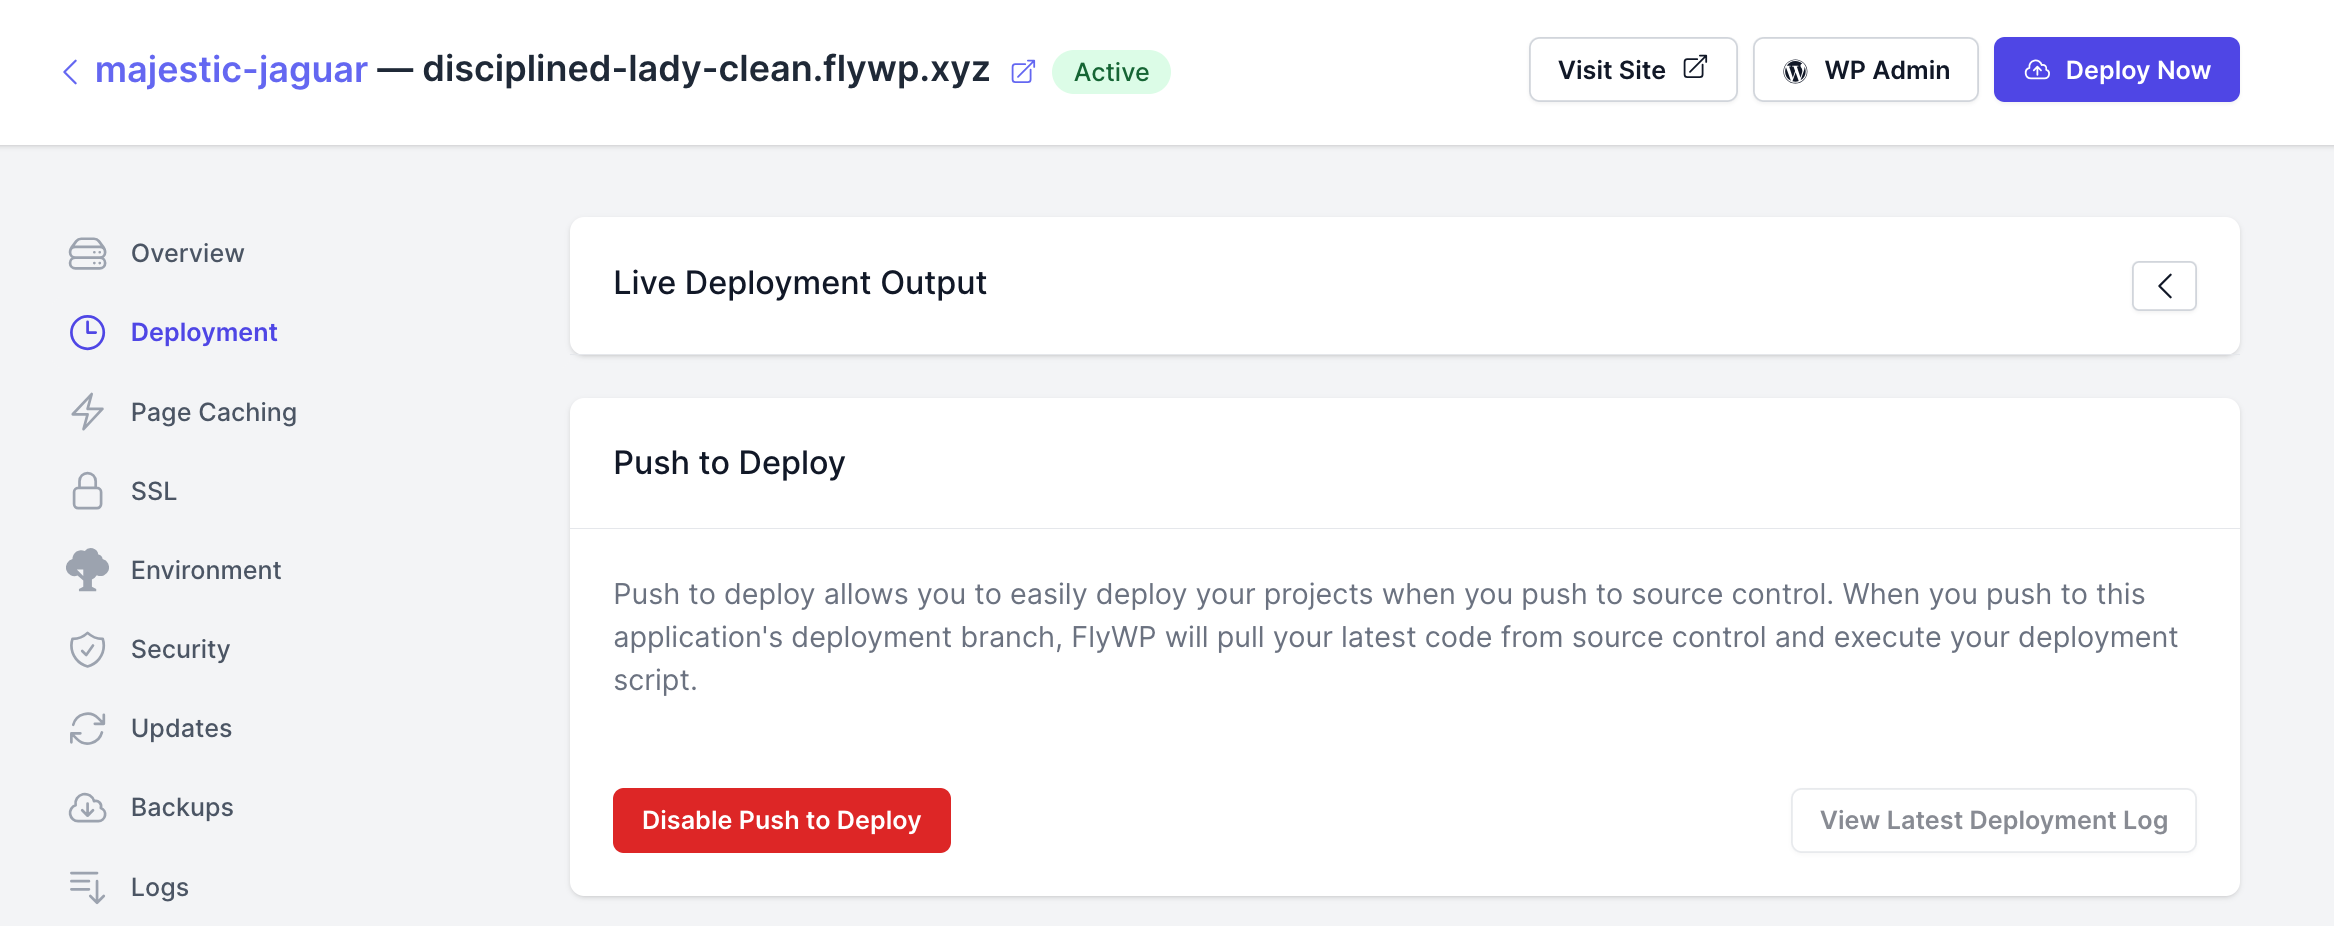
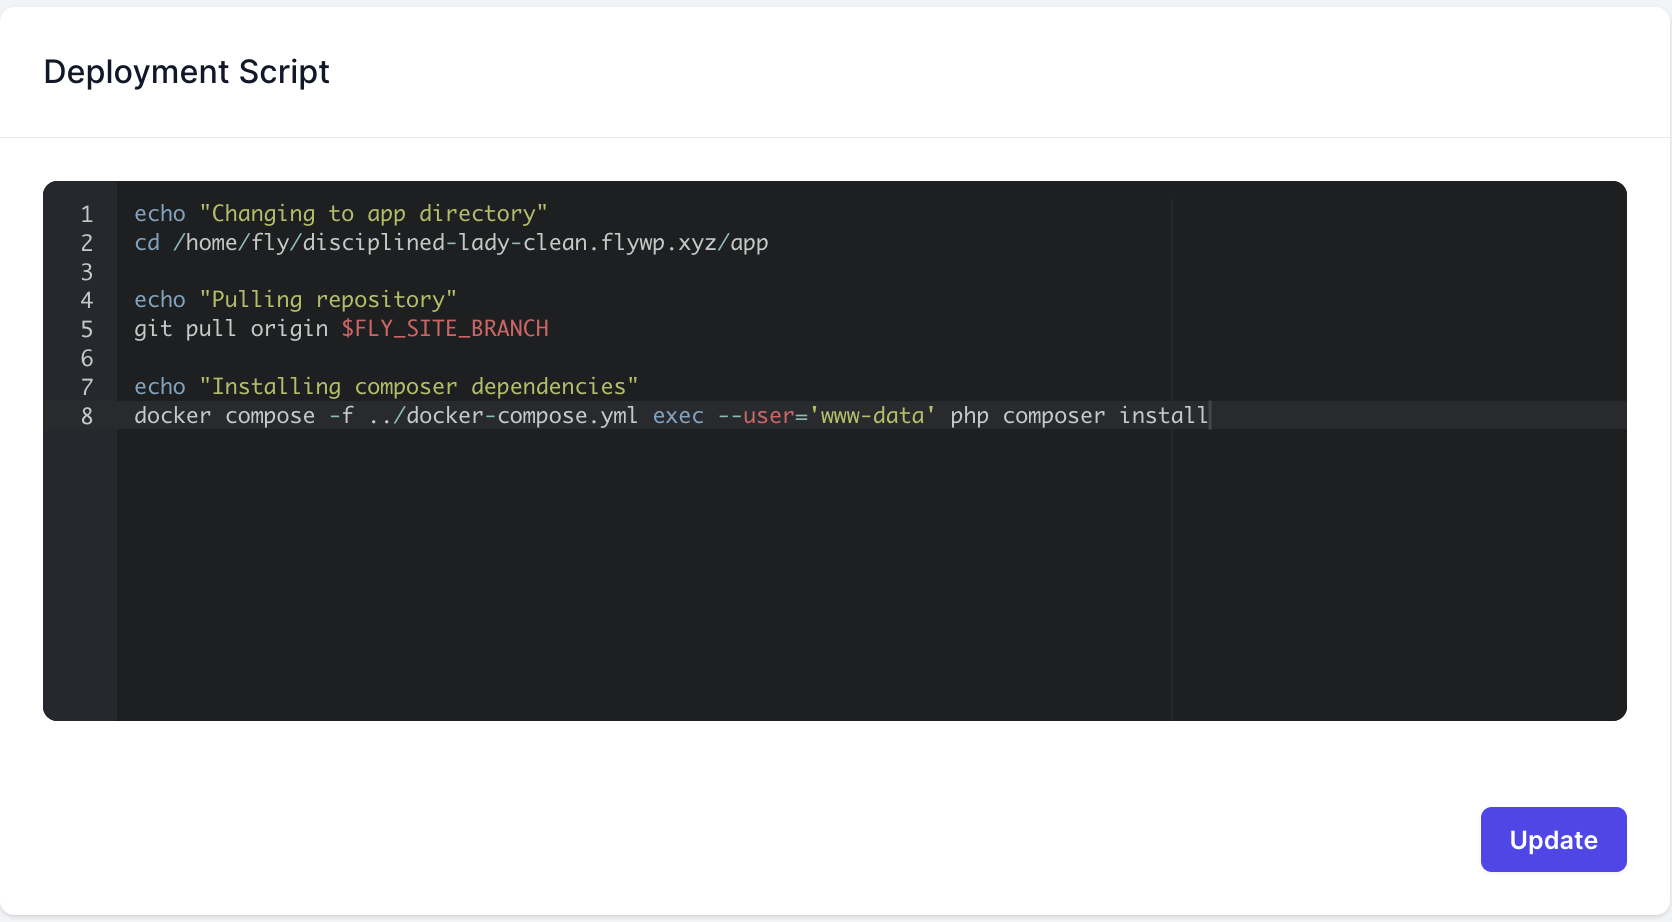
Here are the details for the deployment trigger URL, branch and history.
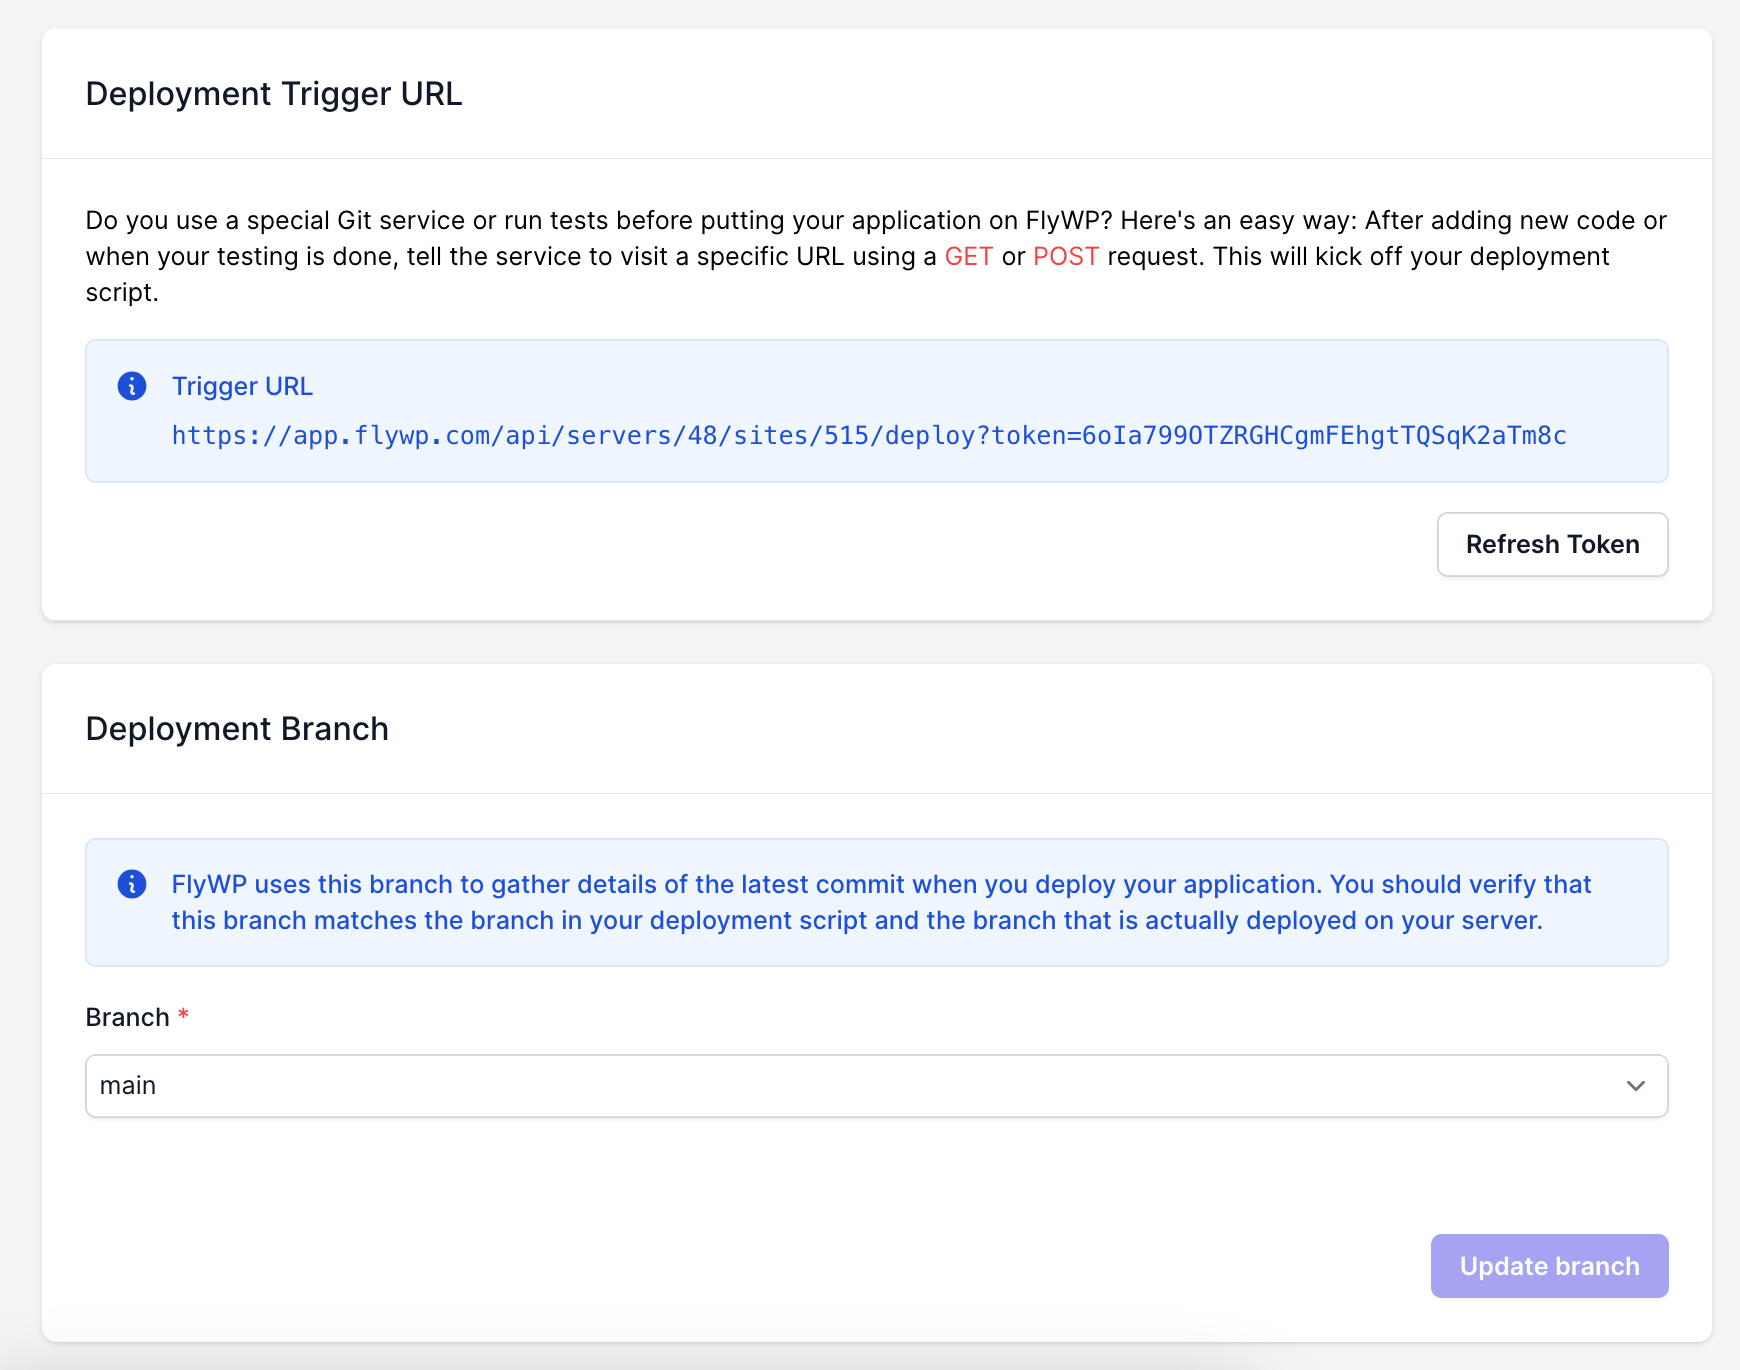
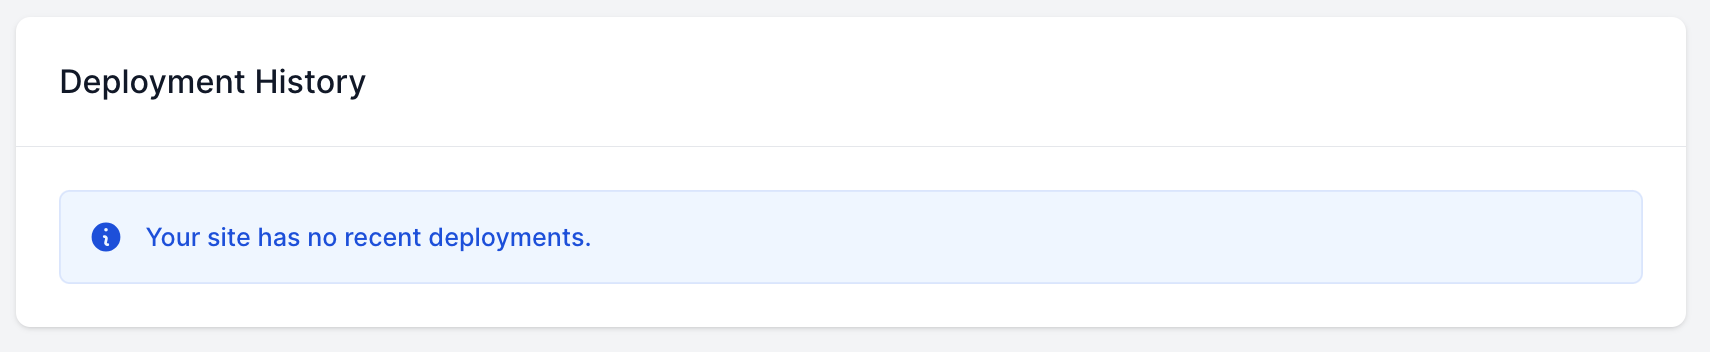
So whenever you push any deploy to your Git repo, it’ll trigger the automated deployment and the changes would automatically deployed for the site you have configured.
Choosing a repository and branch
Both the repository and branch fields are searchable — start typing to filter instantly, even if your account has hundreds of repositories or a repo has hundreds of branches.
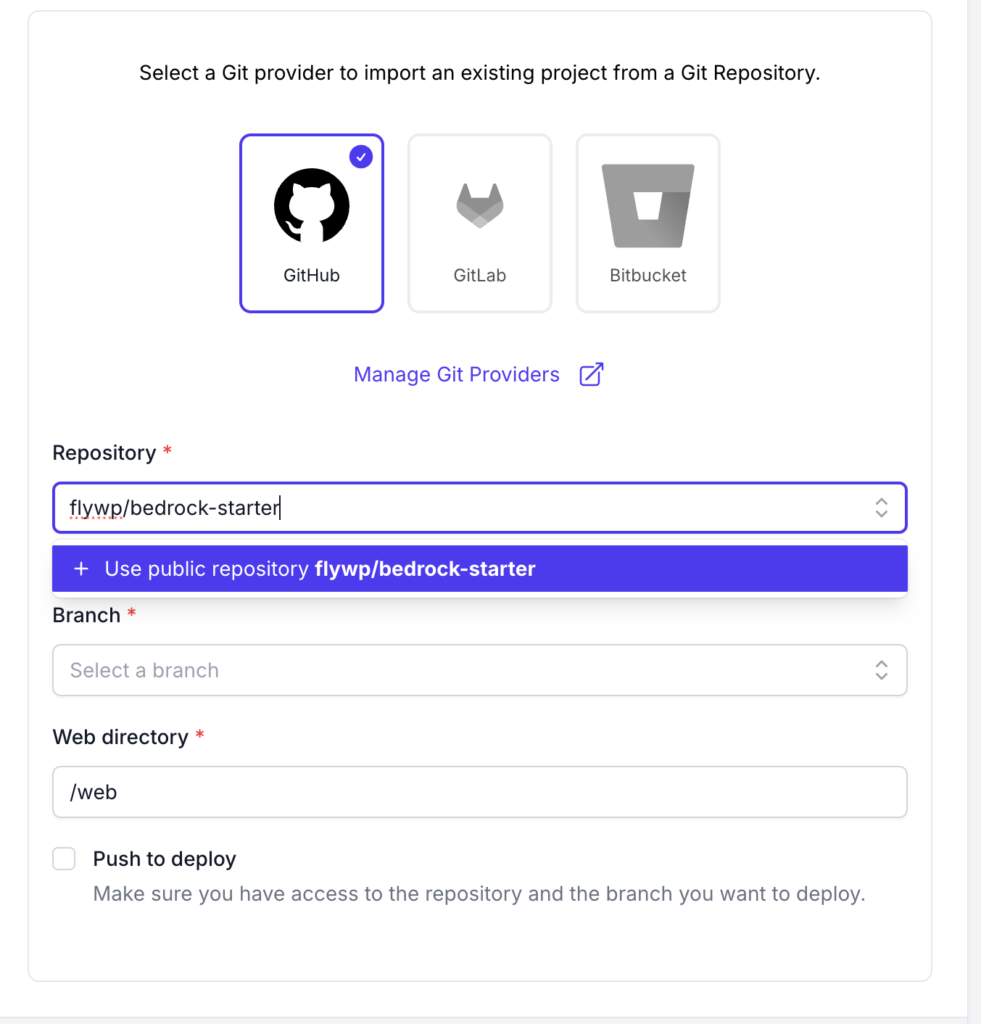
- Repository: type to filter your own repositories. Want to deploy a public repository you don’t own? Type it as
owner/repoand select “➕ Use public repository owner/repo” — FlyWP can clone any public repo this way, not just ones in your account.
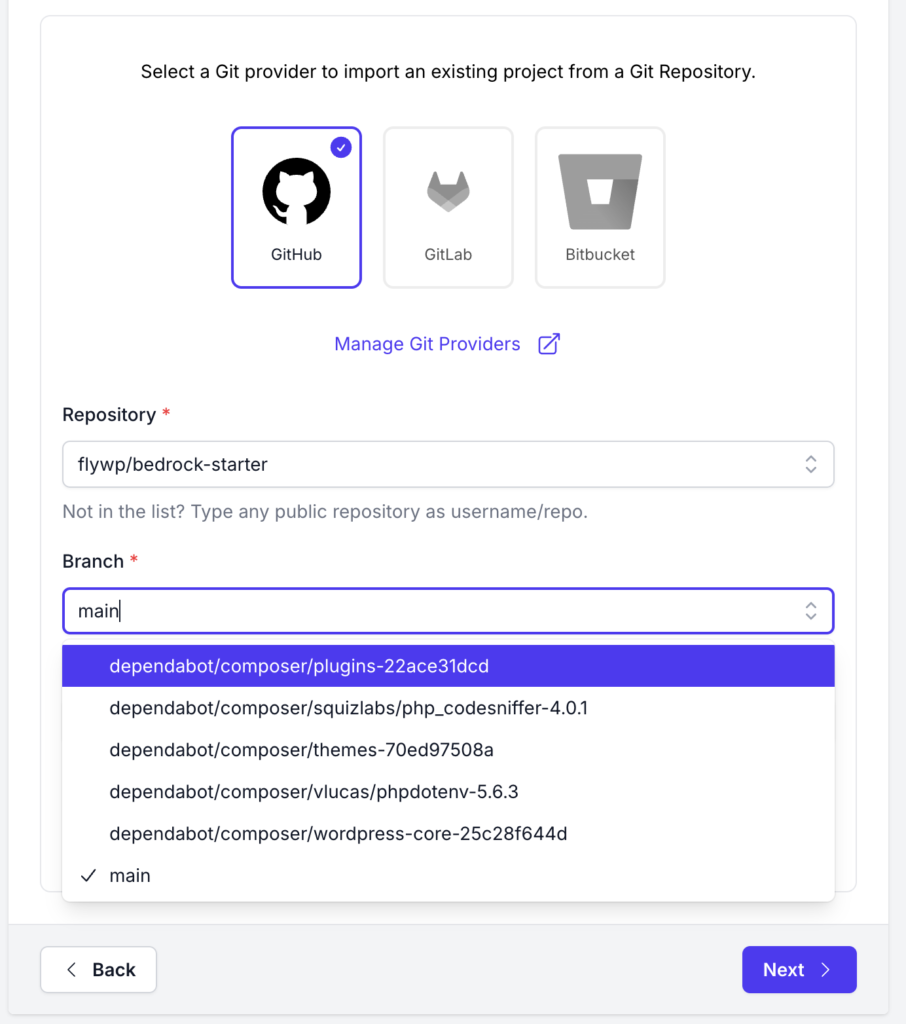
- Branch: once a repository is selected, the branch field loads and preselects that repository’s default branch (usually
main) automatically. Type to filter if you need a different branch — every branch in the repository is searchable, not just the first page of results.
If a site’s deployment branch is ever changed outside the dropdown (or set before this update), the branch selector will still show the actual configured branch even if it isn’t alphabetically near the top of the list.
- Now in the installation tab, provide your site title, email, name, and password. Click Next.
- After creating the site, you’ll get a Deployment tab showing the deployment trigger URL, branch, and deployment history.
So whenever you push a change to your Git repo, it’ll trigger the automated deployment and the changes will automatically be deployed for the site you have configured.