
Part 1: Generating Your Google PageSpeed Insights API Key
To enable automated performance monitoring within FlywP, you need to connect it to Google’s PageSpeed Insights (PSI) API. This requires a free API key from the Google Cloud Console.
Follow these steps to create and configure your key:
1. Set Up a Google Cloud Project
- Go to the Google Cloud Console.
- Log in with your Google account.
- Click the Project Dropdown (top left, next to the Google Cloud logo) and select New Project.
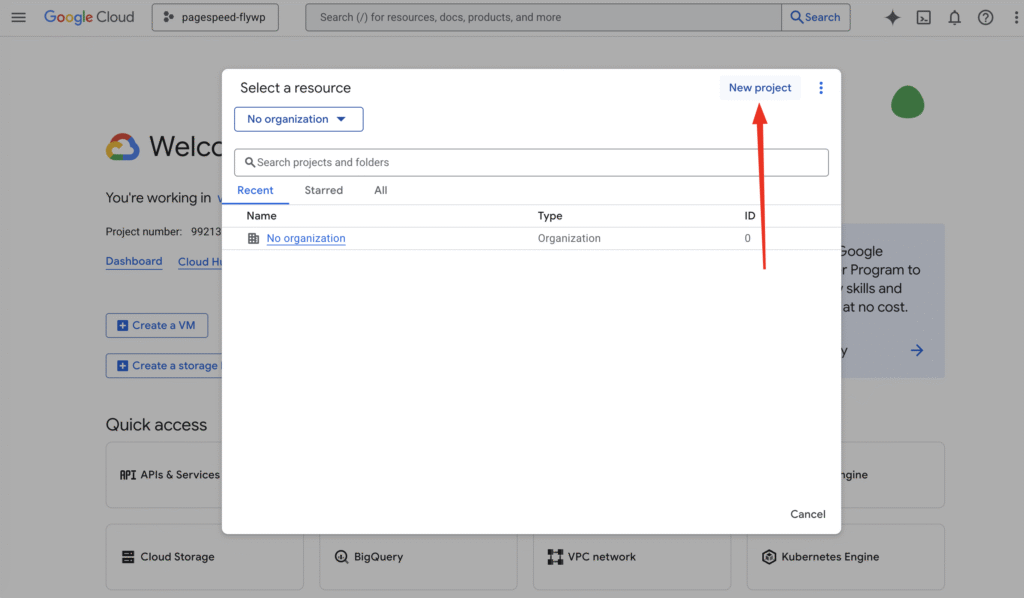
- Enter a name (e.g.,
FlywP-Performance-Monitor) and click Create.
2. Enable the PageSpeed Insights API

- Ensure your new project is selected in the top dropdown.
- In the search bar at the top, type “PageSpeed Insights API”.
- Click on the result under the Marketplace/APIs section.
- Click the blue Enable button.
3. Create Your API Key
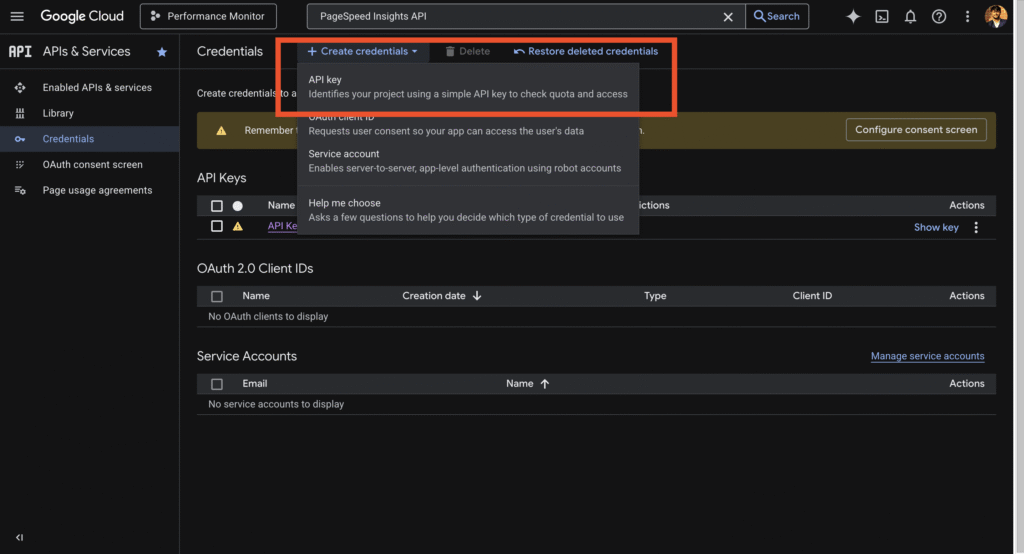
- Once the API is enabled, navigate to APIs & Services > Credentials via the left-hand sidebar.
- Click + Create Credentials at the top of the page.
- Select API key from the dropdown menu.
- A dialog box will appear with your new API key.
- Copy this key and store it securely.
4. (Recommended) Restrict Your API Key
To prevent unauthorized use of your key, it is best practice to restrict it:
- In the “API key created” dialog, click Edit API key (or click the pencil icon next to the key in the Credentials list).
- Under API restrictions, select Restrict key.
- From the dropdown menu, find and check PageSpeed Insights API.
- Click Save.
Part 2: Integrate API key with FlyWP
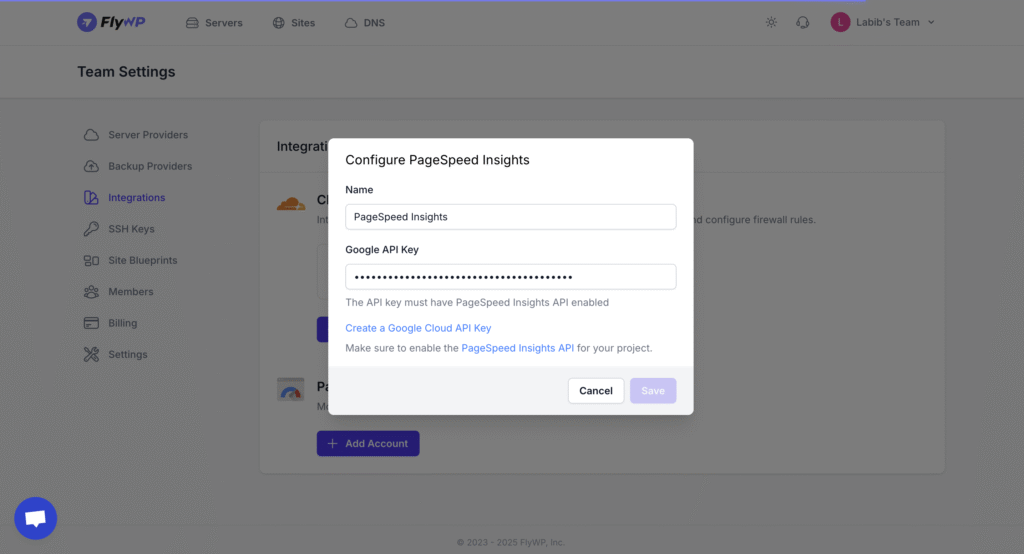
- Go to integrations page and on PageSpeed Insights click on Add Account.
- Paste your API key in the designated field.
- Click Save.
- Go to Site Dashboard and under Performance Monitor you will find the option to Scan for PageSpeed Insights & Core Web Vitals.