Redis Credentials are now available in the Site Dashboard on FlyWP. This gives users full access to Redis, offering enhanced customization and control over WordPress caching systems.
How to Access Redis Credentials in FlyWP
Follow the steps below, to easily access the Redis credentials for your site on FlyWP.
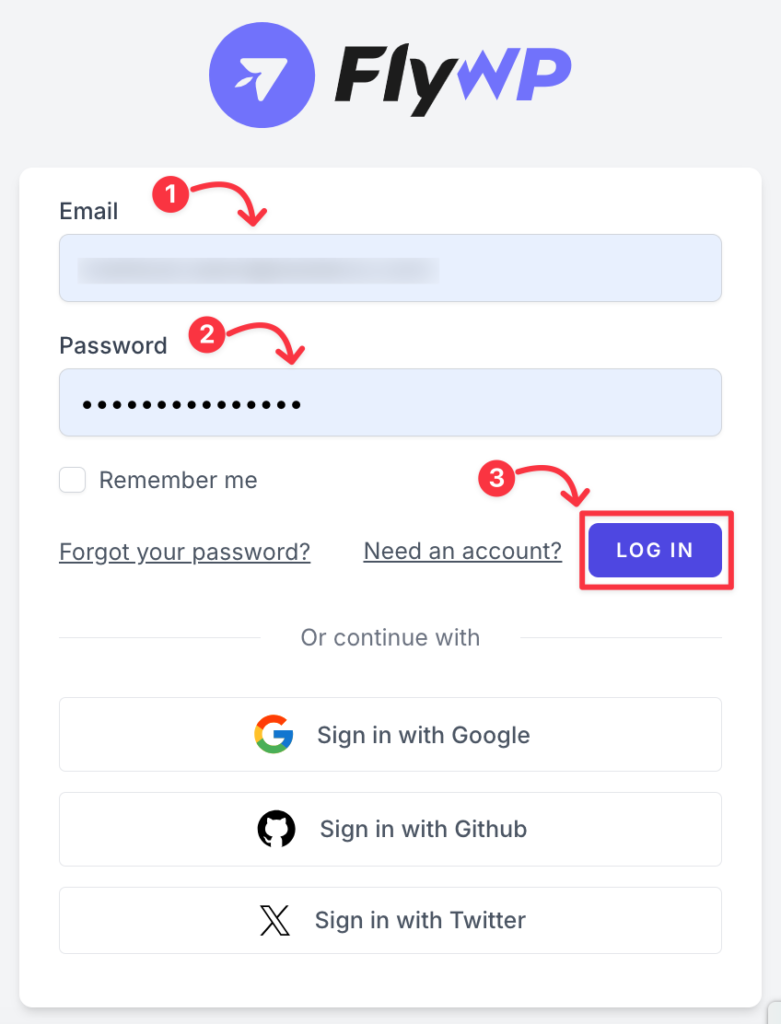
Step 1: Open your browser and go to the FlyWP dashboard login page. Enter your login credentials and sign in to access your account.
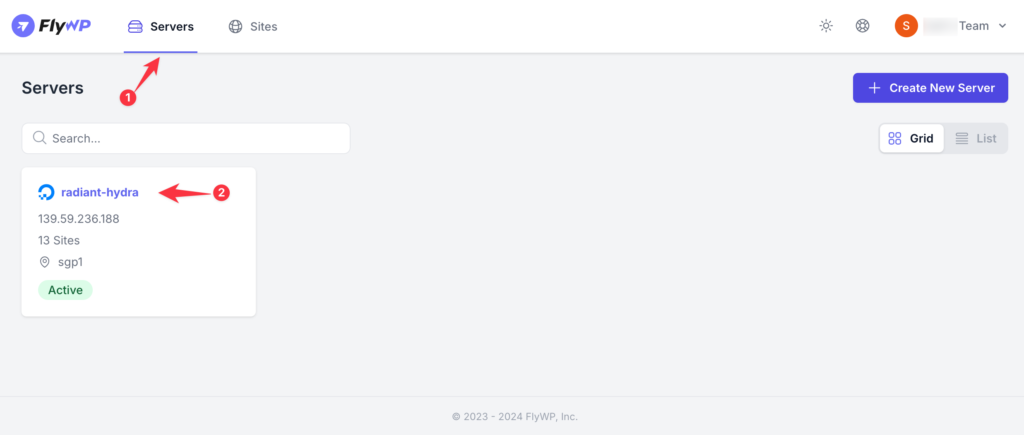
Step 2: Once logged in, you will see a list of your servers. Click on the server where the desired site is hosted.
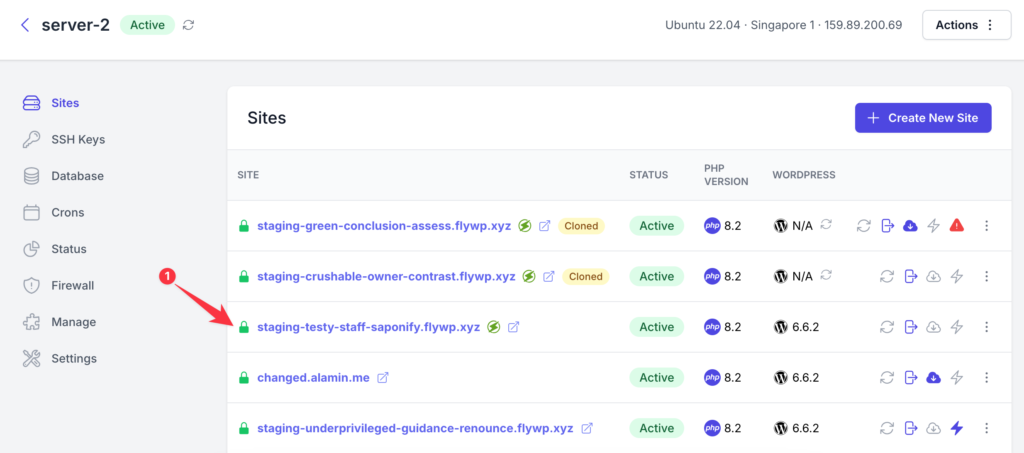
Step 3: After selecting the server, you’ll see the list of websites running on that server. Click on the name of the site for which you want to access Redis credentials.
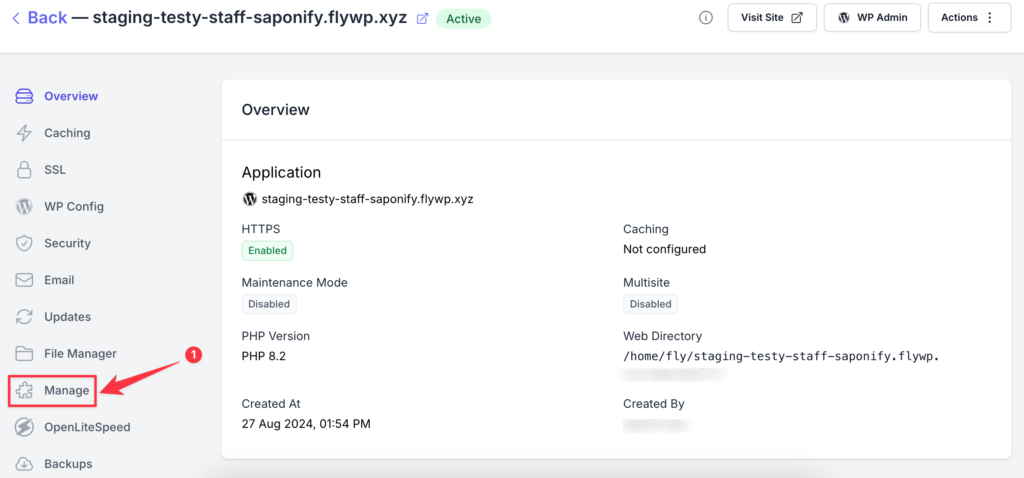
Step 4: In the left-hand menu, select the “Manage” tab. This will open the management settings for your selected site.
Step 5: Scroll down the page, and you will find the Redis credentials section.
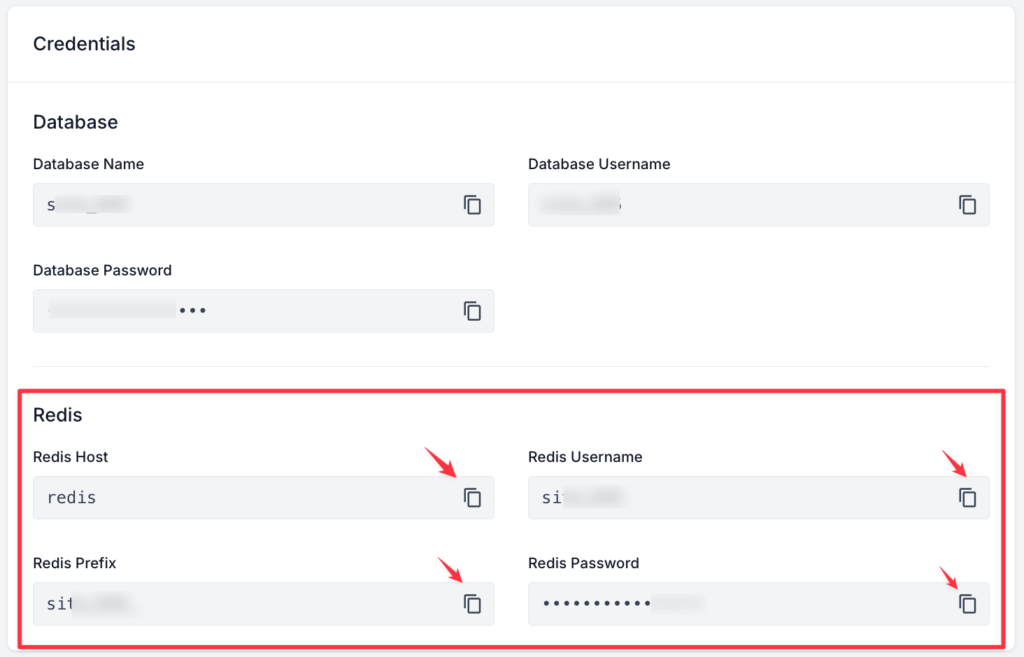
The credentials will be displayed, including Redis → host, username, prefix, and password details for connecting to Redis. Click on the “Clipboard” icon to copy the credential and use it where necessary.
Hope this guide helps you to access Redis Credentials and reconfigure the LiteSpeed plugin or any other respective operations depending on this. Share your feedback or ping our support team at [email protected] if you face any trouble while using FlyWP.
