Having a reliable backup and restore solution is very important. With FlyWP’s Backup/Restore feature, you can quickly Restore your WordPress sites to a previous state with just a few clicks. Let’s get through this.
How to Restore WordPress Websites from Backup?
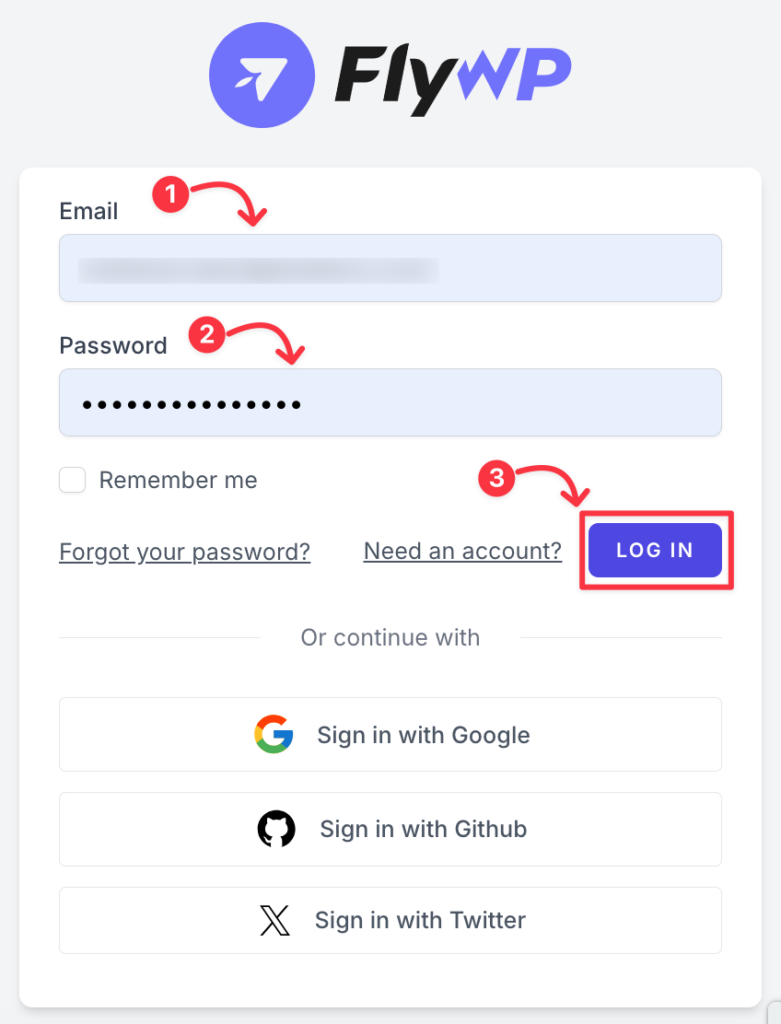
Step 1: Login to your FlyWP account by submitting your “Email address” and “Password”.
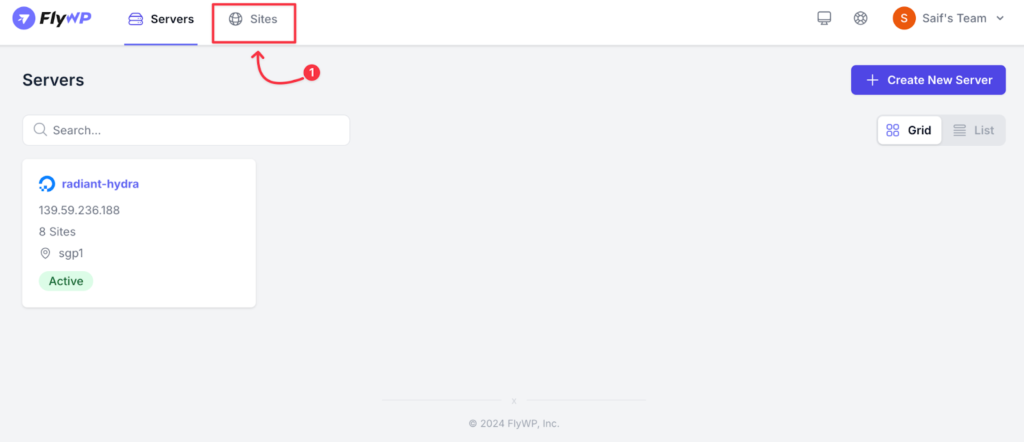
Step 2: Click on the “Sites” tab from the top-left side of your dashboard.
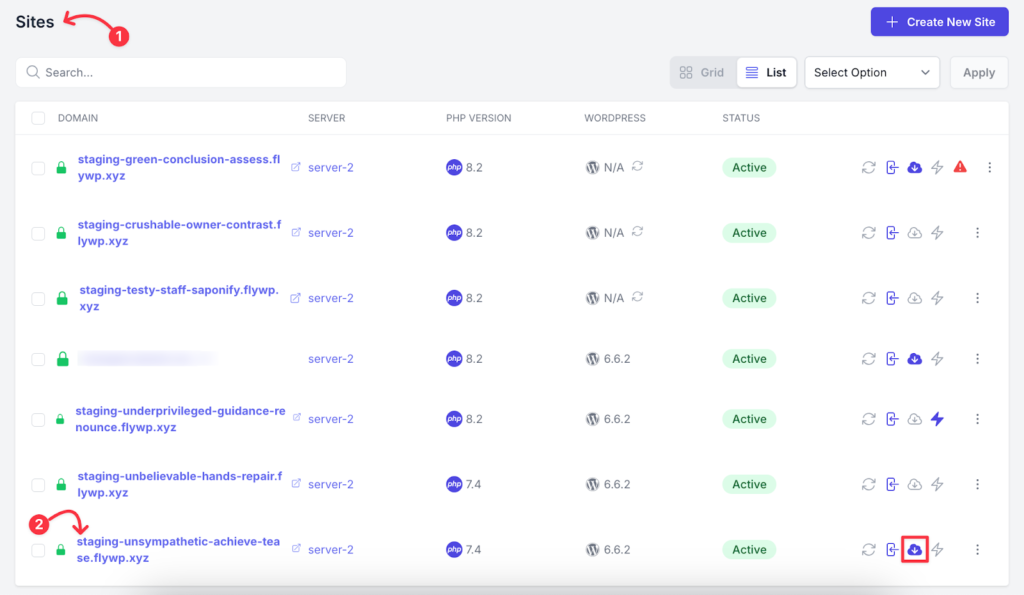
Step 3: You will get the list of the websites on your FlyWP Team account. Now click on the “specific site” in which you want to apply the restoration from the backups.
Note:
- You must have the backup feature turned ON earlier to use the restore feature onwards. You can turn the backup feature on by following WordPress Site Backup documentation.
- The “Cloud” icon on the right side of the site denotes that the backup feature is turned ON, so the restoration can be done as well.
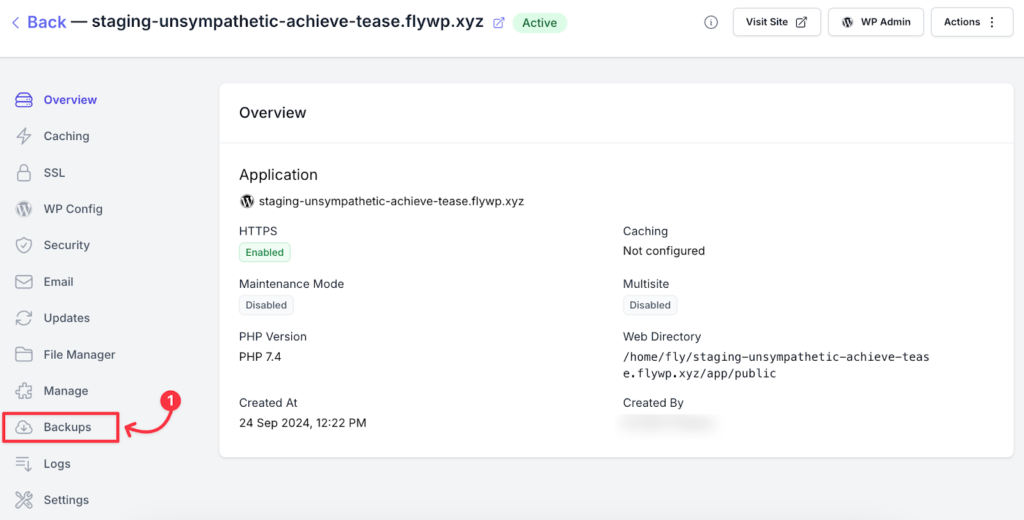
Step 4: From the website dashboard, click on the “Backup” tab from the left side-bar on the screen.
Step 5: You’ll see the list of the updates with the Date and Time mentioned below the Backup section. Hover your mouse pointer to the right side and click on the “Restore” menu icon.
Step 6: Now type “confirm” on the blank field and click on the “Restore” button on the bottom-right section of the confirmation popup.

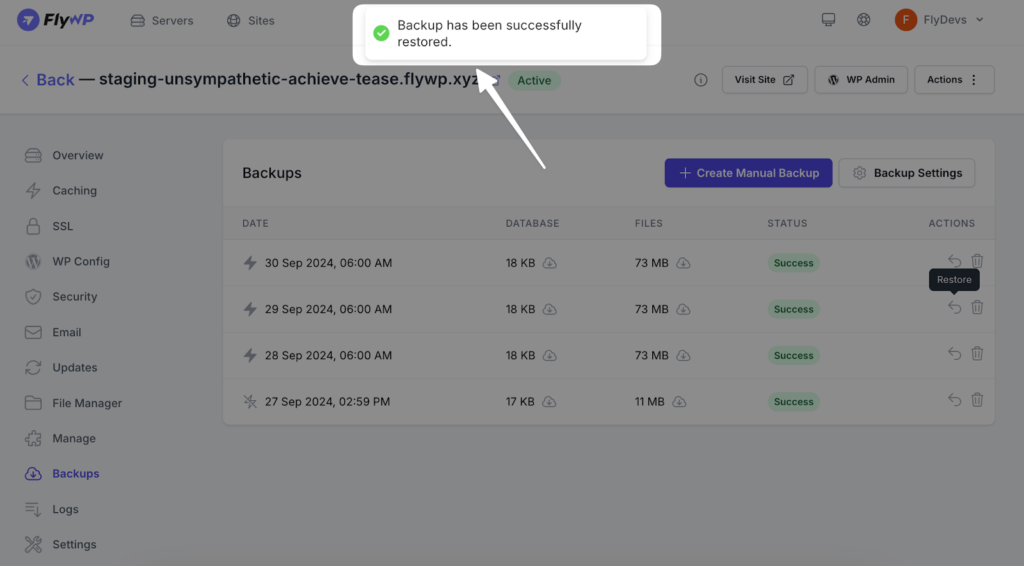
Step 7: The restoration process will begin, and once completed, you’ll see a notification when the backup is restored. You’re done.
You can Backup and Restore your WordPress sites easily with the help of FlyWP server management panel. If you need any support, Feel free to send your query here: [email protected].
