We’ve added a new DNS Manager feature that allows you to manage your domain records directly from the FlyWP dashboard, no need to log in separately to your Cloudflare account.
Once you integrate your Cloudflare account with FlyWP, you’ll be able to view, add, edit, and delete DNS records right inside the FlyWP app.
Accessing DNS Manager
- Log in to your FlyWP account.
- Navigate to the top menu and click on DNS or go directly to app.flywp.com/dns.
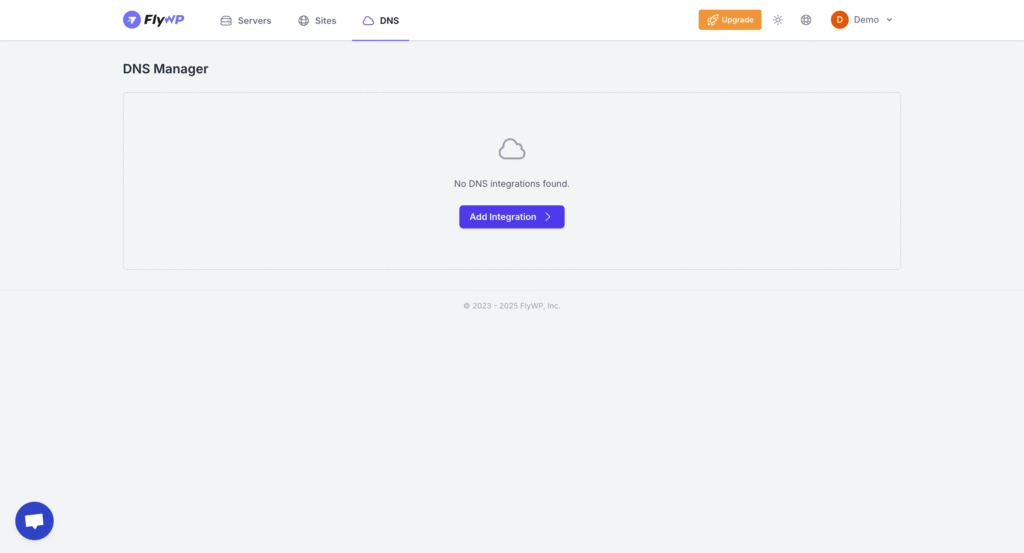
- You’ll see the DNS Manager page.
- If you haven’t yet integrated Cloudflare, click Add Integration to connect your Cloudflare account.
- (See our Cloudflare Integration Guide for step-by-step instructions.)
- If you haven’t yet integrated Cloudflare, click Add Integration to connect your Cloudflare account.
Viewing DNS Records
Once your domain is integrated with Cloudflare, FlyWP will display all existing DNS records for that domain:
- Type (A, CNAME, MX, TXT, NS, etc.)
- Name (domain or subdomain)
- Value (IP address or target)
- TTL (time-to-live)
- Proxy Status (Proxied or DNS Only)
This makes it easy to audit your domain configuration without switching tools.
Adding a New Record
- Go to DNS Manager.
- Click Add Record.

- Choose the record type (A, CNAME, MX, TXT, etc.).
- Enter the required values:
- TTL → Set the time-to-live (Auto or custom value).
- Name → Enter the root domain (
@) or a subdomain (e.g.,www). - IPv4 Address → Provide the destination server’s IP address.
- Comment → (Optional) Add a note to help identify the purpose of this record.
- Proxy Status → Toggle Cloudflare proxy on or off for added security and performance.
- Click Add Record.
Editing a Record
- Locate the record you want to update.
- Click the menu (…) beside it and select Edit.
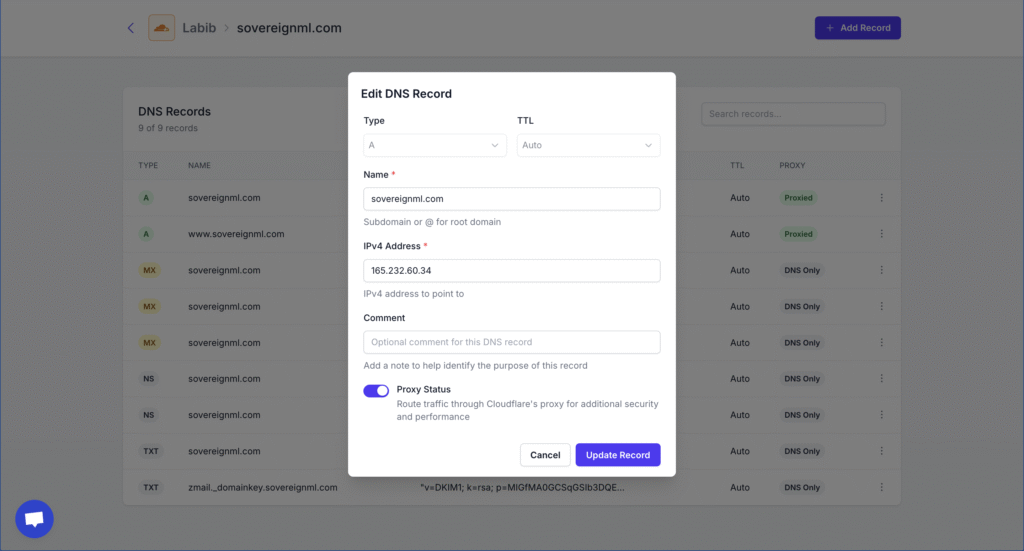
- Update the necessary fields (IP, proxy status, TTL, etc.).
- Click Update Record.
Deleting a Record
- Locate the record you want to remove.
- Click the menu (…) beside it and select Delete.
- Confirm deletion.
Note: Deleting DNS records may impact your website, email, or other connected services. Proceed with caution.
Why Use DNS Manager in FlyWP?
- Centralized Control – Manage servers, sites, and DNS records from one dashboard.
- Time-Saving – No need to log into Cloudflare separately.
- Full Flexibility – Add, edit, or delete records directly in FlyWP.
- Cloudflare Proxy Support – Toggle proxy status for security and performance without leaving FlyWP.
Next Steps
- If you haven’t yet connected Cloudflare, start with our Cloudflare Integration Guide.
- Once integrated, head to app.flywp.com/dns and try out the new DNS Manager today.