Efficiently managing your teams is key to maintaining an organized workspace. When a team including the server and sites is no longer needed, FlyWP offers a simple way to delete it, ensuring your environment remains uncluttered.
This guide will walk you through the steps to safely delete a team in FlyWP. Let’s get started.
How to Delete a Team in FlyWP
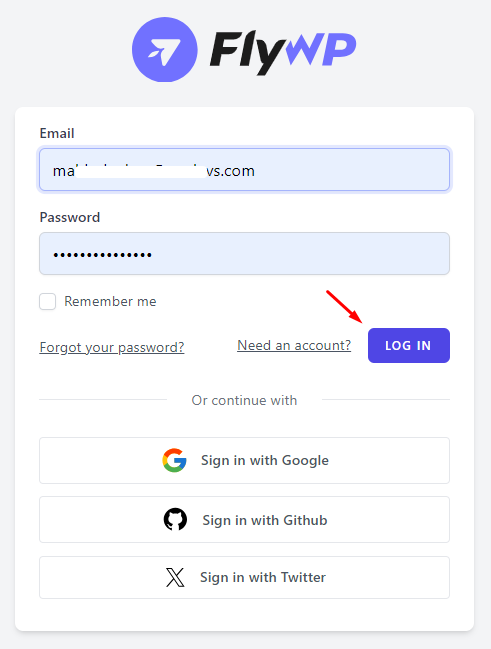
Step 1: First of all, Login to your FlyWP account by entering your Email and Password.
Step 2: You will see your FlyWP dashboard. Now click on the Down Arrow button from the top-right corner. Click on the “Team” you want to Delete. In our case, it is “Team Virtunus”
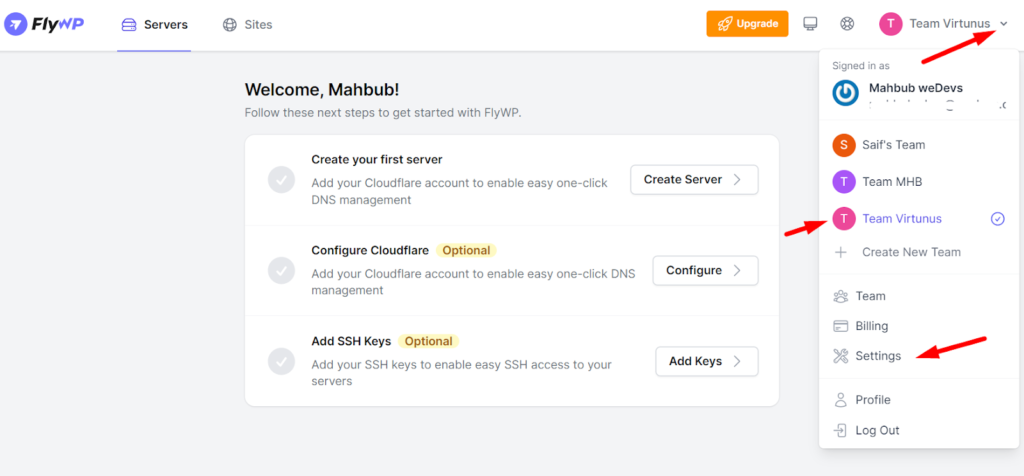
Now click on the “Setting” button below as shown in the screen.
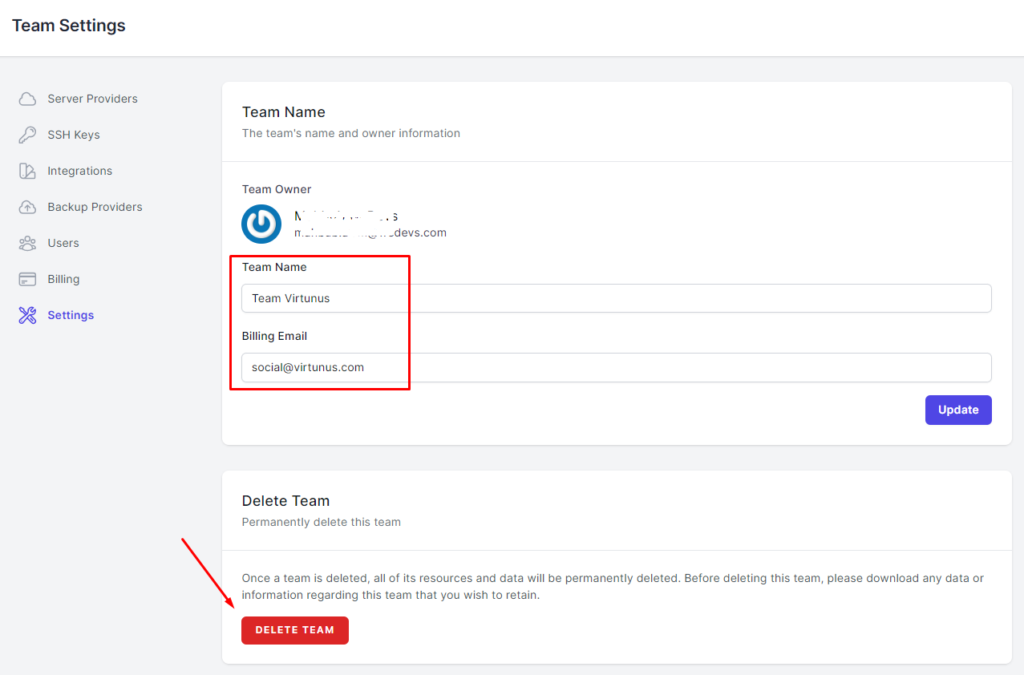
Step 3: You will see the following screen with the “Delete Team” button below the page. Click on there.
Note: Make sure your server name & email is the same as you wanted to delete
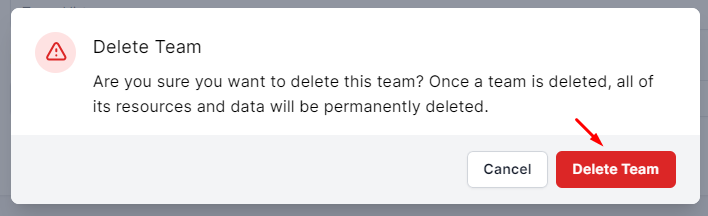
Step 4: You will see a pop-up modal that asks for your confirmation. Click on the “Delete Team” button or if you change your mind then click on the “Cancel” button.
Note:
This action is irreversible. Once you delete a team, every resource (server, sites, team members, settings, etc) will be deleted.
You’re done! Your Team Deletion process has been completed.
In this way, you can delete a team in FlyWP. We hope you find this documentation helpful. Explore our other documentation for more guidelines. You can also contact us at [email protected] for any queries or further assistance.