
Introducing Google Drive as a FlyWP Backup Provider
At FlyWP, we prioritise the security and reliability of your WordPress site backups. That’s why we offer seamless integration with Google Drive as a backup storage provider. With this option, you can automatically store your site backups in your own Google Drive account, ensuring that your data remains safe, accessible, and under your control.
To Setup Google Drive as FlyWP Backup Provider, follow these steps
1. Go to Team Settings → Backups and click “Add New Provider”.
This is where you manage your backup providers and overall site backup strategy.

2. Select Google Drive from the provider list. Click “Connect Account” and authenticate using your Google account via OAuth.
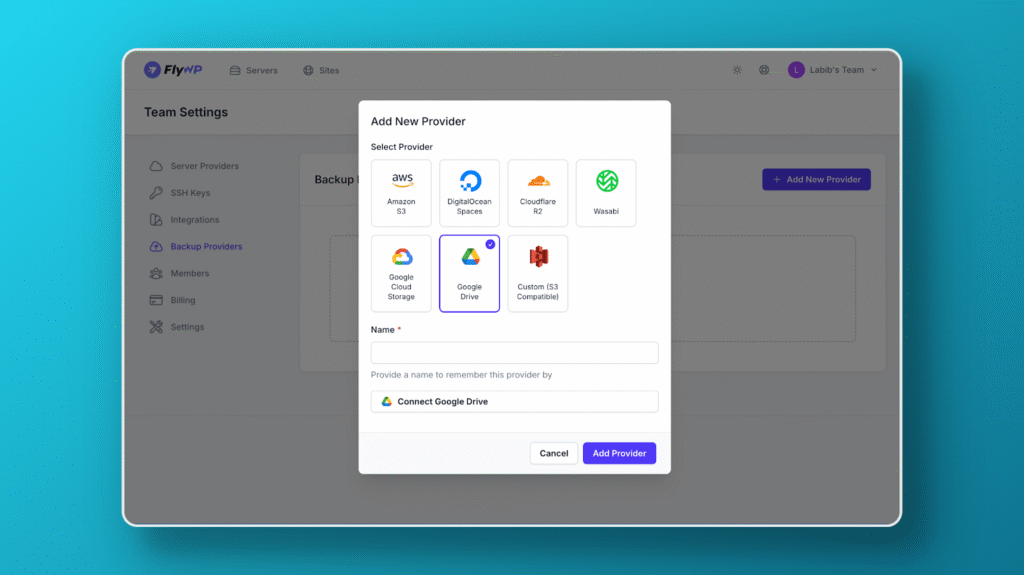
You’ll be redirected to Google to grant secure access. FlyWP does not store your login details—only a token is used to allow backups.
3. Update the Provider Name for clarity. Click “Add Provider” to finish connecting your Google Drive account.
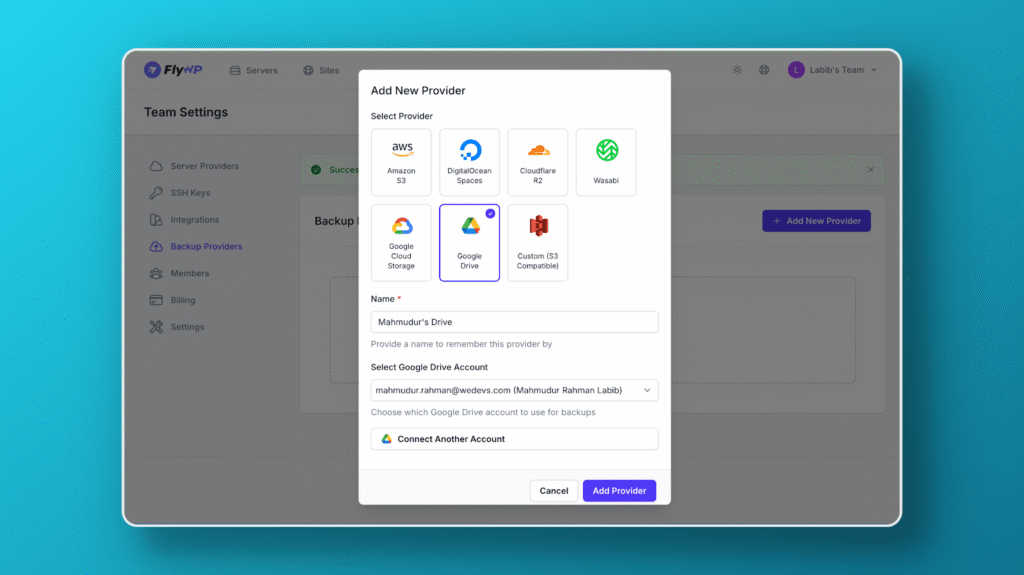
If you’re managing backups for multiple sites or teams, renaming the provider (e.g., “Client Drive or My Drive”) can help you stay organized.
4. In a new browser tab, open Google Drive and create a folder (e.g., FlyWP Backups).
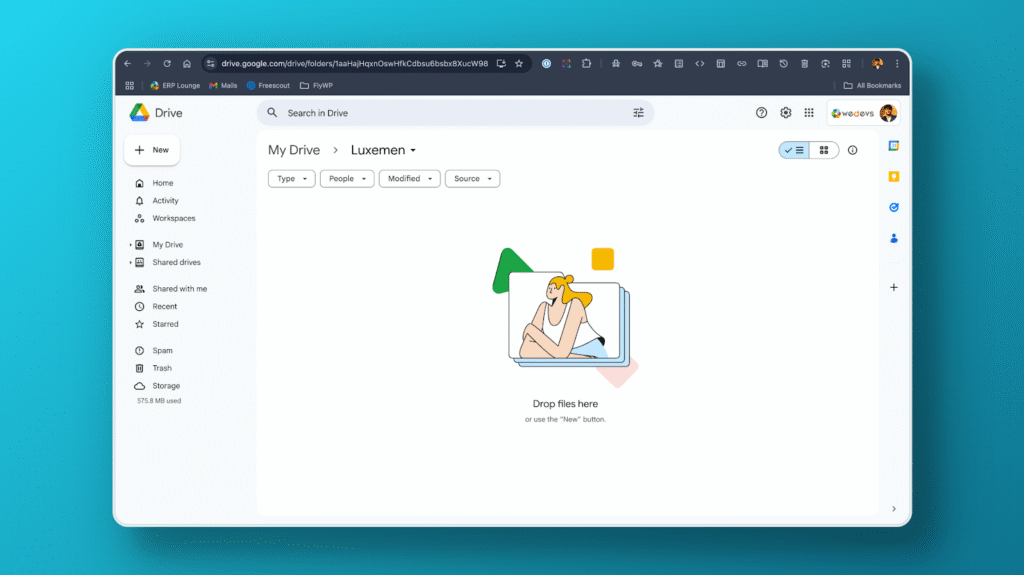
This folder will be the destination for all your backups. Keeping backups in a dedicated folder helps you stay tidy and avoids clutter.
5. Copy the Root Folder ID from the URL.
- Example URL:
https://drive.google.com/drive/folders/1aBcD2EfGHIjkLmnOPqrsTuv
- Folder ID = 1aBcD2EfGHIjkLmnOPqrsTuv
- Folder ID = 1aBcD2EfGHIjkLmnOPqrsTuv
The Folder ID uniquely identifies where the backups should be saved in your Drive. It’s the long string at the end of the URL.
6. Return to FlyWP → Backups → Click “Backup Settings.”
This is where you tell FlyWP exactly where to store your backups on Google Drive. Paste the Root Folder ID into the appropriate field.
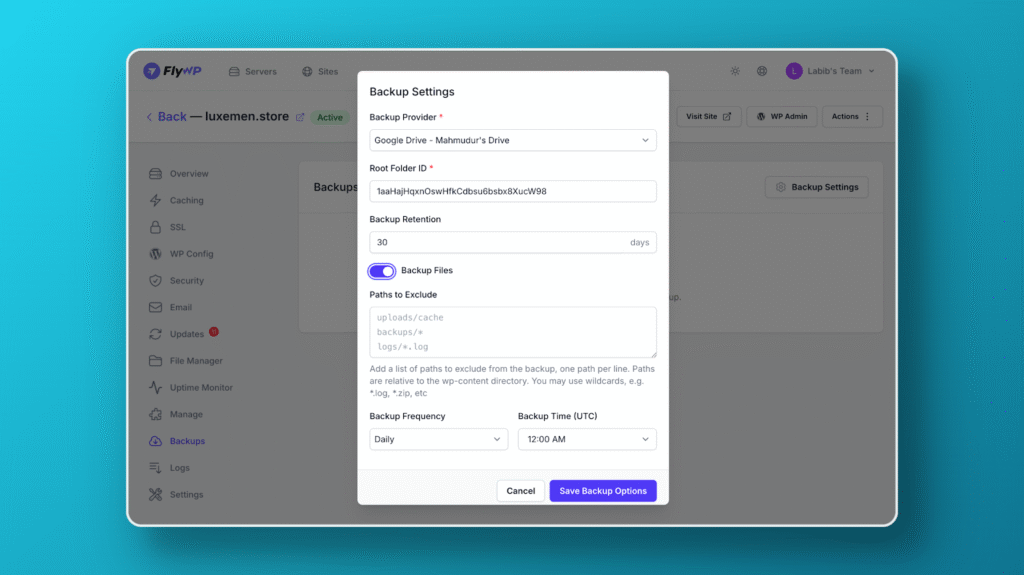
Make sure it’s correct—backups won’t work if the ID is wrong or the folder isn’t accessible.
7. Configure your backup preferences:
- Frequency (Daily, Hourly)
Choose how often backups should run automatically. - Retention Period
Define how many days to keep old backups before deleting them. - Include/Exclude Site Files
You can back up the entire site or just the database. - Exclude Specific Folders (optional)
Useful for skipping large or unnecessary folders like /uploads/tmp/.
Finally, click “Save Backup Options.”
This will lock in your backup settings and apply them going forward.
8. Click “Create Manual Backup” to test the connection.
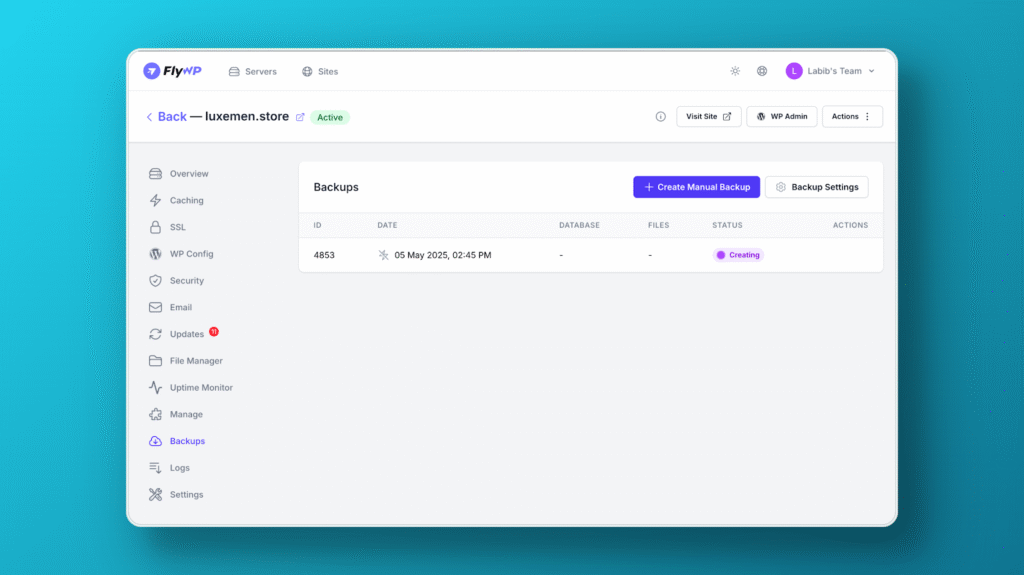
This manually starts a backup process and ensures your setup is working.
9. If everything is set up correctly, you’ll see a “Backup Successful” pop-up.
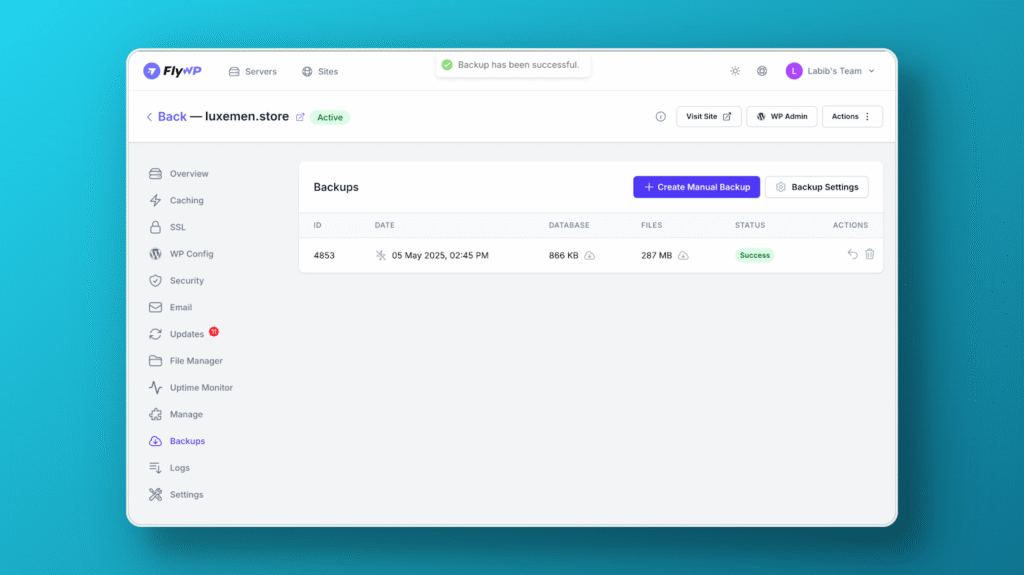
Congrats! Your site has been backed up to Google Drive successfully.
PS: To download the backup from Google Drive, please ensure that you are logged in through the same account as the backup account on your browser.
You’re All Set!
Your FlyWP site is now securely backing up to Google Drive. Future scheduled backups will follow the same configuration you just tested.
Need Help?
If you run into any issues during setup:
- Check if your Google Drive has enough available space.
- Verify the folder ID is correct.
- Contact FlyWP Support via your dashboard.