OpenLiteSpeed is a high-performance, open-source web server known for its blazing-fast speed and resource efficiency. It’s specially optimized for WordPress sites, offering significant performance improvements over traditional servers. With OLS, you can expect:
- Lightning-fast page load times
- Enhanced security features
- Reduced server resource usage
- Built-in LiteSpeed caching mechanism
Ready to supercharge your sites with OpenLiteSpeed support? Let’s get started.
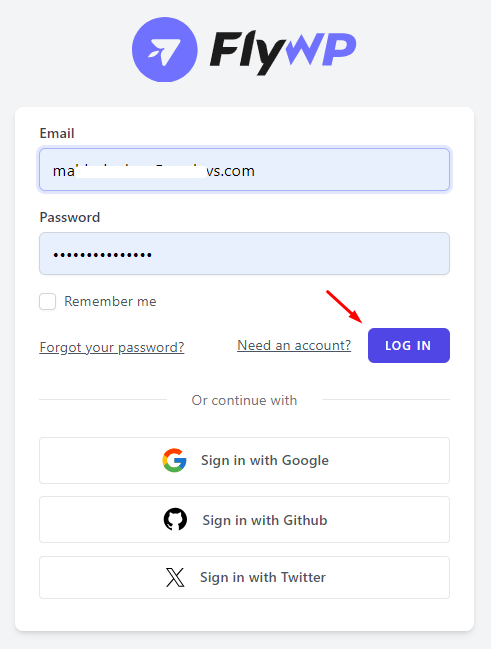
Step 1: Login to your FlyWP account by entering your Email & Password.
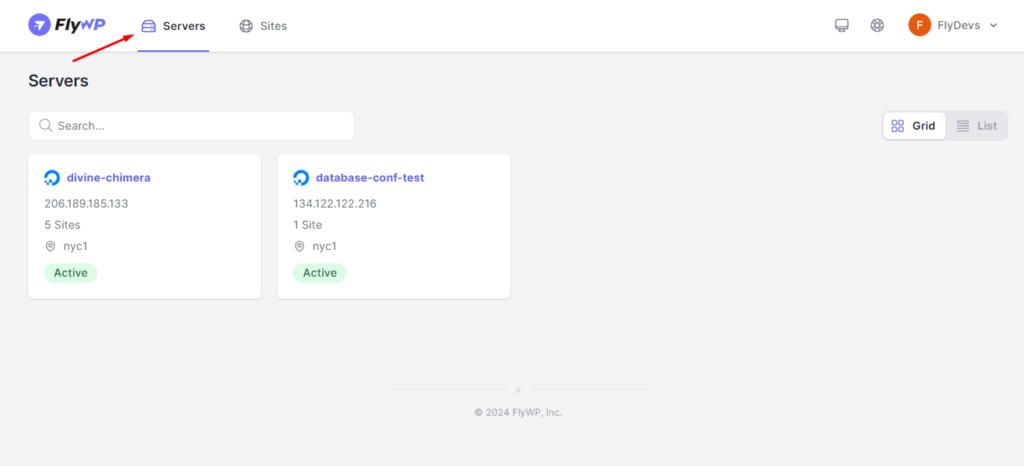
Step 2: Click on the “Server” menu from the top-left side of your dashboard.
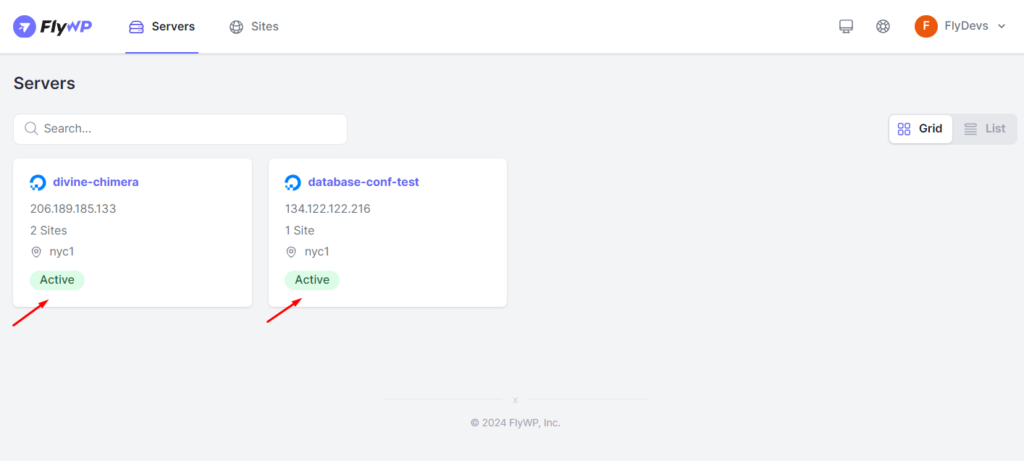
Step 3: Click on your Active server and Open it from the FlyWP Server dashboard. If you do not have any server created yet then add a server provider and create a server following this guide.
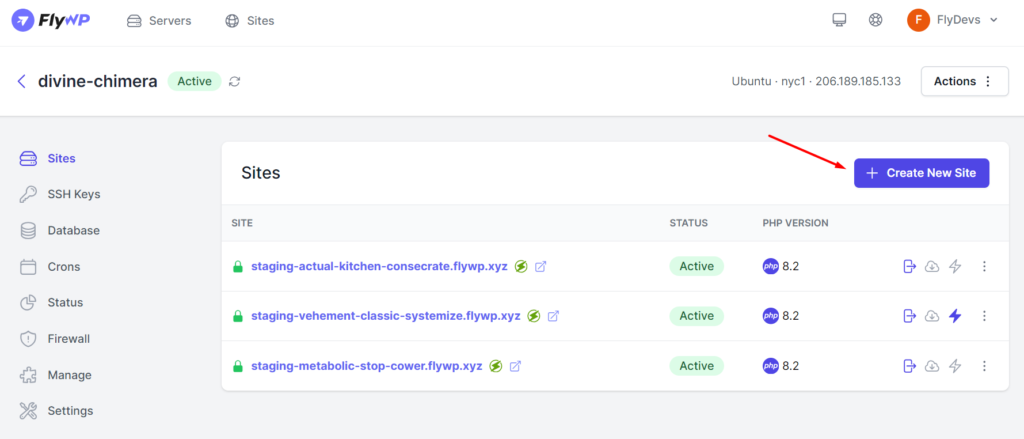
Step 4: Click on “Create New Site” from the right side of your Sites dashboard.
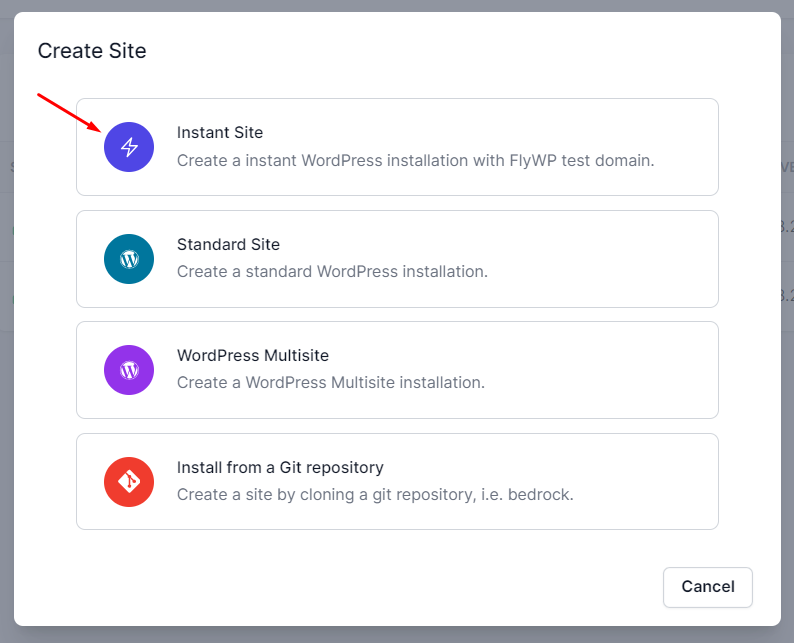
Step 5: Choose the preferred type of website that you want to create. In our case, we selected “Instant Site”
Note:
- Instant Site: You do not need to input your domain right now. You can replace that later on after the whole installation procedure.
- Standard Site: You have to insert your exact domain name to continue the installation process.
- WordPress Multisite: If you want to install Multiple sites under one Domain then choose this option.
- Install from a Git Repository: If you manage a Git repository, you can directly clone your site contents from there. To continue this option, you will need to connect your Git repository during the installation process.
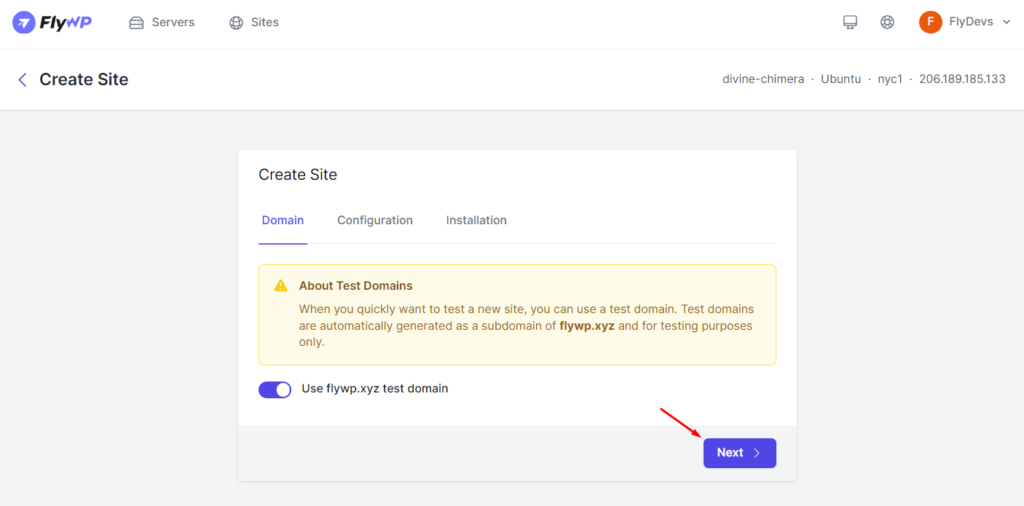
Step 6: In the next screen, we will keep the setting by default. Now click on the “Next” button on the bottom-right corner.
Step 7: Look, This step is very very IMPORTANT. You must choose “OpenLiteSpeed” in the Server Stack to enable the functionalities of Open Source LiteSpeed Web Server (OLS). Make sure your server supports OLS service, on the other hand, you should go with Nginx.
Also, select the PHP Version you want in between the provided versions. Then click on the “Next” button in the bottom right corner.
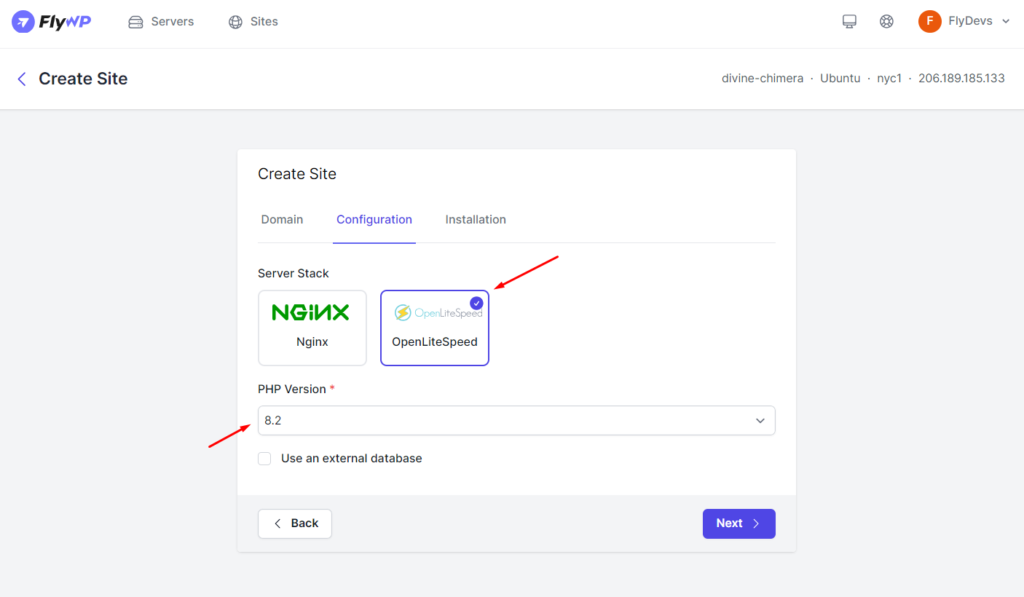
Note:
- PHP versions supported for OLS: 7.4, 8.1, 8.2
- No support for PHP 8.0 and other versions because of the unavailability of PHP extensions.
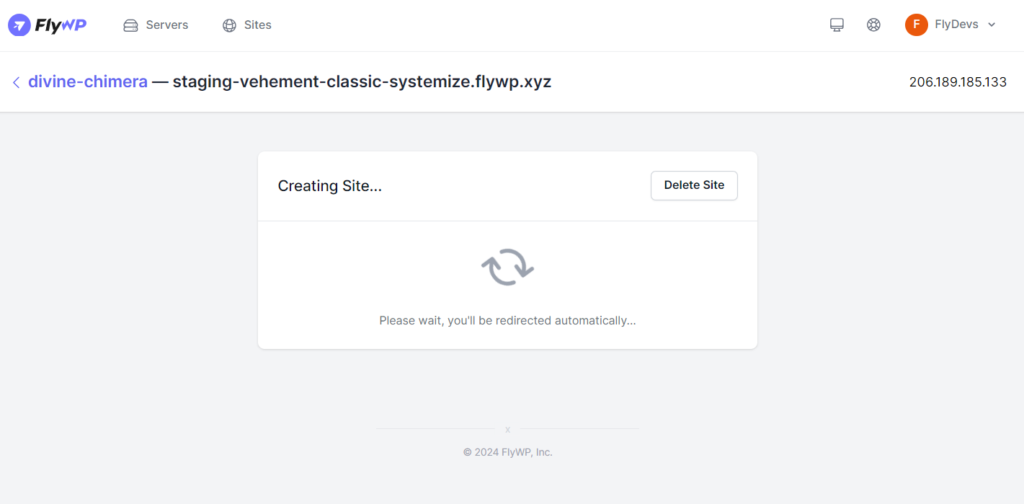
Step 8: Provide your “Site Title” and credentials based on your preference. Then click on “Create Site” in the bottom right corner.

Sit tight for a while, it should be ready within a few moments.
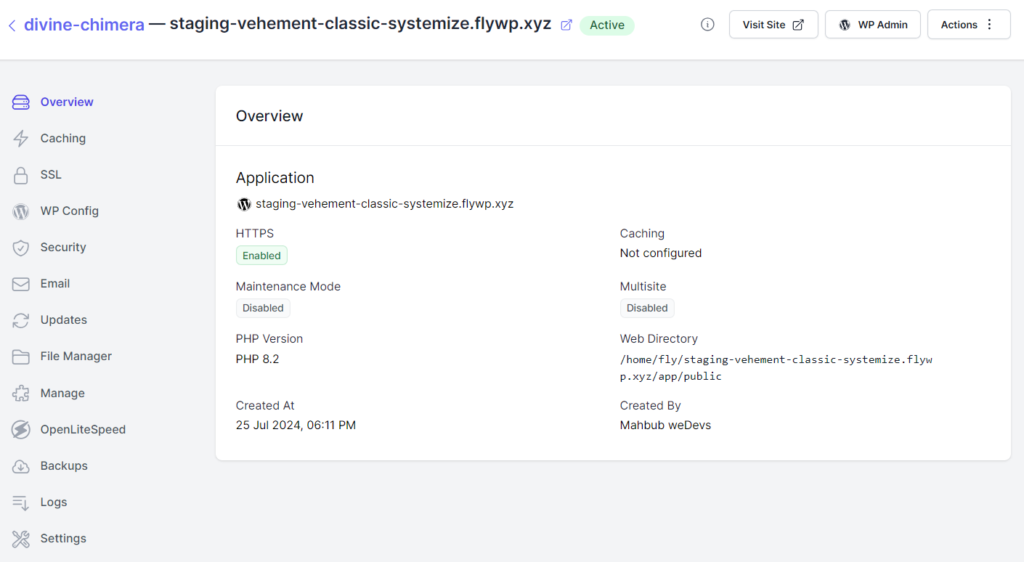
Step 9: Voila!!! Your website with OLS stack is ready.
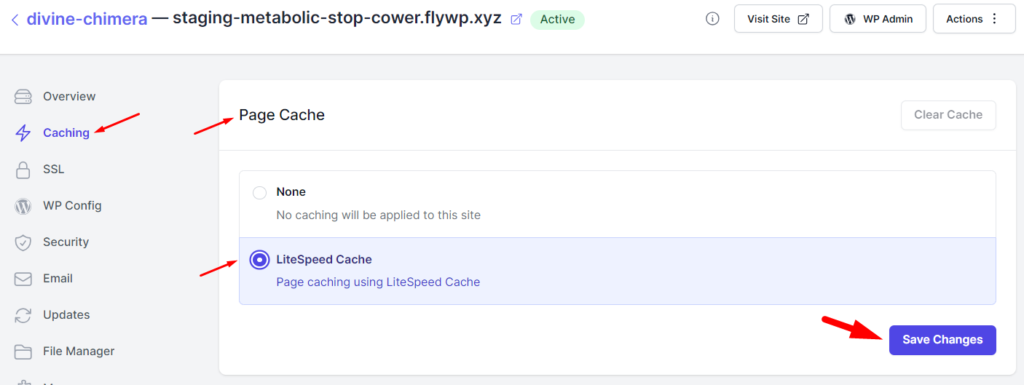
Step 10: Go to “Caching” from the left side Menu below Overview. Then under “Page Cache” select “LiteSpeed Cache” and click on the “Save Changes” button.
Step 11: You should get the LiteSpeed Cache plugin on your WP admin panel. Configure it based on your preference to unleash the full potential of your LiteSpeed server. If the plugin isn’t already installed then integrate the “LiteSpeed Cache” plugin to your website. You’re all set to fly high!
Get more control on your OLS Stack like never before
Many of you like to get things more hands-on with manual control. And we got this! You can manually update the OLS configurations like the following:
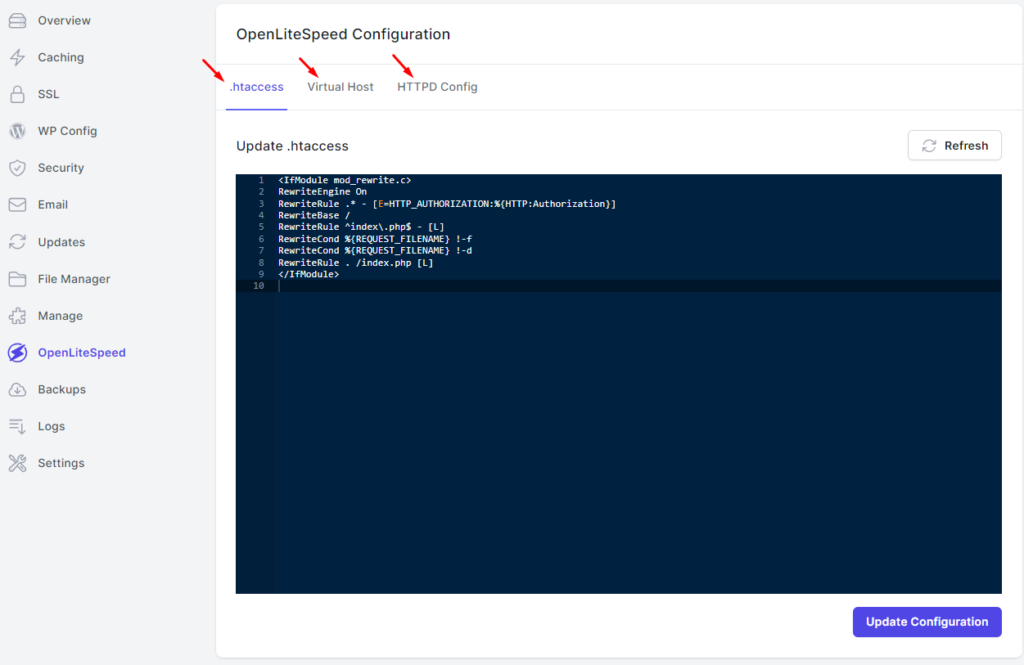
- .htaccess: If you have a use case like “URL Rewriting and Redirection”, you can get things done by updating .httaccess file.
- Virtual Host: Users who want to “Host Multiple Domains” might require this feature. By configuring Virtual Hosts in OLS, you can assign different domain names to separate directories, allowing multiple websites to run independently on the same server, each with its unique configurations and resources.
- HTTPD Configuration: If someone wants to “Maintain Server Behavior” to improve the server performance, they can do this by editing the HTTPD configuration file, making the proper adjustments globally or per virtual host, and tailoring the server’s behavior to meet specific application requirements.
Each of these features allows for a high degree of customization and control, enhancing the flexibility and performance of web hosting environments with the OLS stack in FlyWP.
Shortcomings:
- Security features aren’t supported yet (7G firewall, etc…)
- No opcache and JIT compiler configuration support and Process manager configuration support.
So that’s how you can create a new site with OLS using FlyWP. We hope you find this documentation helpful. Check out our other documentation to easily get started with FlyWP. You can also contact us at [email protected] for more queries and further assistance.