Nginx (engine-x) is a powerful, versatile web server renowned for its high performance and efficient resource management. It’s widely adopted for WordPress sites, providing excellent stability and scalability for websites of all sizes. With Nginx, you can expect:
- Exceptional load-balancing capabilities
- Fast static content delivery
- Efficient handling of concurrent connections
- Robust reverse proxy features
- Built-in caching mechanisms
Ready to create your sites with Nginx support with FlyWP? Let’s get started.
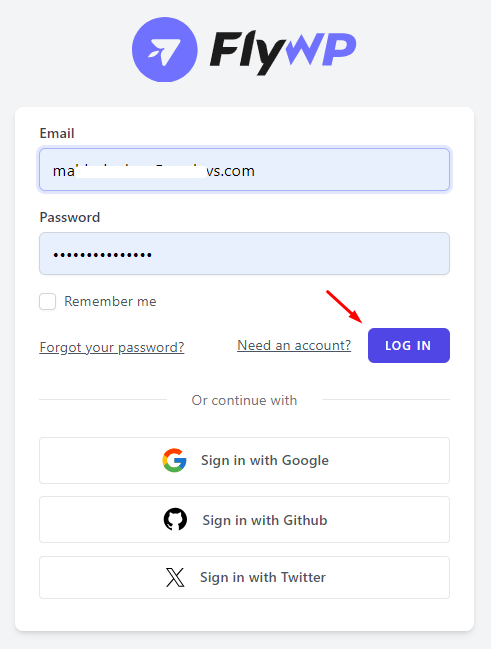
Step 1: Login to your FlyWP account by entering your Email & Password.
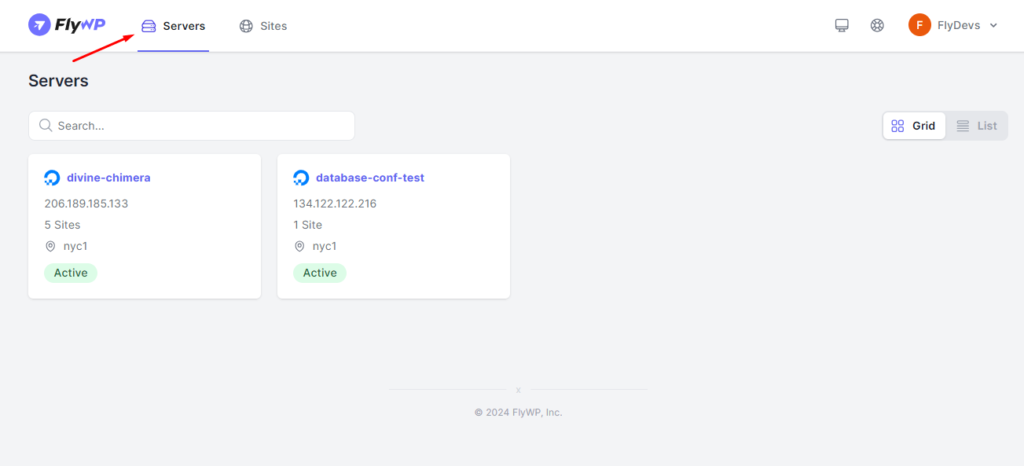
Step 2: Click on the “Server” menu from the top-left side of your dashboard.
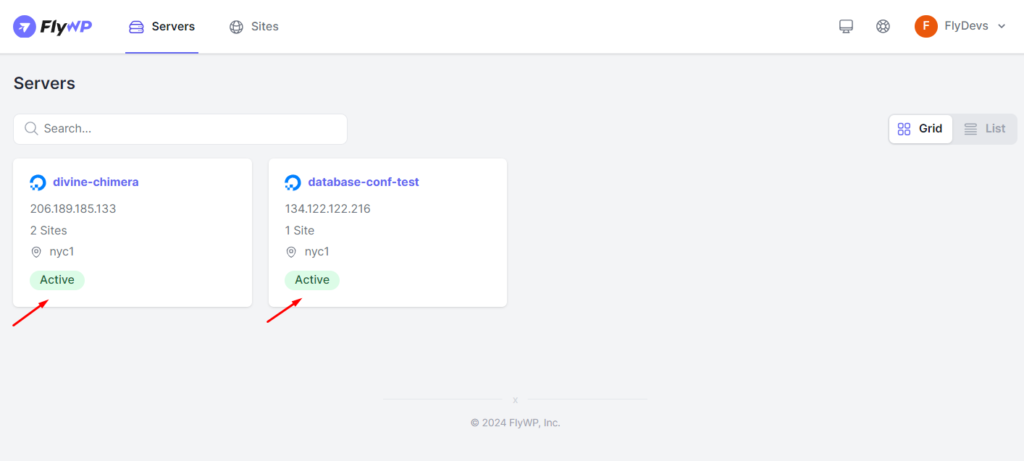
Step 3: Click on your Active server and Open it from the FlyWP Server dashboard. If you do not have any server created yet then add a server provider and create a server following this guide.
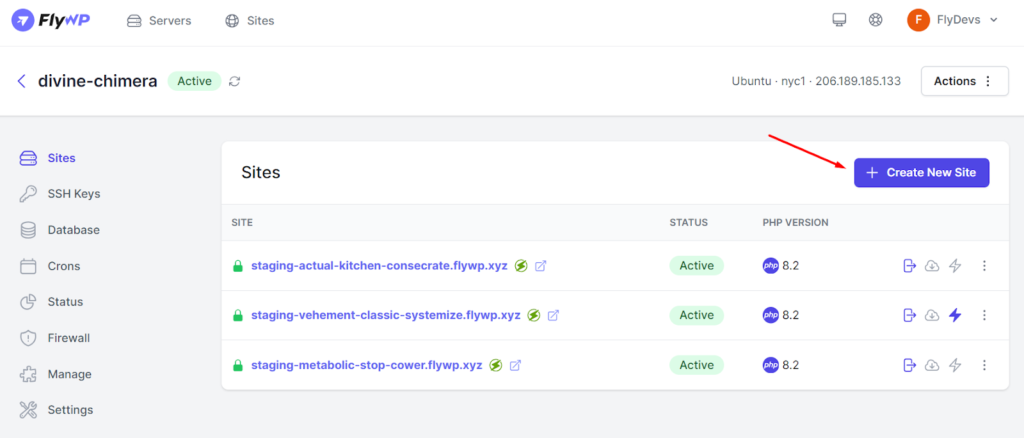
Step 4: Click on “Create New Site” from the right side of your Sites dashboard.
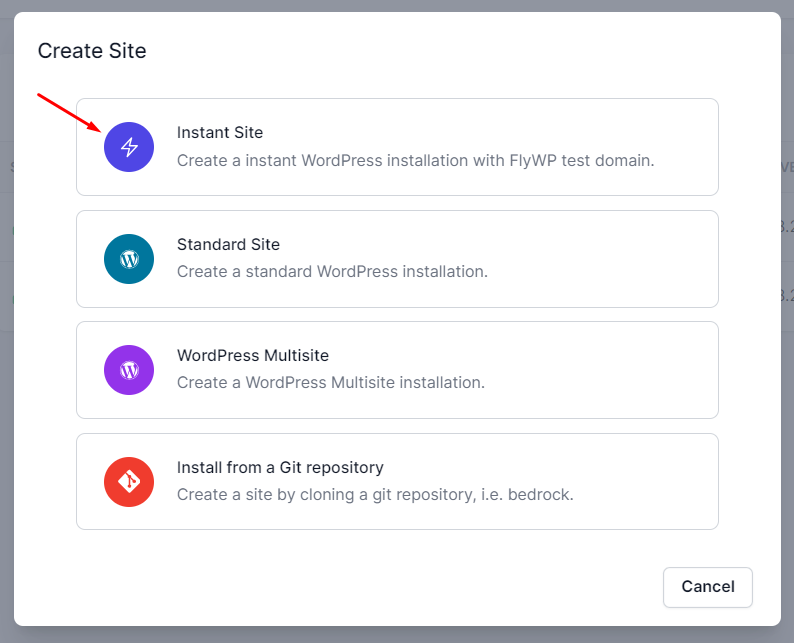
Step 5: Choose the preferred type of website that you want to create. In our case, we selected “Instant Site”
Note:
- Instant Site: You do not need to input your domain right now. You can replace that later on after the whole installation procedure.
- Standard Site: You have to insert your exact domain name to continue the installation process.
- WordPress Multisite: If you want to install Multiple sites under one Domain then choose this option.
- Install from a Git Repository: If you manage a Git repository, you can directly clone your site contents from there. To continue this option, you will need to connect your Git repository during the installation process.
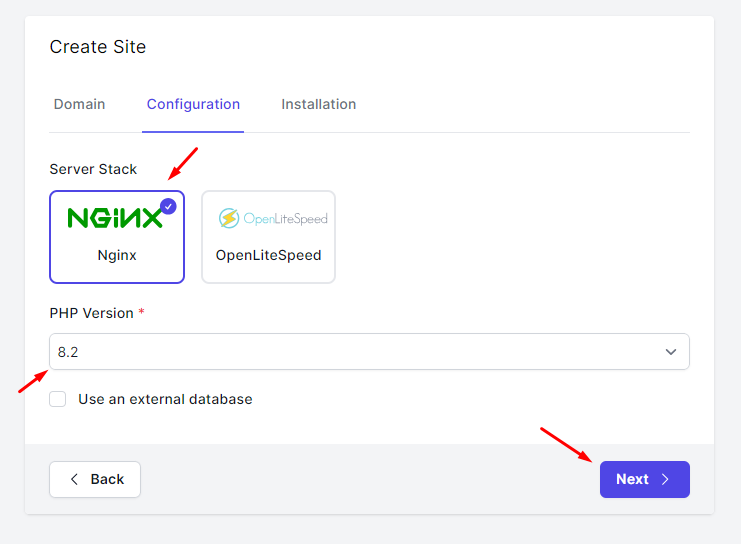
Step 6: In the next screen, we will keep the setting by default. Now click on the “Next” button on the bottom-right corner.

Step 7: In this step Select “Nginx” in the Server Stack to enable the functionalities of Nginx (engine x). Also, Select the PHP Version you want in between the provided versions. Then click on the “Next” button in the bottom right corner.
Step 8: Provide your “Site Title” and credentials based on your preference. Then click on “Create Site” button in the bottom right corner.
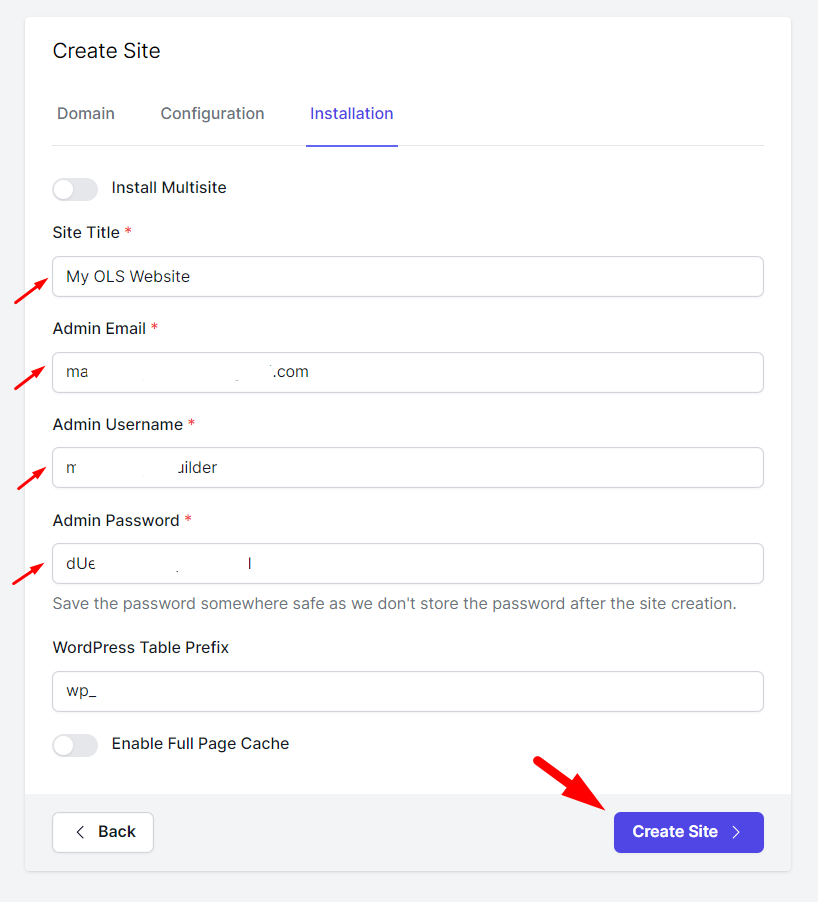
Sit tight for a while, it should be ready within a few moments.
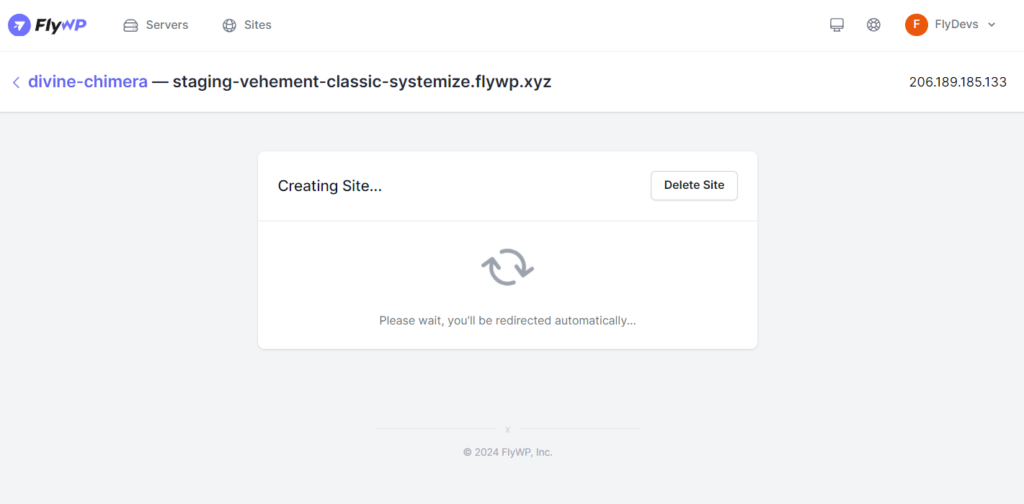
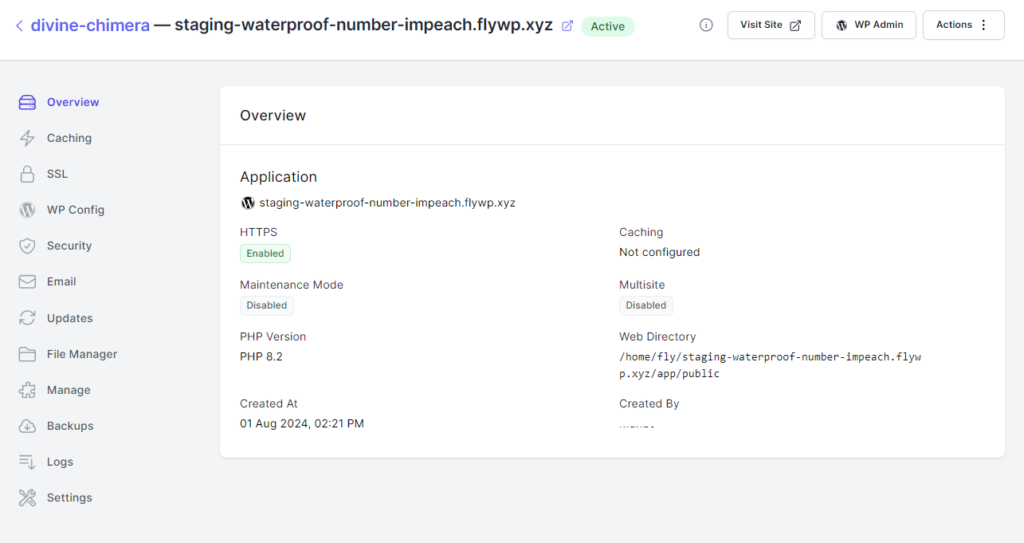
Step 9: Congratulations! Your website with Nginx stack is ready.
Step 10: Go to “Caching” from the left side Menu below Overview. Then below the selective menu of the “Page Cache” select “FastCGI Cache” and click on the “Save Changes” button.
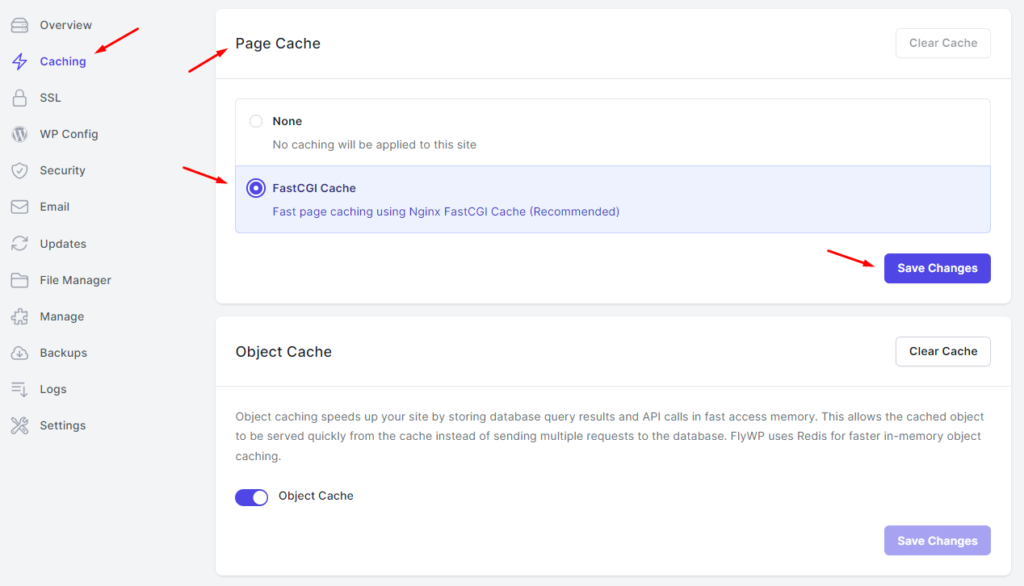
Step 11 (Optional): To unleash the full potential of your Nginx server, install the “Redis Object Cache” plugin to your website if it’s not already there and configure it based on your preference. You’re all set to rock on.
So that’s how you can create a new site with Nginx using FlyWP. We hope you find this documentation helpful. Check out our other documentation to easily get started with FlyWP. You can also contact us at [email protected] for more queries and further assistance.