In this guide, we’ll walk you through the step-by-step process of creating a new team in FlyWP. Whether you’re adding developers, designers, or content creators, setting up a team helps you manage permissions and monitor progress effectively, leading to more productive and organized project management. Let’s get started.
How to Create a New Team in FlyWP
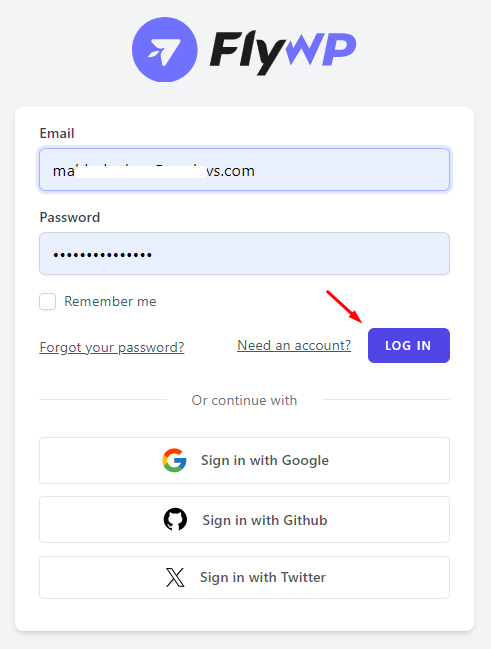
Step 1: First of all, Login to your FlyWP account by entering your Email and Password.
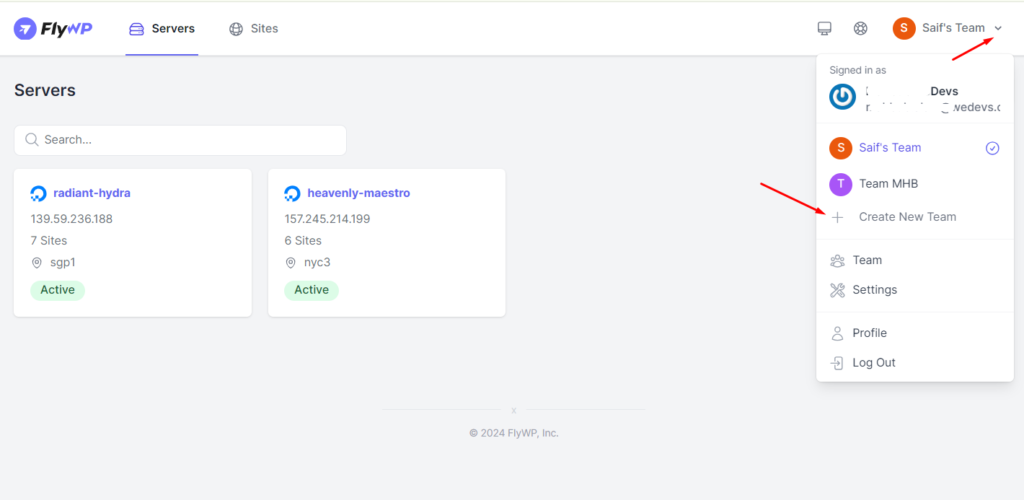
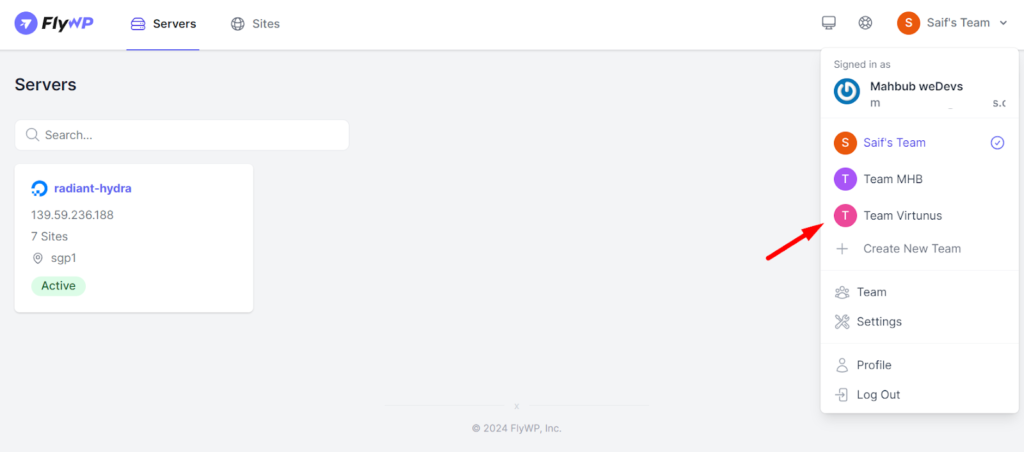
Step 2: You will see your FlyWP dashboard. Now click on the Down Arrow button from the top-right corner. Then click on the “Create New Team” menu.
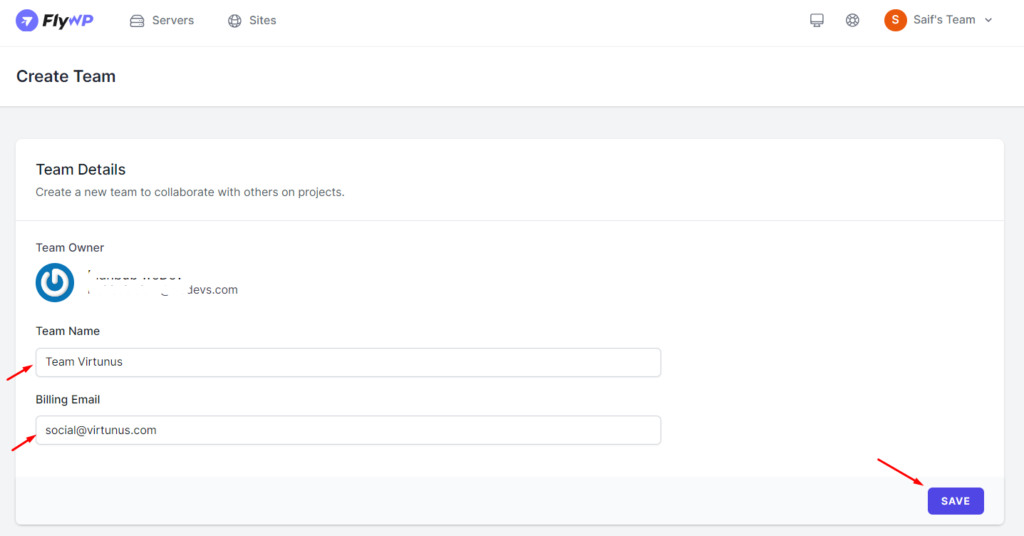
Step 3: In the next screen you will see “Team Name” and “Billing Email” below the Team Owner info. Insert a Name & Email for your team and click the “Save” button in the bottom-right corner.
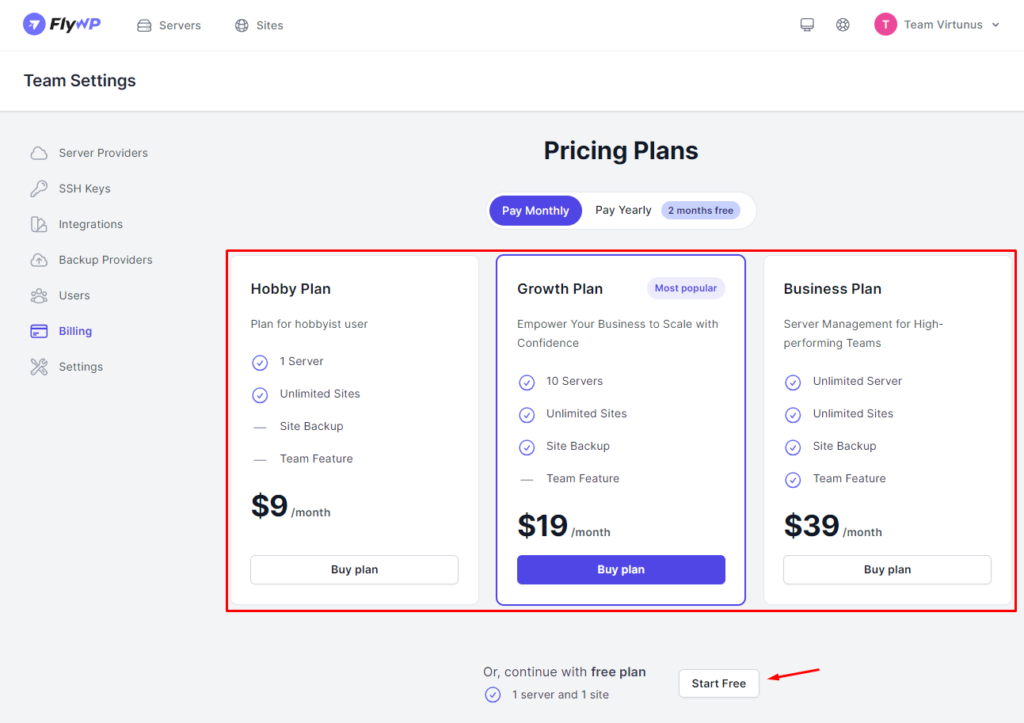
Step 4: You will be redirected to the Pricing page, Choose a plan that fits your needs or continue as free by clicking on the “Start Free” button below the pricing packages.
Note: On the Free plan, you can’t add multiple team members to the team. But you can try this within the Pro trial period or in any Paid plan.
Step 5: Congratulations! Your new team has been created successfully.
Note: You must verify your billing account that has been used during the process.
So that’s how you can create a new team in FlyWP. We hope you find this documentation helpful. Check out our other documentation to easily get started with FlyWP. You can also contact us at [email protected] for more queries and further assistance.