
Running a WordPress site? Don’t test changes on your live site unless you enjoy chaos. Instead, build a local WordPress development environment. It lets you build, test, and fine-tune your website in a safe, private environment right on your own computer.
Think of it as your personal WordPress sandbox. You can try new plugins, change themes, or add custom code while your real site is up and running. No crashes. No surprises. Do all the testing without risking your live site or annoying your visitors with sudden errors.
Local development isn’t just for developers either. Whether you’re a freelancer, an agency, or someone running a single blog, it gives you freedom and flexibility. Best part? It speeds things up. You’re not waiting on servers or worrying about downtime. Everything runs fast and smoothly.
In this article, you’ll explore the most popular tools to build a local WordPress development environment. We’ll discuss what makes them great (or not), and how to pick the right one. If you’re looking for a smarter way to develop WordPress sites without the risk, this guide is for you.
Popular Local WordPress Development Tools (With Pros and Cons)
When it comes to building WordPress sites locally, you have plenty of choices. Each tool comes with its own flavor, strengths, and those little quirks that can make or break your workflow. Here are the top nine local development tools you’ll want to know in the modern development era.
1. Docker
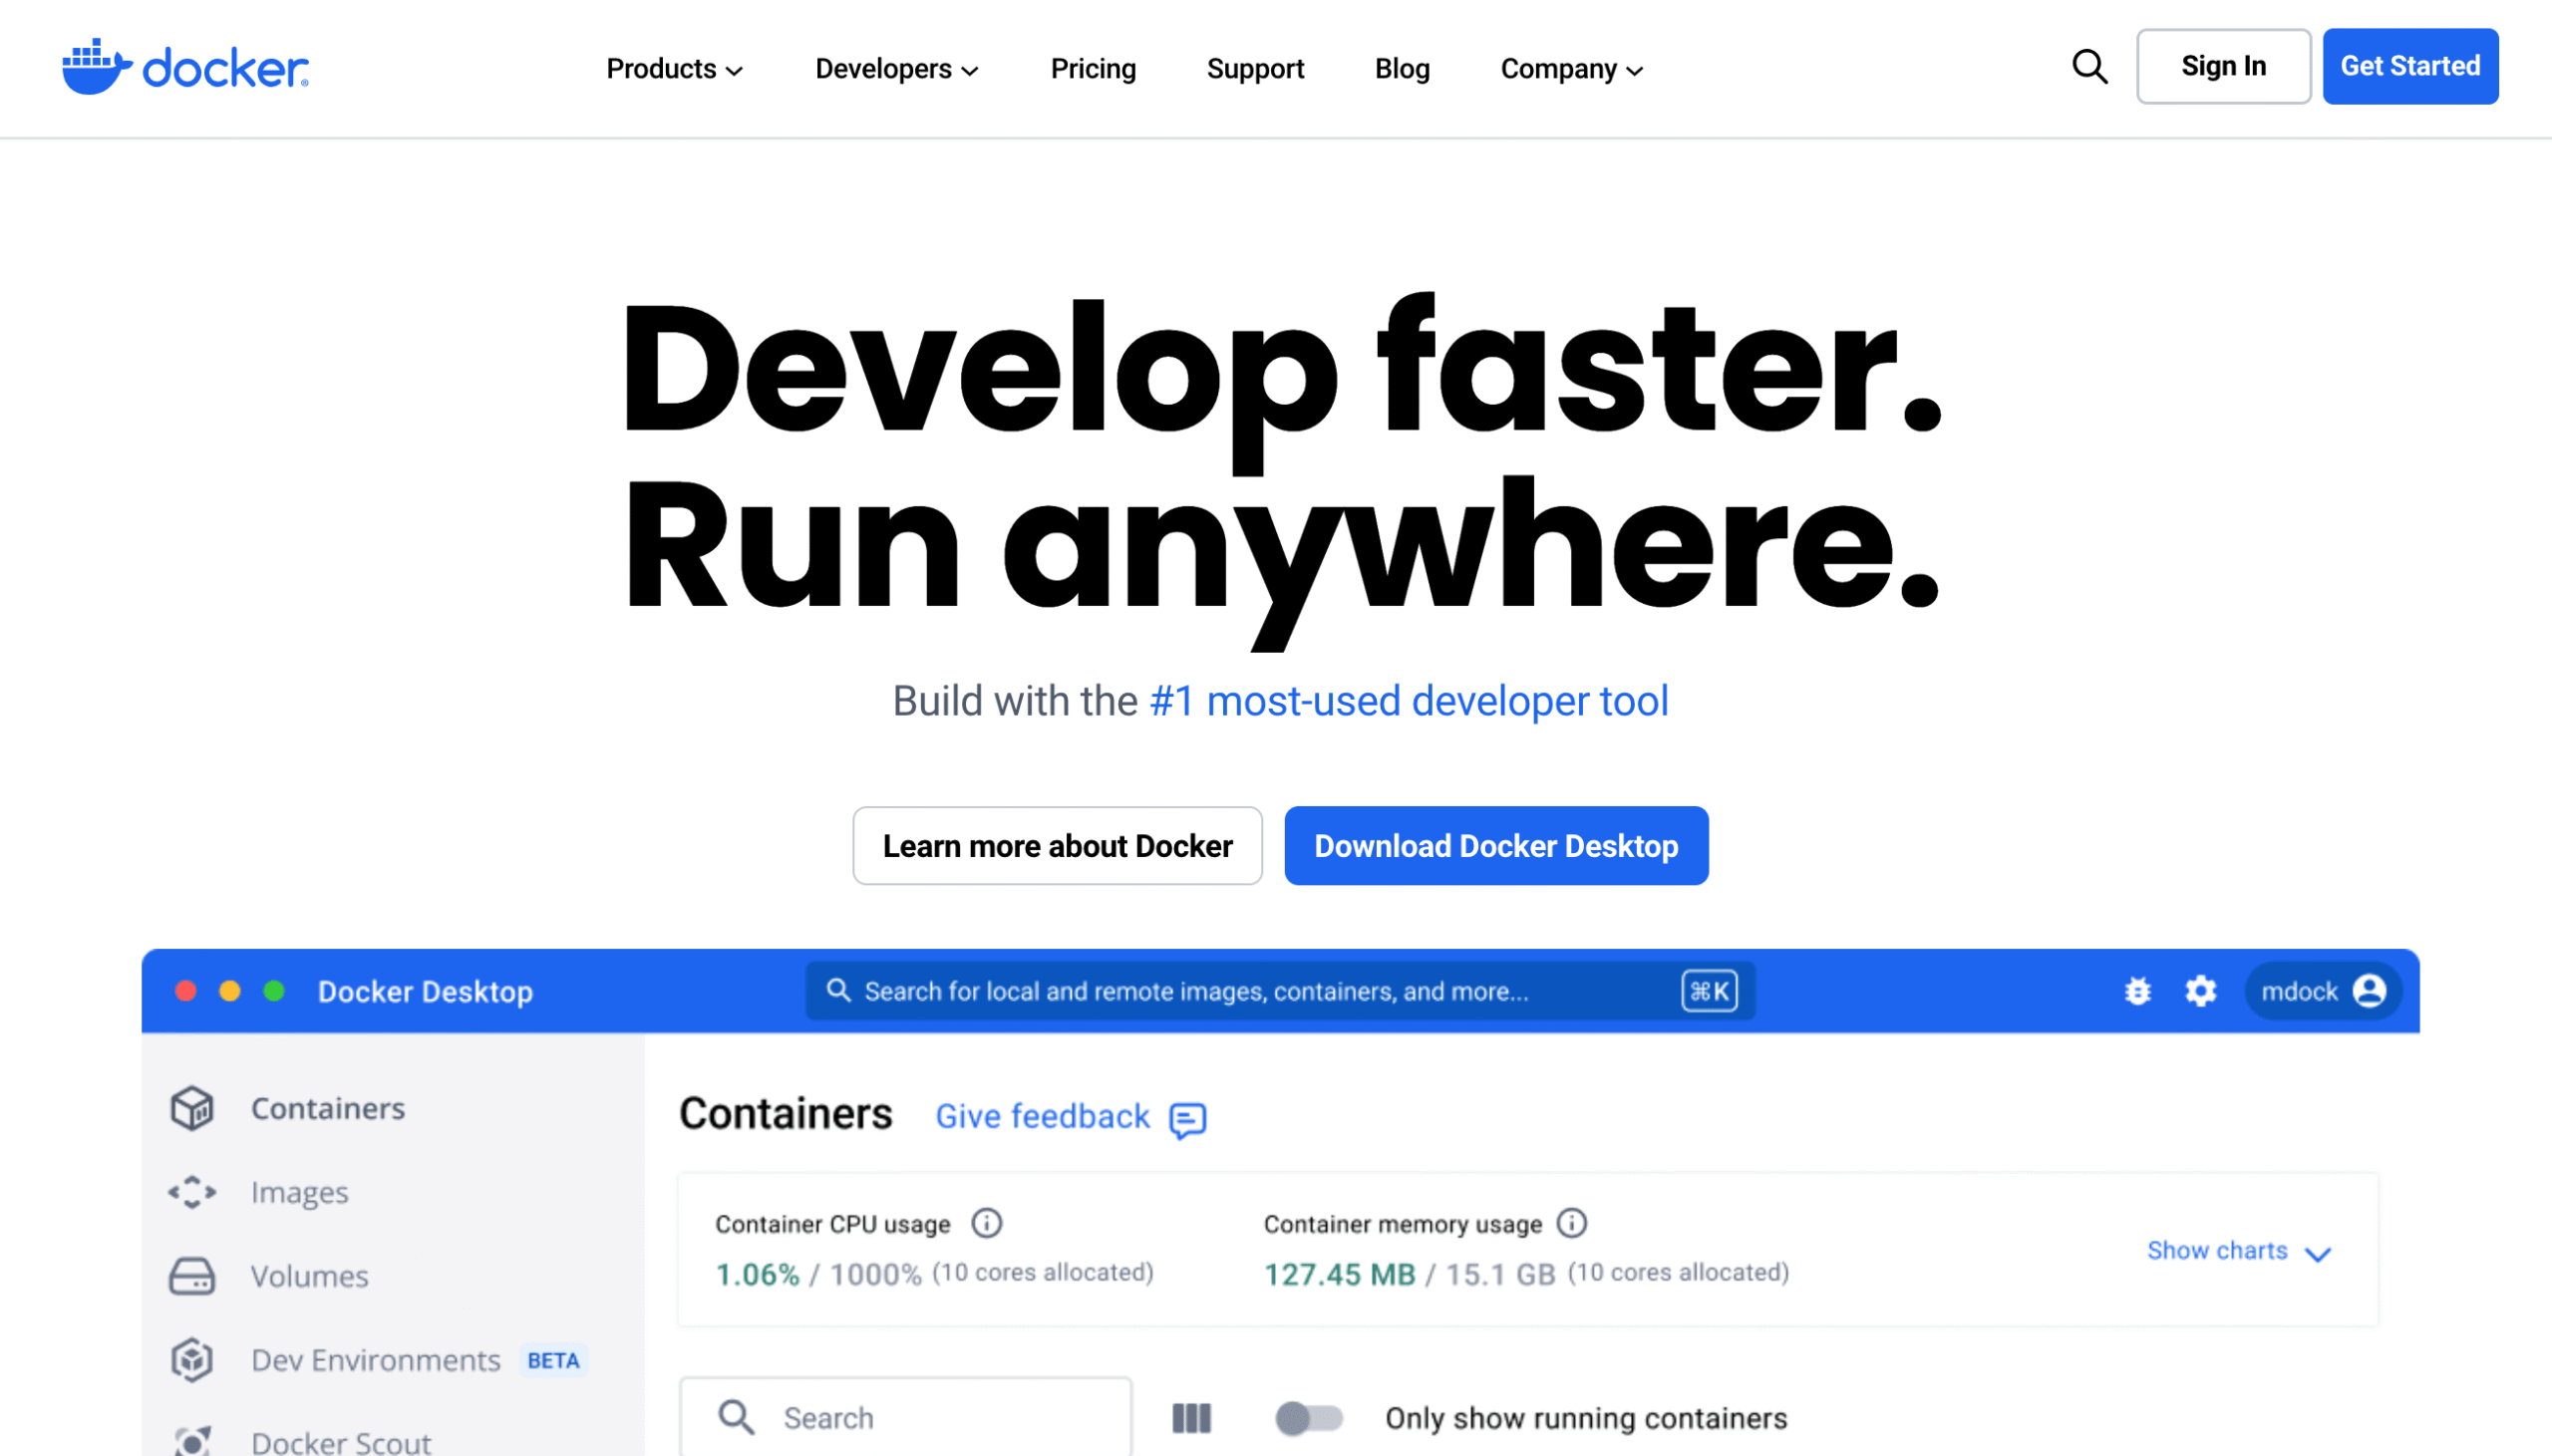
Docker is a powerful containerization platform that creates isolated, reproducible environments for WordPress development. By packaging Apache, MySQL, PHP, and WordPress into containers, it ensures consistency between local and production setups, making it ideal for advanced developers and teams.
Docker’s flexibility allows precise configuration of server stacks, supporting complex projects with custom dependencies. However, Docker’s steep learning curve can overwhelm beginners, and the setup time is longer than one-click solutions. It’s resource-efficient but requires familiarity with command-line interfaces and container concepts. Docker is best for developers prioritizing production parity and team collaboration over quick setups.
Pros:
- Highly flexible, containerized environments.
- Replicates production servers accurately.
- Scalable with Docker Compose.
- Ideal for team collaboration.
Cons:
- Steep learning curve for beginners.
- Setup time longer than simpler tools.
- Requires command-line knowledge.
Pricing: Free for personal use; Docker Desktop subscriptions start at $11/month for professional use.
2. Local by Flywheel
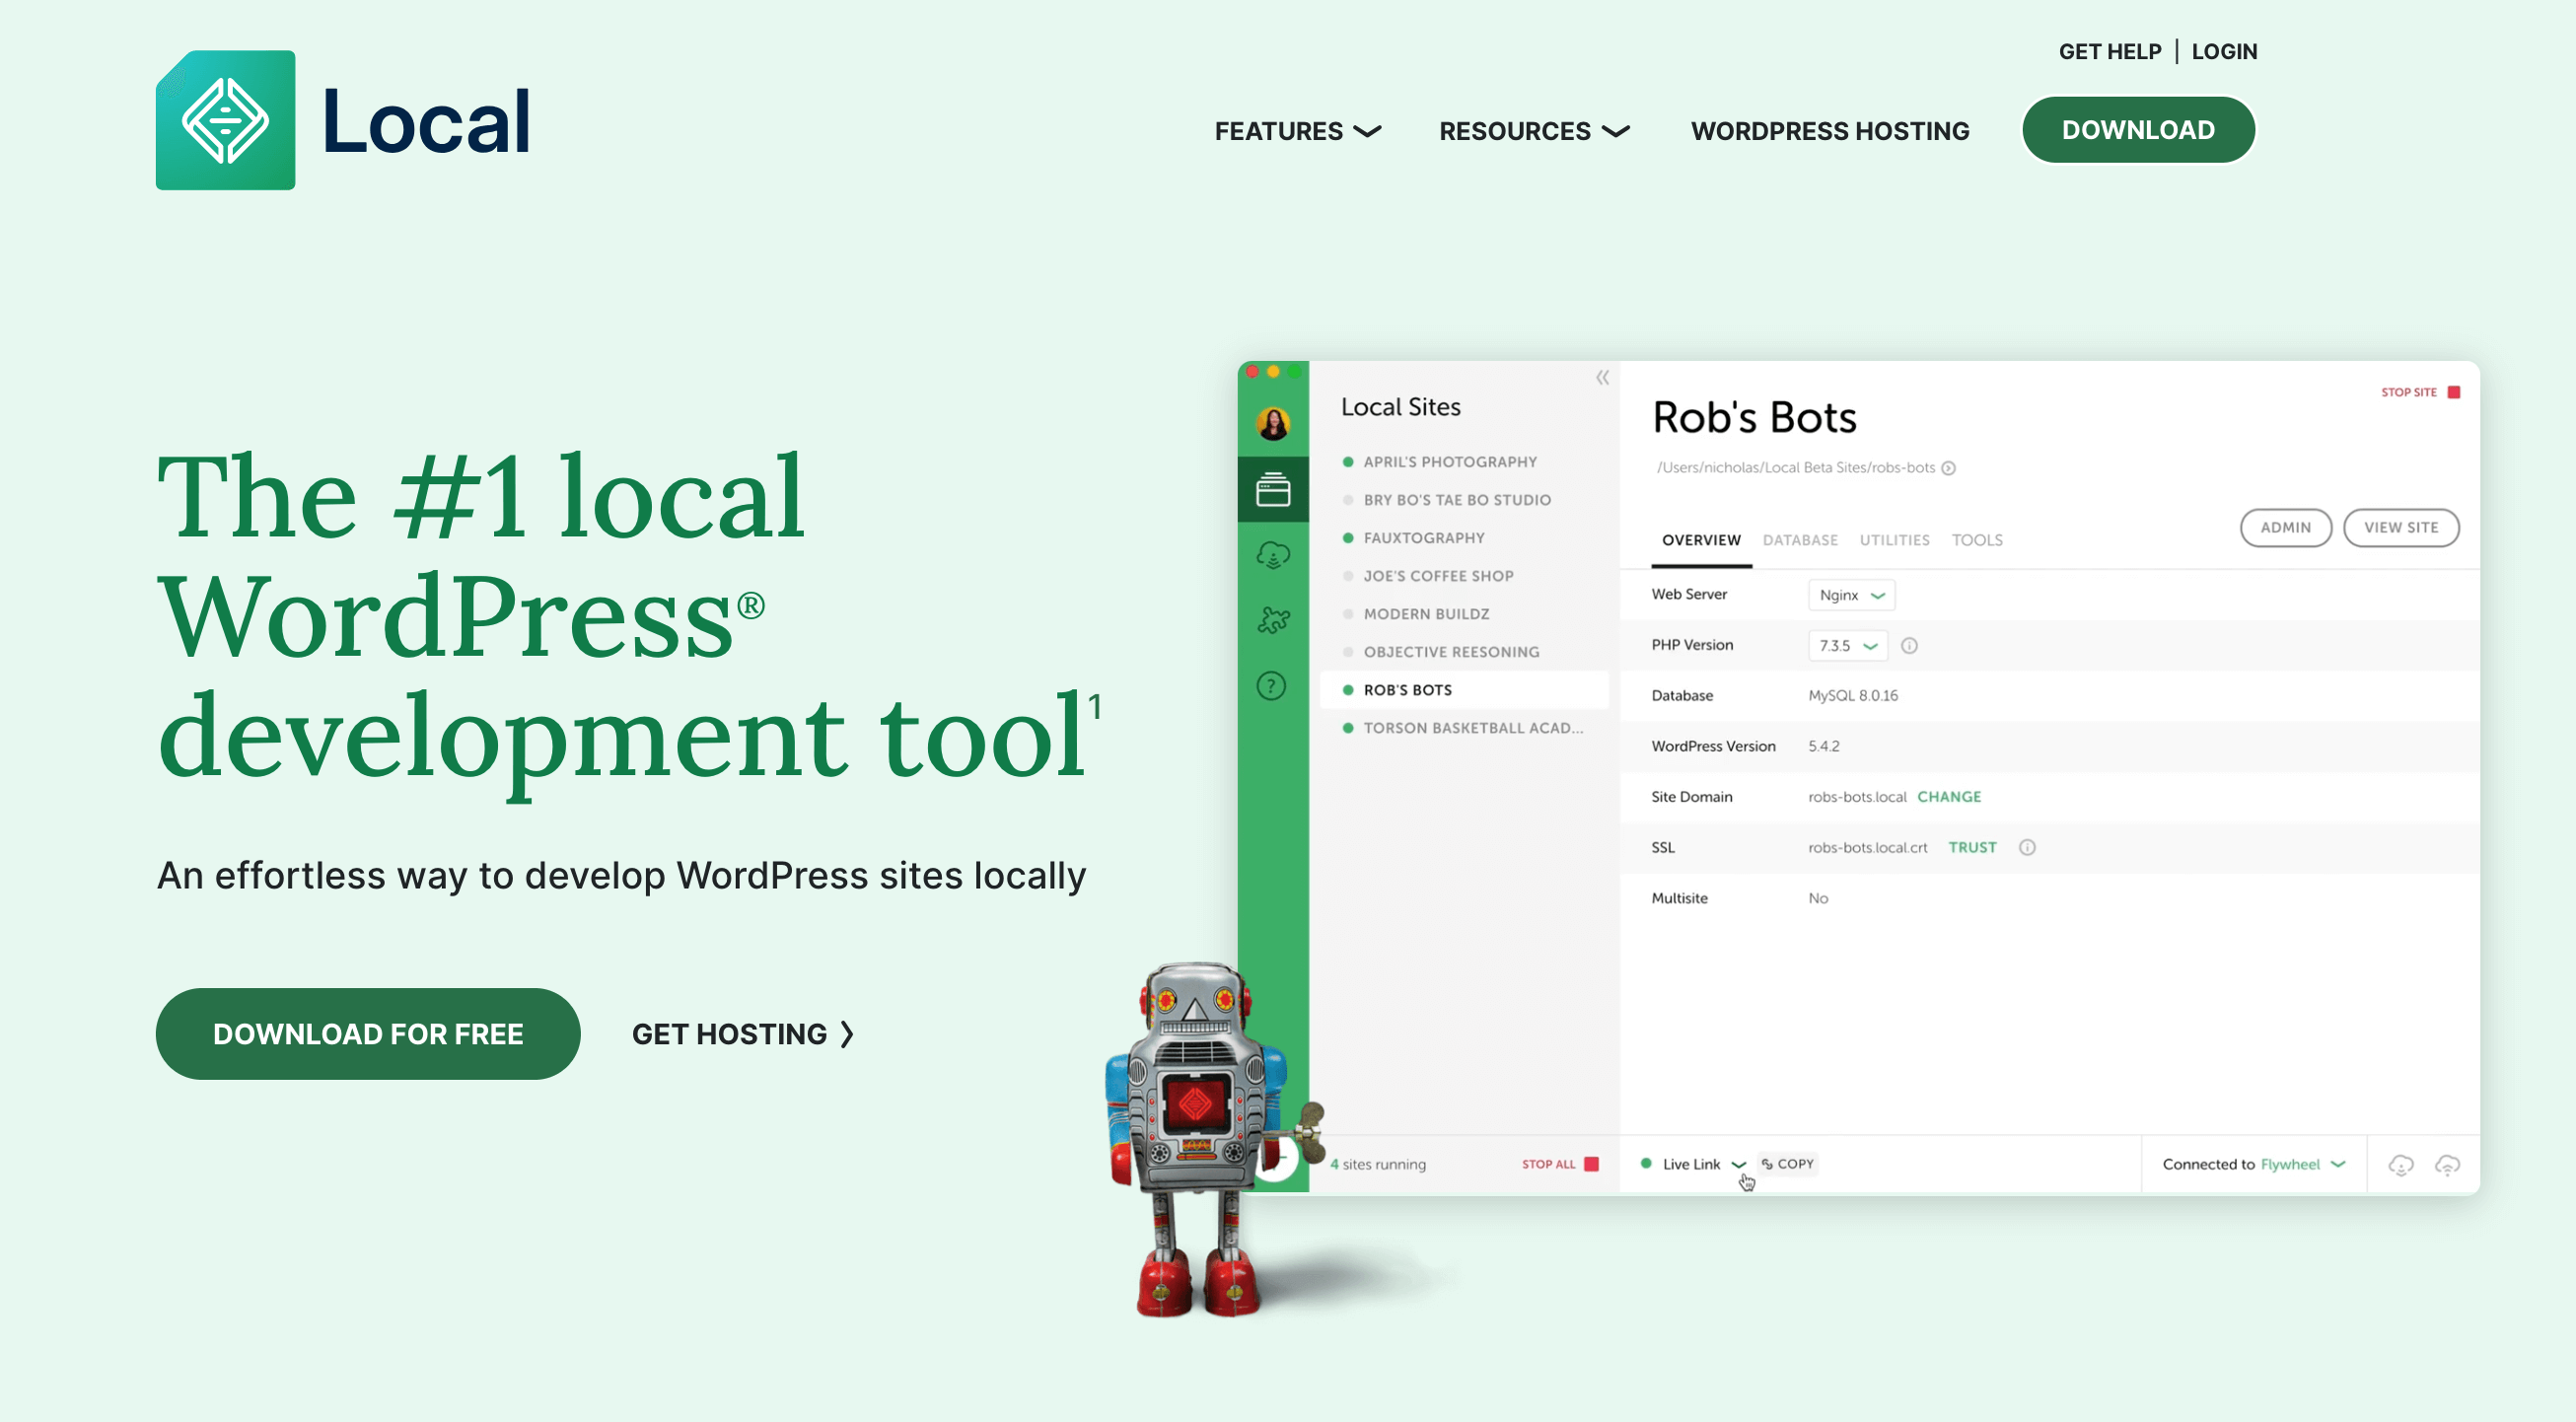
Local WP by Flywheel is a user-friendly local development tool designed to simplify WordPress site creation and management. Tailored for beginners, designers, and developers who prioritize ease of use, it offers a sleek interface and one-click WordPress setup, enabling users to spin up sites quickly without complex server configurations.
Local supports both Apache and NGINX servers, catering to varied needs. However, it can be resource-intensive on older hardware, slowing performance, and its customization options may feel restrictive for advanced developers needing granular control. Ideal for rapid prototyping or small projects, Local by Flywheel is a go-to for those new to WordPress or seeking a hassle-free local environment.
Pros:
- Intuitive, beginner-friendly interface.
- One-click WordPress installation.
- Seamless Flywheel hosting integration.
- Site cloning and blueprints for efficiency.
Cons:
- Resource-heavy on older machines.
- Limited customization for advanced users.
- Occasional performance lag with multiple sites.
Pricing: Free to use.
3. XAMPP
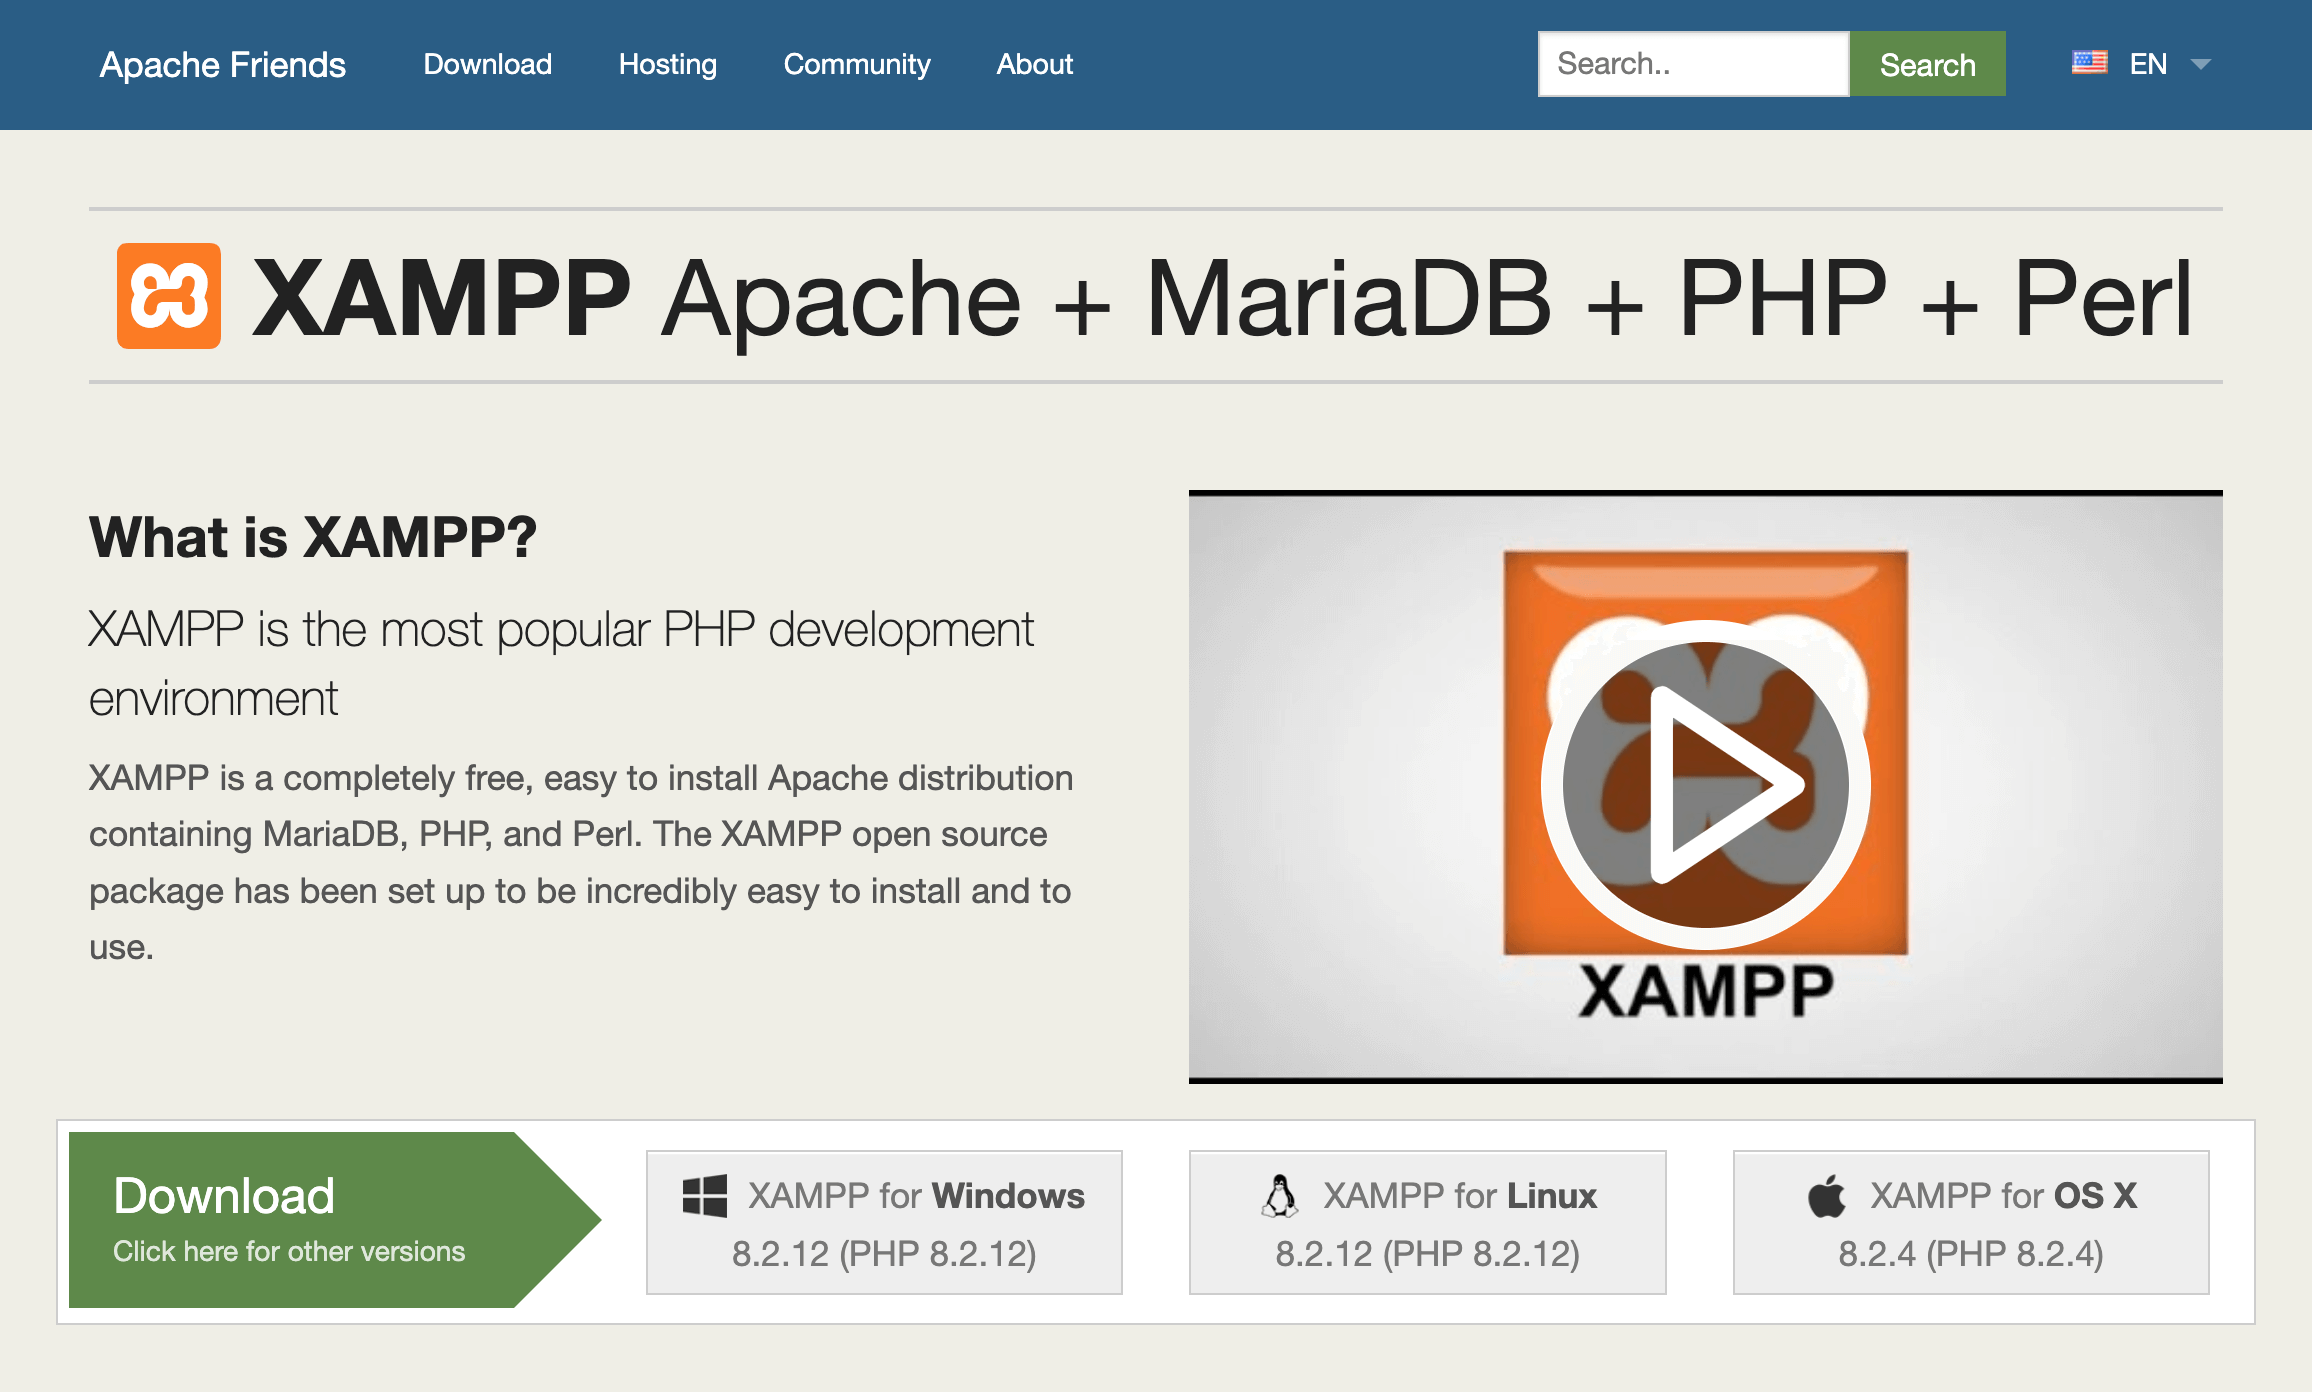
XAMPP is a free, open-source local development environment that provides a complete stack (Apache, MySQL, PHP, Perl) for building WordPress sites. Cross-platform (Windows, Mac, Linux), it’s highly customizable, allowing developers to tweak server settings to match production environments.
XAMPP is ideal for developers testing WordPress across different PHP versions or server setups. However, its manual setup process can be daunting for beginners, and updates occasionally disrupt configurations, requiring troubleshooting. While not as polished as some modern tools, XAMPP’s flexibility and zero cost make it a staple for budget-conscious developers who need full control over their stack.
Pros:
- Free and open-source.
- Cross-platform compatibility (Windows, Mac, Linux).
- Highly customizable server stack.
- Supports multiple PHP versions.
Cons:
- Manual setup can be complex for beginners.
- Updates may break existing configurations.
- Lacks a polished, user-friendly interface.
Pricing: Free to use (open-source).
4. MAMP

MAMP (Mac, Apache, MySQL, PHP) is a local development tool for Mac and Windows, bundling essential components for WordPress development in an easy-to-install package. Its clean interface simplifies server management, making it accessible for users who want a quick setup without deep technical knowledge.
MAMP supports multiple PHP versions and includes tools like phpMyAdmin for database tasks. However, the free version lacks advanced features like dynamic DNS or multisite support, pushing users toward the paid Pro version. Performance is generally solid, but setup can feel less flexible compared to containerized solutions like Docker. MAMP suits users seeking a balance of simplicity and functionality.
Pros:
- Easy installation on Mac and Windows.
- Clean, user-friendly interface.
- Supports multiple PHP versions.
- Includes phpMyAdmin for database management.
Cons:
- Free version lacks advanced features.
- Pro version adds cost for full functionality.
- Less flexible for complex server setups.
Pricing: Free version available; MAMP Pro costs $89 per year.
5. Vagrant
Vagrant is a tool for creating portable, consistent virtual machine environments for WordPress development. It uses providers like VirtualBox to spin up customizable servers, ensuring identical setups across team members’ machines. Vagrant’s configuration files (Vagrantfiles) allow developers to define precise server specs, making it ideal for collaborative projects requiring standardized environments.
It supports WordPress setups with pre-built boxes or custom configurations. However, Vagrant requires virtualization software, adding setup complexity, and its startup times are slower than container-based tools like Docker. It’s less suited for quick, solo projects but excels in team settings where consistency is critical. Vagrant is a solid choice for developers comfortable with virtual machines and collaborative workflows.
Pros:
- Portable, consistent virtual environments.
- Ideal for team collaboration.
- Customizable via Vagrantfiles.
- Supports pre-built WordPress boxes.
Cons:
- Requires virtualization software (e.g., VirtualBox).
- Slower startup compared to containers.
- Complex setup for beginners.
Pricing: Free to use (open-source), requires free virtualization software like VirtualBox.
6. DevKinsta
DevKinsta is a local development tool tailored for users of Kinsta’s managed WordPress hosting. It simplifies WordPress site creation with a clean interface, one-click setups, and robust database management via Adminer or phpMyAdmin. Integrated with Kinsta’s infrastructure, it allows seamless site pushes to staging or production environments.
Features like multisite support, HTTPS, and email testing make it versatile for professional workflows. However, its tight integration with Kinsta limits flexibility for users on other hosting platforms. Advanced customization options are less robust compared to Docker or XAMPP. DevKinsta is ideal for Kinsta users or those planning to deploy on Kinsta
Pros:
- Seamless Kinsta hosting integration.
- User-friendly interface with one-click setup.
- Robust database management tools.
- Supports multisite and HTTPS.
Cons:
- Less flexible for non-Kinsta users.
- Limited customization for advanced needs.
- Kinsta-specific features may feel restrictive.
Pricing: Free to use.
7. WampServer
WampServer is a lightweight, Windows-only local development environment for WordPress, bundling Apache, MySQL, and PHP. Its straightforward interface allows users to quickly set up and manage WordPress sites, with tools like phpMyAdmin for database tasks. WampServer supports multiple PHP versions, making it suitable for testing compatibility across different WordPress setups. Its simplicity and low resource usage make it ideal for Windows users working on small to medium projects. However, its Windows-only nature limits cross-platform use, and it lacks the advanced features of tools like Docker or Vagrant. WampServer is a solid choice for Windows-based developers seeking a no-frills, efficient local development solution.
Pros:
- Lightweight and resource-efficient.
- Simple interface for quick setups.
- Supports multiple PHP versions.
- Includes phpMyAdmin for databases.
Cons:
- Windows-only, no cross-platform support.
- Lacks advanced customization options.
- Less robust for complex projects.
Pricing: Free to use (open-source).
8. Studio by WordPress.com
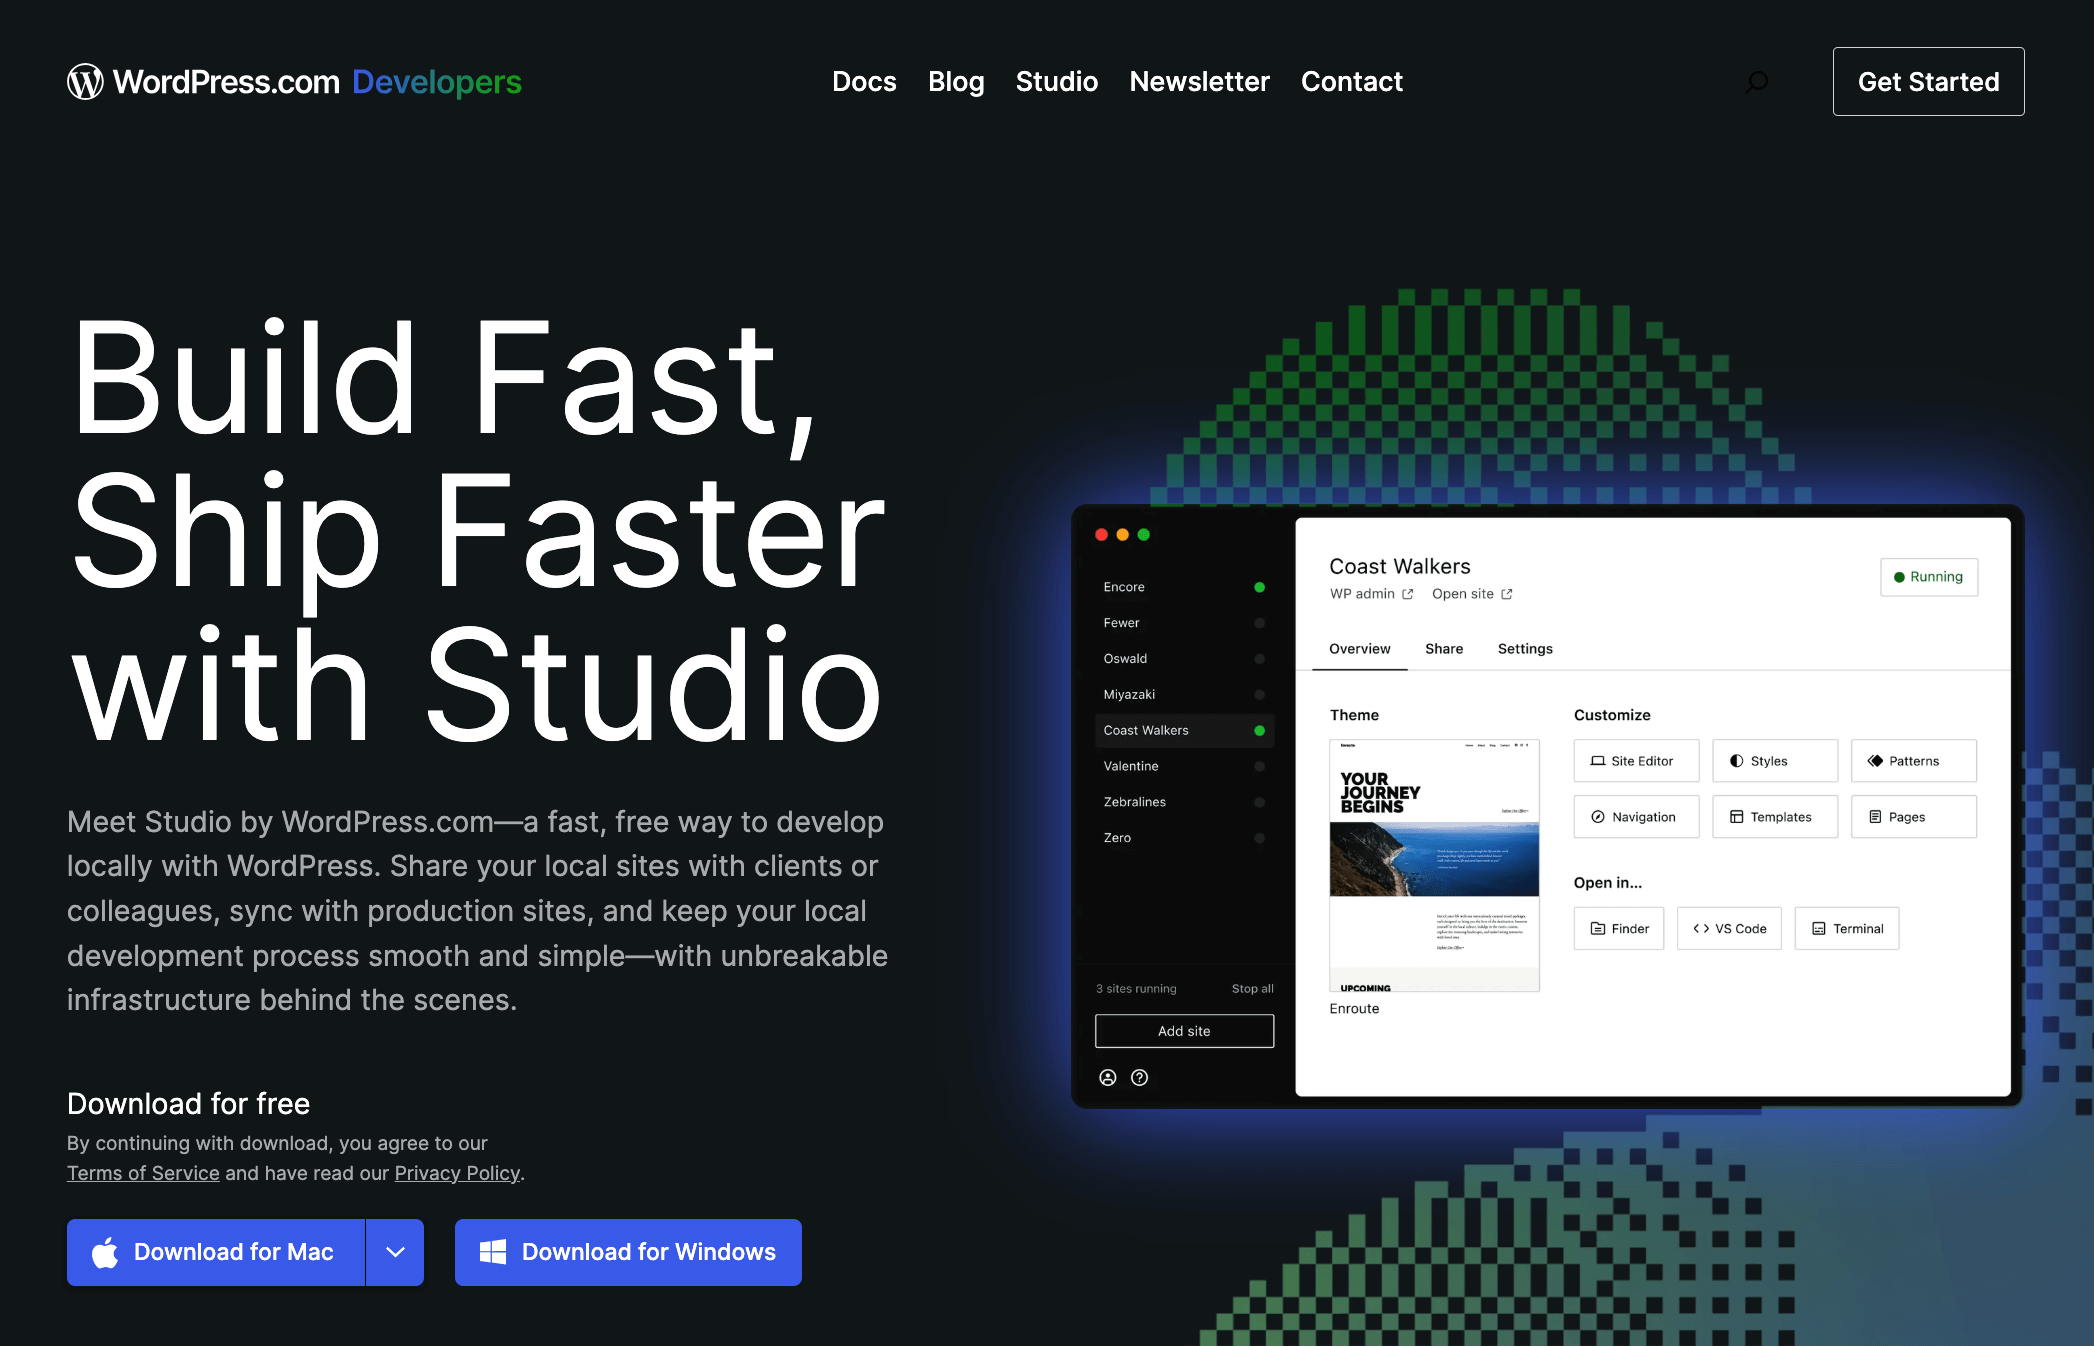
Studio by WordPress.com is a free, open-source desktop app designed to streamline local WordPress development. It enables developers to create and manage unlimited local WordPress sites without manual server setup, leveraging WordPress Playground for a lightweight environment using SQLite and WebAssembly-based PHP.
Its intuitive interface offers one-click access to WP Admin, Site Editor, and global styles, making it ideal for beginners and pros alike. Studio’s standout feature is its ability to create temporary, shareable demo sites hosted on WordPress.com.
However, its SQLite-based setup may not fully replicate MySQL-based production environments, and demo site sharing requires a WordPress.com account. Studio is perfect for rapid prototyping and collaborative workflows.
Pros:
- Free and open-source with no setup hassle.
- Lightweight, using WordPress Playground (SQLite, WebAssembly).
- Shareable demo sites for client feedback.
- Two-way syncing with WordPress.com sites.
Cons:
- SQLite differs from MySQL production environments.
- Demo site sharing requires a WordPress.com account.
- Limited curl support for some plugins.
- Slower performance than LocalWP (4 vs. 50+ requests/second).
Pricing: Free to use.
9. FlyWP (To Deploy Your Local Site)
Deploying a locally developed site involves transferring both the code (themes, plugins, configuration) and the database (content, settings) from a local environment to a live cloud server. FlyWP suggests two primary methods: Git-based deployment for code and standard WordPress migration techniques for the complete site, including the database.
Before deploying, users must set up a server through FlyWP, which involves selecting a cloud provider (e.g., DigitalOcean, AWS) or provisioning the server through FlyWP, as detailed in How to Provision Server with FlyWP. FlyWP is not a hosting provider itself but a management platform, so users pay cloud server costs directly, with additional FlyWP subscription costs.
Pros:
- Leverages Docker for isolated, reproducible environments.
- Free, open-source resources via GitHub and blog guides.
- Supports custom PHP versions and database configurations.
- Ideal for developers familiar with containerized setups.
Cons:
- Requires Docker and command-line expertise.
- Not a pre-packaged tool; involves manual setup.
- No integration with FlyWP’s cloud hosting features.
Pricing: Free, utilizing open-source tools and resources provided by FlyWP.
Local WordPress Development Environment with Docker (Mac, Windows, and Linux)
Docker sits at the top of our list for one simple reason: it offers unmatched control, consistency, and scalability for local WordPress development. Unlike one-click solutions that hide the technical bits, Docker gives you a transparent, modular setup.
Yes, Docker has a learning curve. But if you’re working on multiple client sites, testing different server configurations, or just want more control over your dev flow, it pays off quickly. That’s why Docker earns the #1 spot, giving serious developers the tools to build WordPress sites like pros.
Now, are you looking to know how a local WordPress development environment works with Docker? Look no further; here in the following sections, you’ll learn how the local setup works with WordPress using Docker technology. Let’s start with a detailed definition of Docker.
What Is Docker, and How Does It Work?
Docker is an open-source platform that enables developers to automate the deployment, scaling, and management of applications using containerization. Containers are lightweight, standalone, and executable packages that include everything needed to run a piece of software, including the code, runtime, libraries, and system tools. This ensures that the application runs consistently across different environments.
To understand Docker’s functionality, it’s essential to look at its core components and concepts. Here’s a breakdown of how Docker operates:
- Containers: At the core of Docker is the concept of containers. Containers package an application and its dependencies together, ensuring that it runs the same regardless of where it is deployed. This eliminates the “it works on my machine” problem.
- Docker Engine: Docker Engine is the runtime that manages containers. It allows you to build, run, and manage containers on your host operating system.
- Docker Images: Docker images are read-only templates used to create containers. They contain the application code, libraries, and dependencies needed to run the application. Images are stored in repositories such as Docker Hub.
- Dockerfile: A Dockerfile is a script that contains a series of commands to assemble a Docker image. It specifies the base image, application code, environment variables, and other configurations needed to build the image.
- Docker Compose: Docker Compose is a tool that allows you to define and manage multi-container Docker applications. Using a docker-compose.yml file, you can specify the services, networks, and volumes that your application requires, simplifying the management of complex applications.
By using Docker, developers can create a consistent development environment that mirrors production, making it easier to develop, test, and deploy applications efficiently.
You can also read the details of Docker-based server management
Advantages of Using Docker for WordPress Development
Leveraging Docker for WordPress development provides a multitude of benefits that can significantly improve efficiency and productivity. Docker’s containerization technology offers a consistent and isolated environment for your development, ensuring that your applications run seamlessly across different stages of the development lifecycle.
Here are the key advantages:
- Consistency across environments: Docker ensures that your development, staging, and production environments are identical. This eliminates the common “it works on my machine” problem, making it easier to debug and deploy applications.
- Simplified setup and maintenance: Docker simplifies the setup of your WordPress environment. With Docker Compose, you can define and manage multi-container applications with a single configuration file, reducing the time and effort required to set up and maintain your development environment.
- Isolation of services: Each service in your application runs in its container, isolated from the others. This isolation prevents conflicts between different services and their dependencies, ensuring a more stable and reliable development environment.
- Portability: Docker containers can run on any system that supports Docker, providing a portable environment that can be easily moved between different machines or servers. This portability ensures that your development environment can be replicated across various platforms without compatibility issues.
- Scalability: Docker makes it easy to scale your applications. You can quickly spin up additional containers to handle the increased load, ensuring that your WordPress site can scale efficiently as traffic grows.
- Resource efficiency: Docker containers are lightweight and use fewer resources compared to traditional virtual machines. This efficiency allows you to run more containers on the same hardware, optimizing resource usage and reducing costs.
By incorporating Docker into your WordPress development workflow, you can achieve a more consistent, portable, and efficient development environment that simplifies setup, enhances scalability, and improves resource utilization.
Prerequisites for a Local WordPress Development Environment Docker
To get started with Docker for WordPress, you’ll need:
- macOS: macOS 11+ with Docker Desktop installed. Supports Intel and M1/M2 chips.
- Windows: Windows 10/11 Pro or Home. Install Docker Desktop and enable WSL 2 with a Linux distro.
- Linux: Any modern distro like Ubuntu, Debian, or Fedora. Install Docker Engine via your package manager.
Also, make sure Docker is installed and running. You’re comfortable using the command line for basic tasks. With these ready, you’re good to spin up WordPress sites locally using Docker.
Local WordPress Development Environment in Docker: Step-by-Step
Creating a local WordPress development environment using Docker streamlines your workflow and ensures consistency across different stages of development. Follow these steps to set up your environment efficiently:
- Install Docker
- Create a Docker Compose File
- Run the Docker Compose File
- Access WordPress
- Configure WordPress
- Update and Manage
Step 1: Install Docker
First, you need to install Docker Desktop. This will allow you to run Docker containers on your macOS, Windows, and Linux.
- Download Docker Desktop: Visit the Docker website and download Docker Desktop for Mac.
- Install Docker Desktop: Follow the installation instructions provided on the website. Open the downloaded file and drag the Docker icon to your Applications folder.
- Run Docker Desktop: Open Docker Desktop from your Applications folder. Docker will start and run in the background. You can verify the installation by opening a terminal and typing:

Step 2: Create a Docker Compose File
Docker Compose is a tool for defining and running multi-container Docker applications. We will use it to set up our WordPress environment.
- Create a project directory: Open your terminal and create a new directory for your project:

- Create ‘docker-compose.yml’: Inside your project directory, create a ‘docker-compose.yml’ file with the following content:
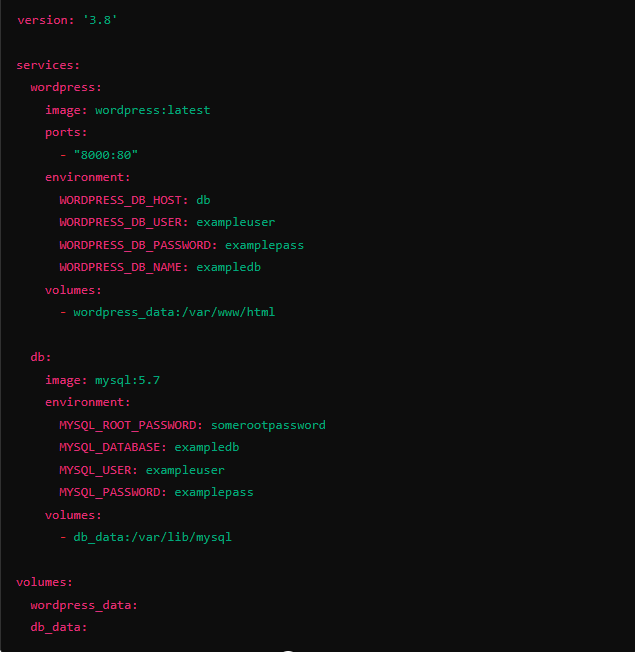
Step 3: Run the Docker Compose File (Starting the WordPress Environment)
With Docker Compose, you can start all the services defined in your docker-compose.yml file with a single command.
- Start Docker containers: In your terminal, run:

The ‘-d’ flag runs the containers in detached mode, allowing you to continue using your terminal.
- Verify the containers: Check if the containers are running with:

Step 4: Access WordPress
Now that your containers are running, you can access your WordPress site.
- Open browser: Open your web browser and navigate to ‘http://localhost:8000’. You will see the WordPress installation screen.
Step 5: Configure WordPress
Follow the prompts on the WordPress installation screen to set up your site.
- Language selection: Choose your preferred language.
- Site configuration: Enter your site title, admin username, password, and email address. Click “Install WordPress” to complete the setup.
Step 6: Update and Manage
After setting up WordPress, you can manage and update your local development environment as needed.
- Stop containers: To stop your containers, run:

- Start containers: To restart your containers, run:

- View logs: To view the logs for your containers, use:

- Updating Docker images: To update the Docker images defined in your docker-compose.yml file, run:

By following the steps, you will create a perfect Local WordPress Development Environment on macOS, Windows, and Linux with Docker. This setup ensures consistency across different stages of development, streamlines the process of managing dependencies, and simplifies the setup and maintenance of your development environment.
Use Docker for your WordPress projects to enjoy a more efficient, scalable, and reliable development process. With Docker, you can focus on building and improving your WordPress sites while leaving the complexities of environment management behind.
Customizing Your Development Environment
Customizing your Docker-based WordPress development environment allows you to tailor the setup to meet your specific needs and preferences. Here are some ways to customize your environment effectively:
Adding Custom Configurations
You can add custom configurations to your Docker setup to enhance its functionality and performance.
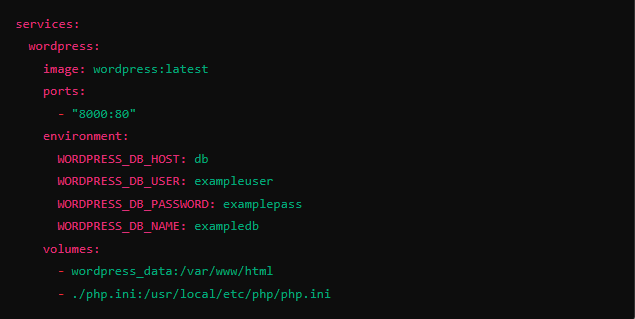
- Custom PHP configurations: You can create a custom ‘php.ini’ file with your desired PHP settings and mount it to the container:
- Custom Dockerfile: If you need to install additional software or make other changes to the WordPress container, create a custom ‘Dockerfile’:

- Custom themes and plugins: Mount your custom themes and plugins to the WordPress container:

Using Volumes for Persistent Storage
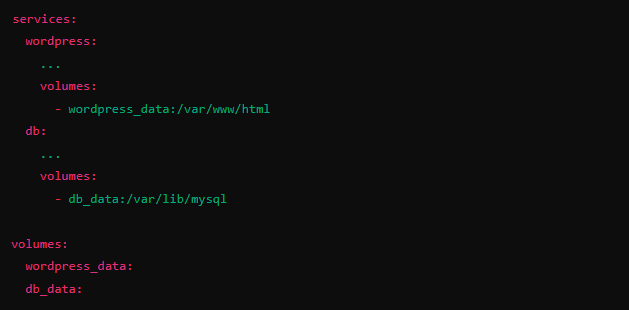
Docker volumes allow you to persist data even when containers are stopped or removed. This is crucial for databases and any other data that should not be lost.
- Define volumes in Docker compose: In your ‘docker-compose.yml’, ensure volumes are defined for data persistence:
- Backup and restore volumes: Use Docker commands to backup and restore volumes as needed:
#Backup
docker run –rm –volumes-from CONTAINER_NAME -v $(pwd):/backup ubuntu tar cvf /backup/backup.tar /path/to/volume
#Restore
docker run –rm –volumes-from CONTAINER_NAME -v $(pwd):/backup ubuntu tar xvf /backup/backup.tar -C /
Connecting to a Database
Connecting your WordPress site to a MySQL database is essential for a functional environment.
- Environment variables: Ensure the environment variables in your ‘docker-compose.yml’ file are correctly set to connect WordPress to the MySQL database:

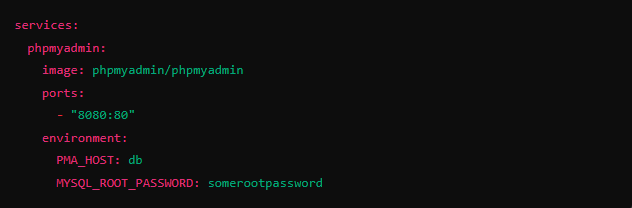
- Database management tools: You can use tools like phpMyAdmin to manage your database. Add phpMyAdmin to your ‘docker-compose.yml’ file:
Debugging and Troubleshooting
Debugging and troubleshooting are critical parts of developing with Docker. Here are some strategies to help you effectively diagnose and resolve issues:
Common Issues and Solutions
- Containers not starting: If your containers are not starting, use the docker-compose logs command to view the logs and identify the issue.

- Port conflicts: Ensure that the ports defined in your ‘docker-compose.yml’ file are not being used by other applications on your host machine. Change the port mapping if necessary.

- Database connection errors: Verify that the environment variables for the database connection are correctly set and that the database service is running.

- Permission issues: Sometimes, permission issues can cause problems with file mounts. Ensure that the Docker container user has the appropriate permissions to access the files.
Using Docker Logs for Debugging
Docker logs provide valuable information for troubleshooting issues.
- View logs: Use the ‘docker logs’ command to view the logs for a specific container.

- Follow logs: To continuously monitor the logs, use the ‘
-f‘ flag.

- Filter logs: Use ‘grep’ to filter log output for specific keywords.

Restarting and Rebuilding Containers
Sometimes, restarting or rebuilding your containers can resolve issues.
- Restart containers: Use the ‘docker-compose restart’ command to restart your containers.

- Rebuild containers: If you have made changes to your Dockerfile or ‘docker-compose.yml’, use the ‘docker-compose up –build’ command to rebuild the containers.

Network Troubleshooting
If you experience network-related issues, ensure that your containers are correctly configured to communicate with each other.
- Inspect network configuration: Use the ‘docker network inspect’ command to view the configuration of your Docker network.

- Test connectivity: Use the ‘docker exec’ command to run network tests from within a container.

Following these debugging and troubleshooting tips, you can easily and efficiently identify and resolve issues in your Docker-based WordPress development environment.
Follow All Steps Carefully
Setting up a local WordPress development environment on macOS and other operating systems with Docker offers a reliable, efficient, and consistent workflow. By using Docker, you can avoid the “it works on my machine” issue, ensuring that your development, staging, and production environments are all the same.
Docker streamlines the setup and maintenance process through user-friendly configuration files, making it accessible even for those with limited technical knowledge. Additionally, Docker’s isolation of services, portability, scalability, and resource efficiency make it an ideal solution for WordPress development.
Following the steps in this article, you will have a powerful local development environment that enhances your productivity and streamlines your workflow. You can use Docker to focus more on developing great features for your WordPress site and less on managing the complexities of your development environment.
Optimize your WordPress development with FlyWP’s Docker-powered solutions. Enhance productivity and streamline your workflow effortlessly.
Deploy Your Locally Developed Site with FlyWP
After building and testing locally, you need to show the world your work. FlyWP makes it easy to push your entire site, files, and database to a live server without breaking things. To deploy your locally developed WordPress site to FlyWP, you have two main options, depending on how your site is set up:
Option 1: Using Git for Code Deployment
If your local site is version-controlled with Git (e.g., on GitHub), FlyWP lets you connect your repository and deploy the code directly. This is great for ongoing updates and works well with Bedrock, a modern WordPress setup. You’ll need to:
- Connect your GitHub account in FlyWP’s dashboard.
- Create a new site and choose to install from your Git repository.
- Set up the branch and enable “Push to Deploy” for automatic updates.
However, this only handles the code (themes, plugins, etc.). You’ll need to migrate your database separately, possibly using a backup plugin.
Option 2: Full Site Migration
For a complete transfer, including your database, use a migration plugin like UpdraftPlus. Steps include:
- Back up your local site (database, plugins, themes, uploads).
- Create a new site on your FlyWP server.
- Upload and restore the backup on the new site.
This method is simpler if you’re not using Git, but may take more manual effort. For detailed steps, check FlyWP Git Deployment or FlyWP Site Migration.
Got Questions About Local WordPress Development With Docker?
You’re not alone. Whether you’re new to Docker or just weighing your options, these quick answers clear up the confusion. From setup complexities to deployment tips, we’ve covered what most developers ask when diving into local WordPress environments.
Docker Compose is a tool for defining and managing multi-container Docker applications with a single configuration file.
Download Docker Desktop from Docker’s website and follow the installation instructions.
Yes, by creating separate Docker compose files and assigning different ports.
Use Docker volumes to ensure data persists even when containers are stopped or removed.
Yes, specify the desired PHP version in the Docker Compose file.
Use tools like phpMyAdmin, which can be added as a service in your Docker compose file.
Check logs with docker-compose logs, ensure no port conflicts, and verify Docker Desktop is running.
Choose the Right Tools for Your WordPress Workflow
Picking a local development tool isn’t just about features. It’s about what fits your style and makes your work smoother. Some tools shine with simplicity. Others pack powerful customization. But no matter what you pick for local development, the journey doesn’t stop there. You still need to get that site live, and that’s where FlyWP comes in.
FlyWP bridges the gap between local and live with WordPress-friendly migration options. Just spin up a server on your favorite cloud provider, link it to FlyWP, and push your site when you’re ready.
So, pick the local tool that suits your flow. But when it’s time to go live, make FlyWP part of your process. Because building great sites is hard enough. Deployment shouldn’t be.