In today’s digital world, having a fast website is crucial to keeping visitors interested. One way to speed up your site is by using Redis object caching. This method helps your website quickly retrieve and show content by storing the results of database queries.
This guide will walk you through setting up a Redis Object Cache for your WordPress site. We will cover both the traditional Linux server method and how to set up a WordPress Docker container with Redis cache for those using containerized environments.
But first, let’s grasp the basics of caching and object caching in simple terms before diving into the technical stuff.
What is cache?
Cache (client-side caching) is popularly defined as the temporary storage where data is stored and can be accessed quickly.
Let’s take an example: Imagine your browser saves website files when you visit a site for the first time. When you return to the same site later, your browser quickly retrieves the files from its stored cache, making the website load faster.
What is object caching, and why is it important?
Object caching, or server-side caching, is performed on the website’s server, and the results of the database queries are saved on the server itself.
The importance of object caching is that it can decrease the Time to First Byte (TTFB) and accelerate loading times, leading to a more seamless user experience. Additionally, it contributes to enhancing the server’s overall health by alleviating its workload.
Redis is the most popular option for object caching, as it increases a WordPress site’s page loading speed.
Redis in place and its importance
Redis is a widely used software that helps speed up database operations, caching, and messaging. It’s important because it boosts performance, making your website run more smoothly for users. With Redis, you can do various tasks quickly, like adding elements to lists, updating values in hashes, or fetching data efficiently. This is super handy for applications that need instant access to data.
Plus, Redis ensures your data stays safe with features like periodic data backups and the ability to add extra functions using plugins. Overall, it’s a great tool for any website that wants to deliver a fast and reliable experience to its visitors.
Redis can persist data by periodically dumping the dataset to disk or appending commands to a disk-based log, depending on the use case. It’s also worth noting that Redis can be extended with new functionality using plugin modules.
Setting up Redis for your WordPress site
It’s better to check with your host first, as many WordPress hosting solutions offer Redis Object Caching with a quick or one-click installation option.
There is no official support for Windows; instead, Microsoft has created a Win-64 port of Redis. Therefore, it’s better to install Redis on a Linux server. Begin by installing and configuring Redis; after that, proceed with the installation of the PHP Redis extension and the Redis Object Cache plugin.
Choose the 10 best control panels for WordPress that you must look for
Before you start installing Redis for object caching on your Linux server, make sure you have:
- Access as the root user with sudo permission.
- The ability to connect to your server via SSH.
Let’s get started:
Method 1: A step-by-step guide on using Redis for WordPress (Linux VPS)

In this step-by-step guide, we’ll walk you through the process of setting up Redis on a Linux VPS.
Let’s dive in!
Step 1: Connect to your Linux server
First, you’ll need to connect to your Linux server. Use SSH through a terminal program, such as PuTTY (for Windows) or Terminal (for macOS and Linux). Enter your server’s IP address and login details to connect.
eg: ssh [email protected]
ssh [username]@[ip_address]Step 2: Update your system
Make sure your system is up-to-date before installing Redis. Run these commands to update the package lists and upgrade existing packages:
sudo apt update
sudo apt upgrade
Step 3: Install Redis
After updating, install Redis using this command:
sudo apt install redis-serverStep 4: Verify Redis installation
To ensure that Redis is running correctly, you can use the following command to check the status:
sudo systemctl status redisIf everything is set up correctly, you should see a status message indicating that Redis is active and running.
Step 5: Redis CLI
To make sure Redis is working right, you can do a simple test. Just connect to the Redis server and try some basic commands.
redis-cli pingStep 6: Install the Redis PHP extension
Next, you need to install the Redis PHP extension on your server. You can do this using the following command:
sudo apt-get install php-redisMethod 2: Setting up a WordPress Docker container with Redis cache

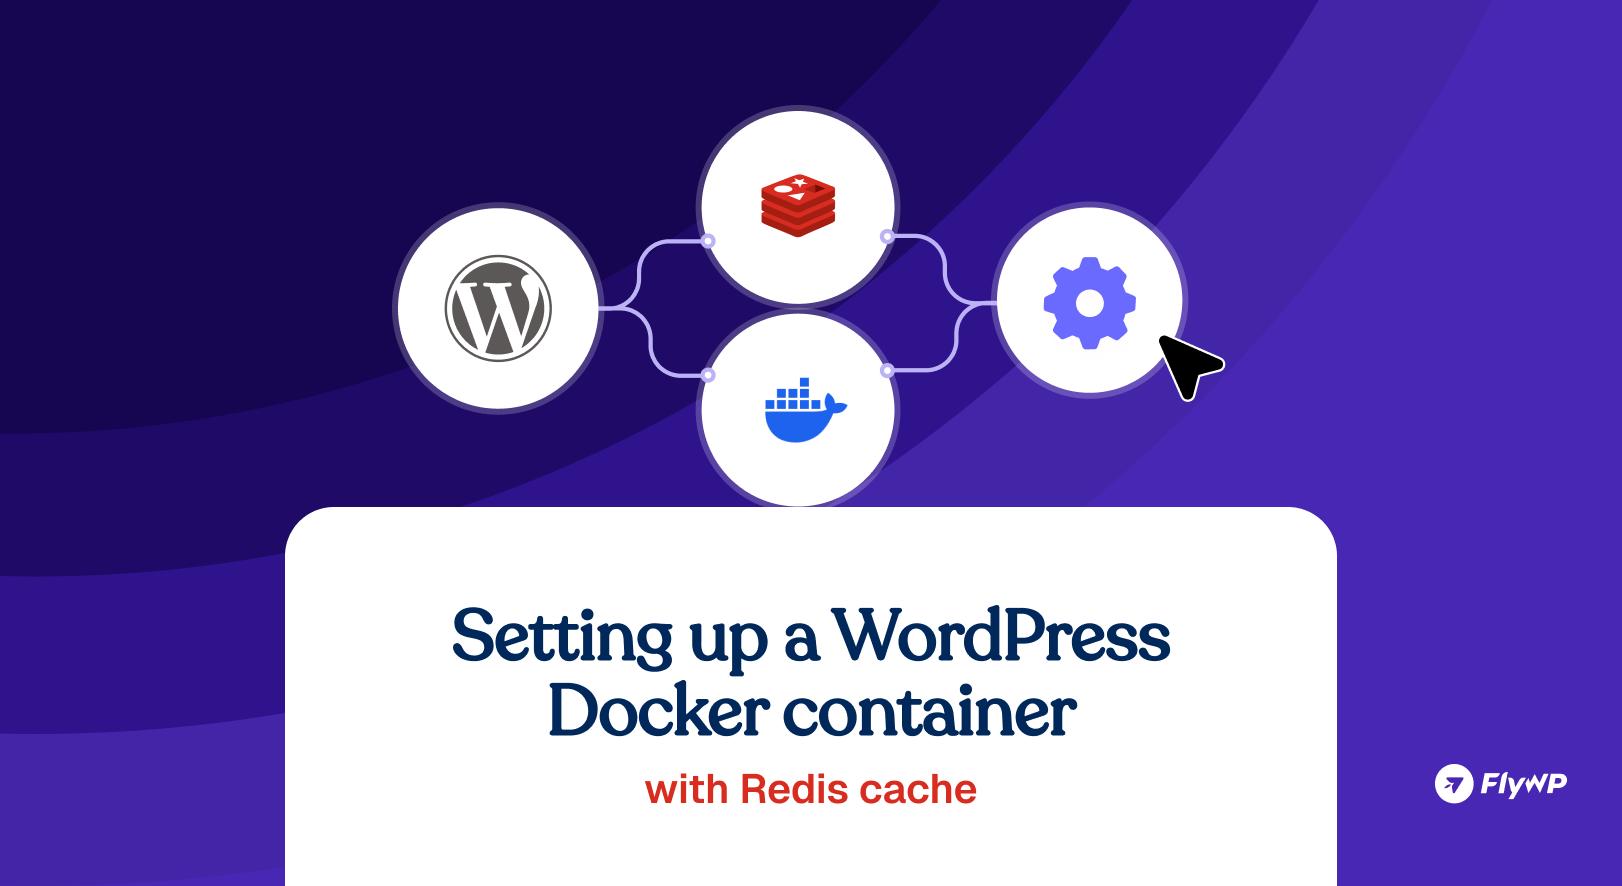
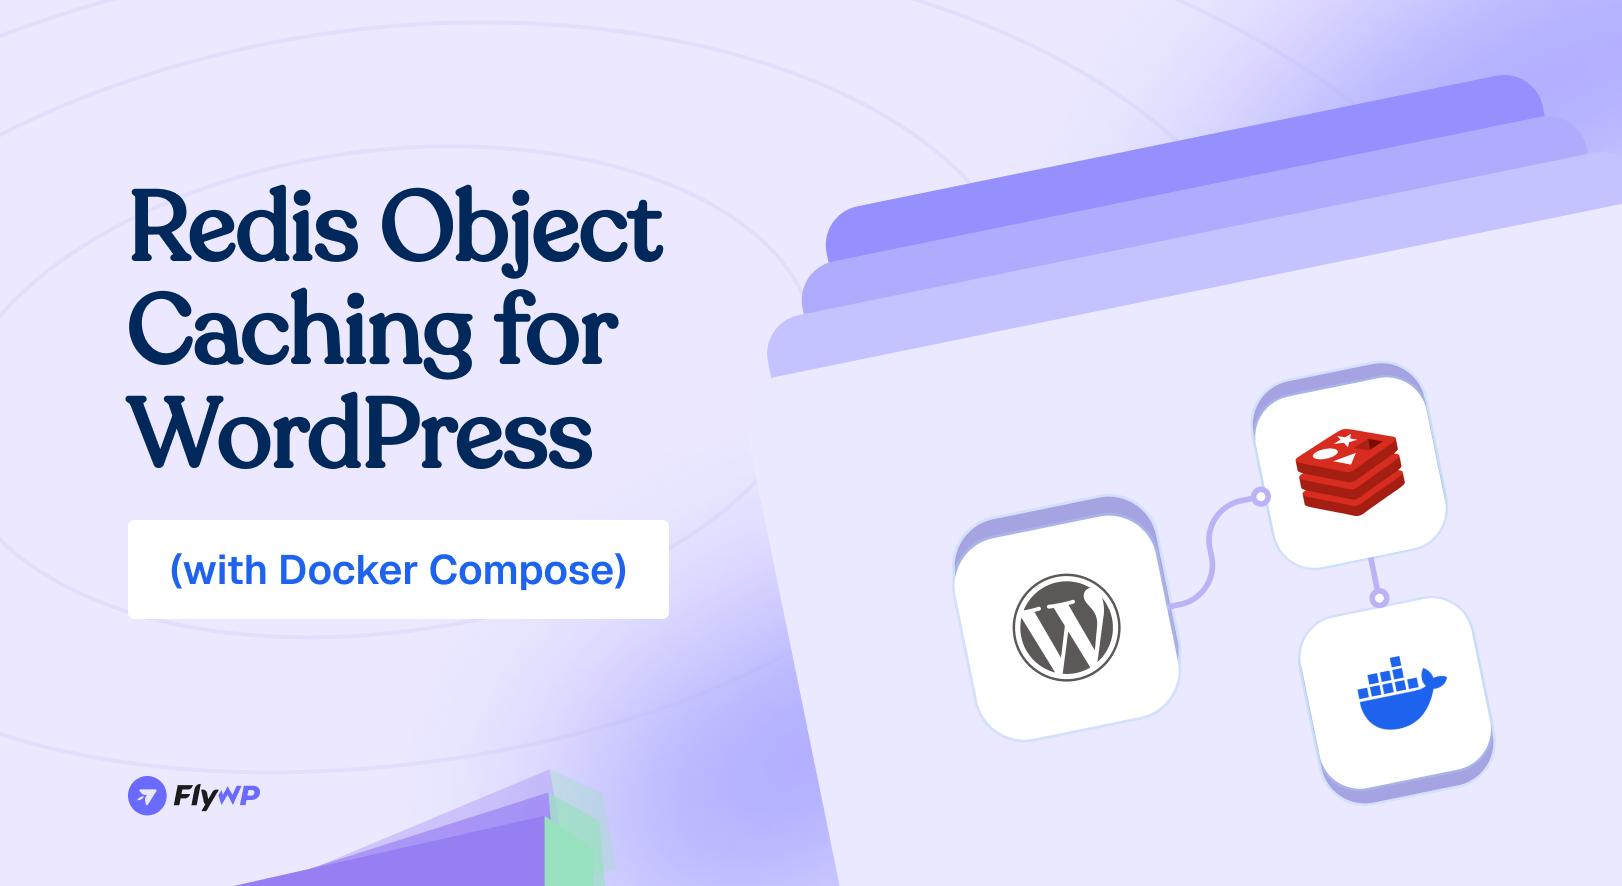
If you prefer using containerized environments over traditional VPS setups, you can easily configure a WordPress Docker container with Redis cache using Docker Compose. This method keeps your environment clean and isolated.
Unlike a standard server setup where Redis runs on localhost, Docker requires you to define Redis as a separate service and link it to your WordPress container.
Here is a simple docker compose wordpress redis configuration to get you started:
1. Create a docker-compose.yml file
Add the Redis service alongside your WordPress and Database services.
services:
  wordpress:
    image: wordpress:latest
    ports:
      - "8000:80"
    environment:
      WORDPRESS_DB_HOST: db
      WORDPRESS_DB_USER: exampleuser
      WORDPRESS_DB_PASSWORD: examplepassword
      WORDPRESS_DB_NAME: exampledb
    depends_on:
      - db
      - redis

  db:
    image: mysql:5.7
    environment:
      MYSQL_DATABASE: exampledb
      MYSQL_USER: exampleuser
      MYSQL_PASSWORD: examplepassword
      MYSQL_ROOT_PASSWORD: examplerootpassword

  redis:
    image: redis:alpine
    container_name: redis_cache
    restart: always
2. Configure WordPress to “Talk” to Docker
In a Docker environment, the WordPress container cannot see Redis on 127.0.0.1. Instead, it connects via the service name defined in your compose file (in this case, redis).
You will need to add a specific line to your wp-config.php file, which we will cover in the next section. Once your containers are up and running (docker-compose up -d). You are ready to proceed.
Configure Redis with WordPress
It is now time to configure Redis with WordPress. Whether you used Method 1 (VPS) or Method 2 (Docker), follow these steps carefully.
Step 1: Install the Redis object cache plugin for WordPress
Navigate to your WordPress admin dashboard and install the Redis Object Cache plugin. You can find it by searching for “Redis Cache” in the Plugins > Add New section. Activate the plugin once it’s installed.
Step 2: Edit wp-config.php (Crucial Step):
Now, you need to configure WordPress to communicate with Redis. Open your WordPress wp-config.php file and add the following lines just before the “/* That’s all, stop editing! Happy blogging. */” line.
If you followed the Docker guide, you must define the host. If you are on a standard Linux server, you primarily need the prefix.
// For Docker users (Required: tells WordPress to look for the container named 'redis')
define( 'WP_REDIS_HOST', 'redis' );
// For all users (Recommended: prevents conflicts if you have multiple sites)
define( 'WP_REDIS_PREFIX', 'your_site_name_' );Note: Replace your_site_name_ with a unique string.
Step 3: Enable Object Cache
Go to Settings > Redis in your WordPress dashboard. You should see the connection details. Click the “Enable Object Cache” button.
Step 4: Test the configuration
Once enabled, the status should read “Connected.” You can use the “Test Redis” button in the plugin settings to check if the connection is established successfully.
The Easiest Way: Managed Redis with FlyWP
While setting up a WordPress Docker container with Redis cache manually gives you full control, it also requires constant maintenance and manual configuration.
FlyWP takes the complexity out of the equation. Since FlyWP is built on a Docker-based server architecture, every site you launch is already isolated in its own secure container. You don’t need to write a single line of YAML or manage SSH keys to get peak performance.
How FlyWP Simplifies Redis for You:
- One-Click Redis Activation: No need to install
redis-serveror PHP extensions via terminal. Just toggle a switch in your FlyWP dashboard. - Automatic Docker Networking: FlyWP handles the internal communication between your WordPress and Redis containers automatically—no manual
WP_REDIS_HOSTedits required. - FlyWP Helper Plugin: FlyWP comes with a dedicated helper plugin that optimizes your caching layers (Nginx FastCGI + Redis) out of the box.
- Centralized Management: Clear your object cache and page cache directly from one unified dashboard.
Ready to supercharge your site? Stop wrestling with manual Docker configurations. Let FlyWP handle the technical heavy lifting so you can focus on growing your business.
Conclusion
At the end of this tutorial, it becomes crystal clear how Redis Object Caching is important for WordPress sites. Whether you are running a standard Linux VPS or a WordPress Docker container with Redis cache, configuring it correctly will significantly accelerate website performance by storing database queries in the server cache.
Whether you are managing your business website or a suite of client sites, Redis makes everything seamless by providing faster loading times and a smoother user experience.
